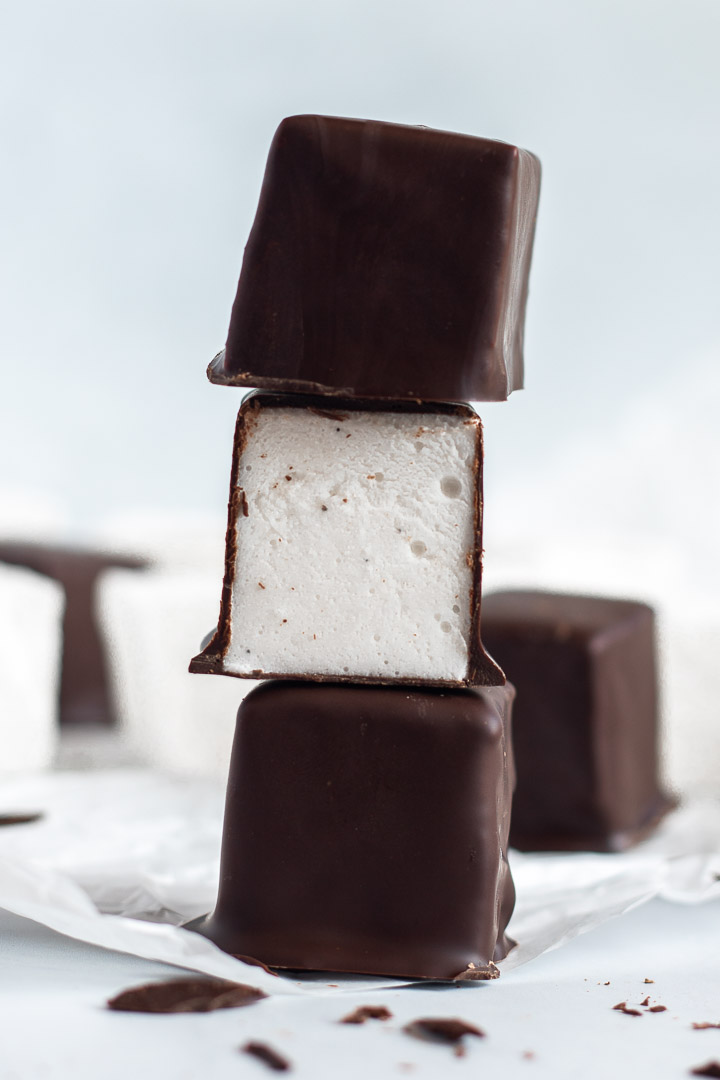
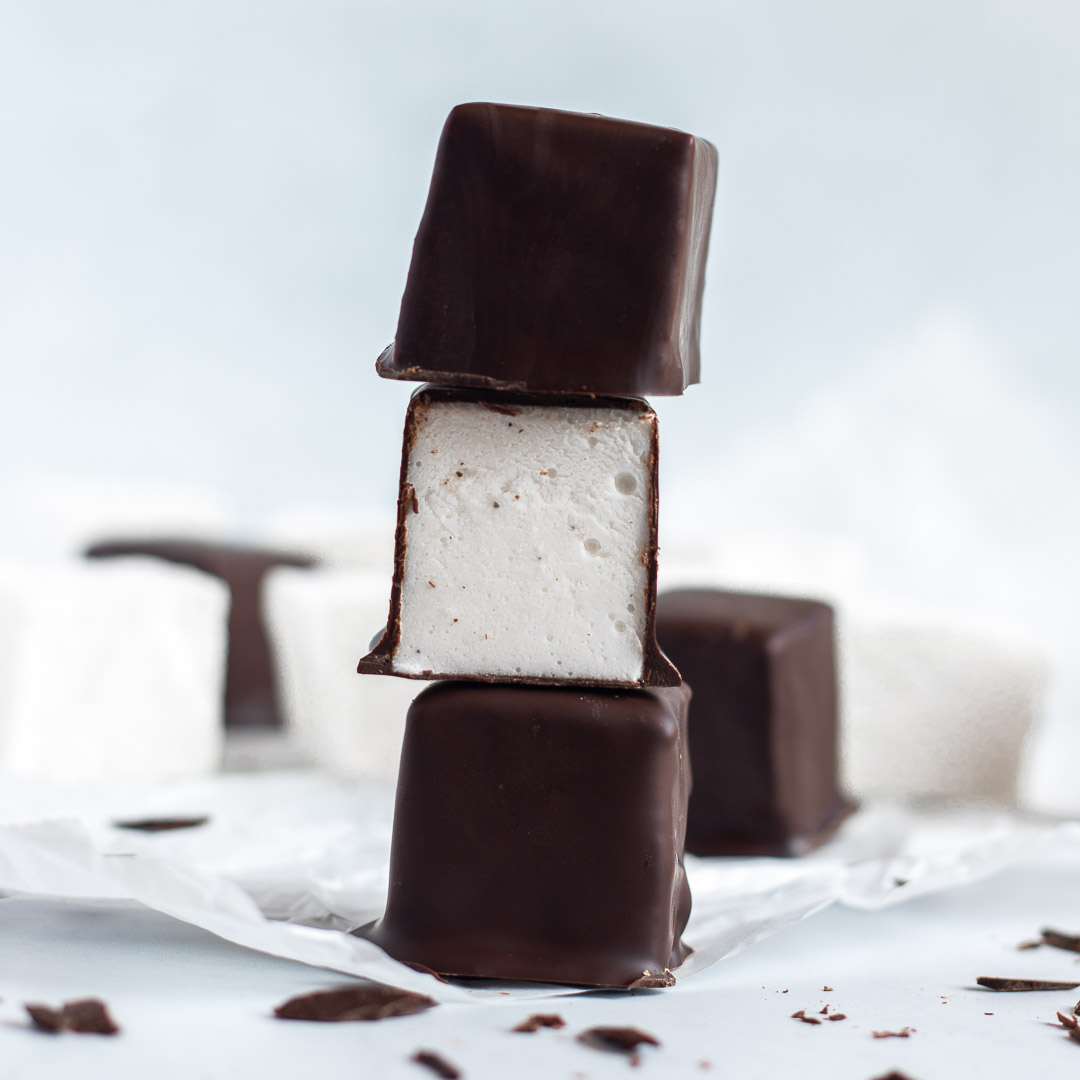
Fluffy homemade marshmallows meet a crisp chocolate shell in this elevated twist on a classic. A thoughtful, handcrafted gift or fuel for your late-night snack addiction? Either way, these chocolate-covered marshmallows prove that some things truly are better from scratch.
Jump to…
On our last trip to the US, my now-husband and I noticed our luggage was suspiciously heavier on the return leg. No, we didn’t go ham on the souvenirs. Rather, we got swept up in the irresistible charm of Trader Joe’s — specifically, these dark chocolate-covered marshmallows. Back in Australia, our reserves quickly dried up, and I was left with a marshmallow-shaped hole in my heart. I realised this wasn’t a sustainable way to get my fix.
So, I set out to find the Aussie equivalent, and what I discovered left me deeply unsatisfied. Chocolate that was too thick, marshmallows that were too dense and rubbery…not to mention, the hefty price tags! Alas, this recipe was born out of pure necessity.
Why Homemade Marshmallows are Worth the Effort
I’ll admit, I was incredibly intimidated by the notion of making marshmallows from scratch. Turns out it’s not as elaborate as it seems. Sticky? YES, but marshmallows are surprisingly forgiving, and your hand mixer will be doing most of the work for you. Regardless, trust me when I say they’re absolutely worth it.
I’m not here to bash store bought marshmallows. There’s a time and a place for them. But, homemade marshmallows are on another level. They’re fresh, pillowy, full of vanilla flavour, and quite literally melt in your mouth. Despite the amount of sugar in these bad boys, they’re not sickly sweet. Plus, my recipe only uses 9 simple ingredients (not counting the water), most of which are probably in your pantry right now.

Ingredients You’ll Need and Why
- Cornflour (AKA cornstarch) is mixed with icing sugar to make a “dusting powder” which will keep the marshmallows from sticking.
- Icing sugar (AKA confectioners’ sugar or powdered sugar) adds a subtle sweetness to the dusting powder.
- Cold water rehydrates or “blooms” the gelatine. Anything less than cold and you risk dissolving the gelatine instead.
- Gelatine powder gives the marshmallows their signature light and spongy texture.
- Granulated sugar — any white granulated sugar will work. And yes, you need A LOT of it. If you’re watching your sugar intake, maybe skip this recipe!
- Water is needed to dissolve the sugar for the sugar syrup. You can use any temperature of water for this step.
- Glucose syrup is a liquid invert sugar, which helps prevent the sugar syrup from crystallising (crystals = unpleasant, grainy texture). Substitute corn syrup or golden syrup. For a healthier alternative, you can even use honey or maple syrup. Just beware, these will impart their own distinctive colours and flavours to the marshmallows.
- Salt enhances the flavour and helps to balance out all of the sweetness.
- Vanilla bean paste has a more intense flavour than vanilla extract which really shines through here. I also like the contrast of the vanilla bean specks against the white marshmallow. By all means, use vanilla extract if that’s all you have on hand.
- Vegetable oil (or any other neutral flavoured oil) is used to grease your baking dish and utensils. Have I mentioned things are about to get sticky?
- High quality dark chocolate, ideally around 70% cocoa, works best as its bitterness complements the marshmallows’ sweetness. That said, feel free to experiment with different cocoa percentages. Just avoid chocolate chips, as they contain additives and won’t temper properly.
*For precise measurements, please refer to the recipe card below
How to Make Homemade Chocolate-Covered Marshmallows
Prepare the dusting powder
1. Start by mixing together your cornstarch and icing sugar. Set aside. This is going to be your dusting powder, and you’ll be reaching for it a lot!
Make the marshmallows
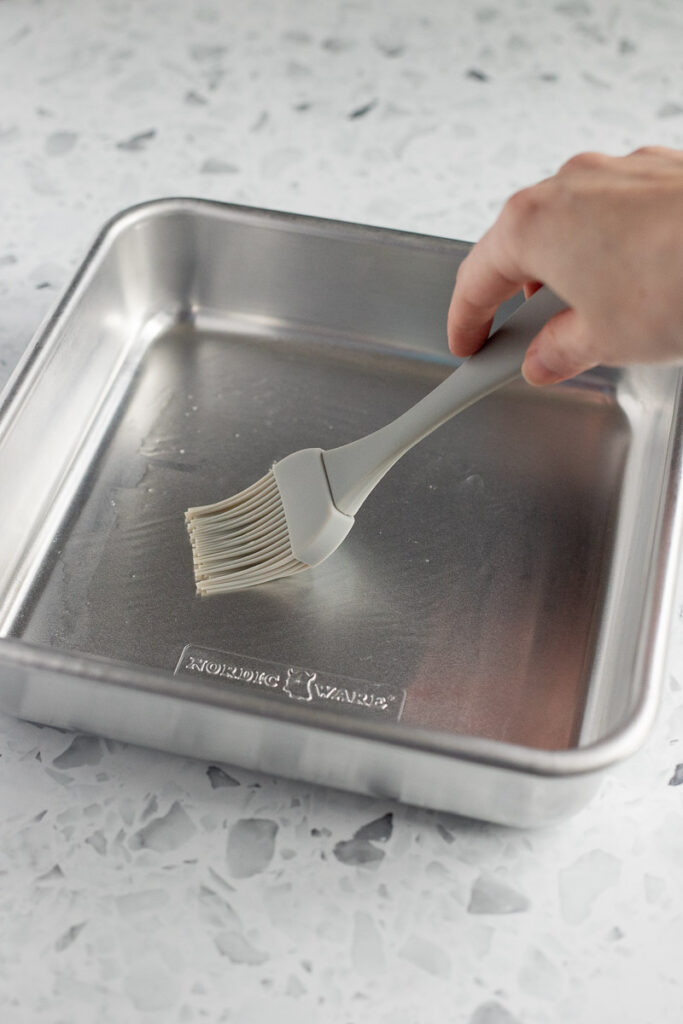
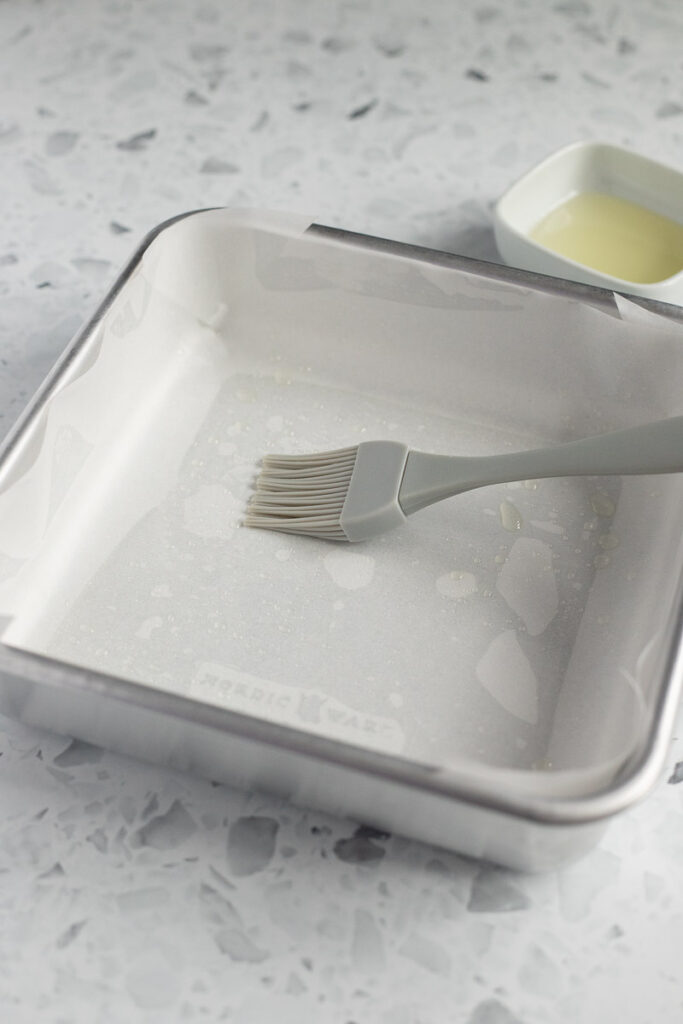
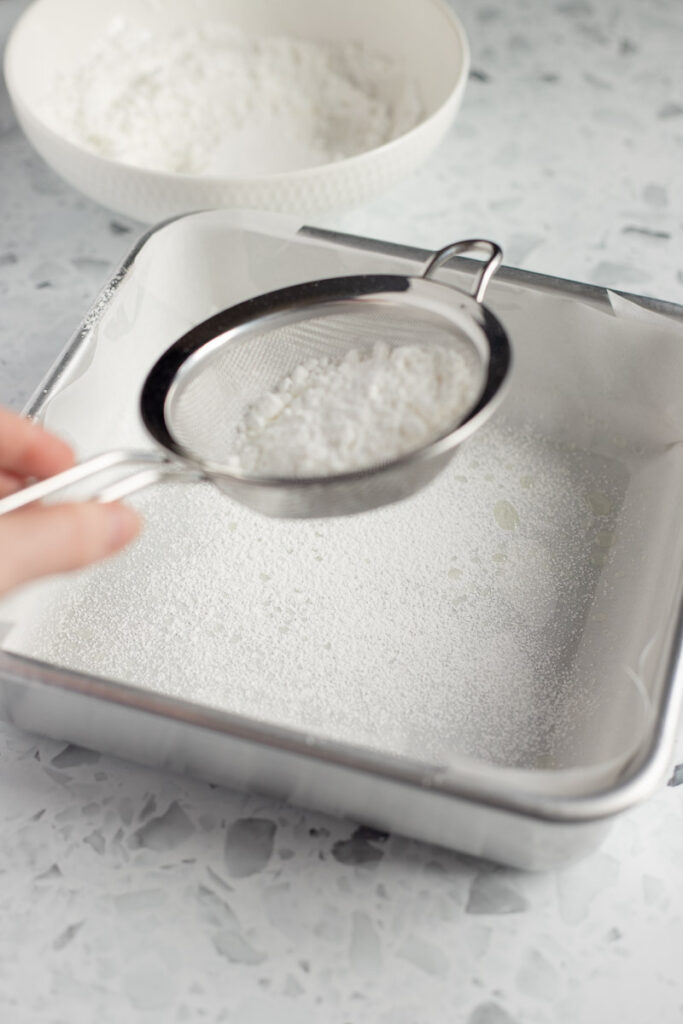
1. Prepare the tin – Grease a 20 x 20 cm (8 x 8 in) baking dish. I use a metal tin, but ceramic or glass will also work. Cut a piece of parchment paper to size and line the bottom and sides. Brush the paper with more oil (yes, more!). Then, sift well with the dusting mixture.
2. Bloom the gelatin – Pour the cold water into a large mixing bowl and sprinkle the gelatine powder over the top. Give this a quick stir to ensure all the gelatine has been moistened and there are no visible dry clumps. Set aside while you prepare the sugar syrup.


3. Start the sugar syrup – Moving to the stovetop, combine the granulated sugar, glucose syrup and water in a small saucepan. Mix to moisten the sugar.
4. Bring to a boil – Set over medium heat and bring to a gentle boil. Whatever you do, please DO NOT STIR the sugar syrup as it cooks! If you notice any hot spots, you can gently swirl your saucepan to evenly distribute the heat. Watch for any undissolved sugar crystals clinging to the sides of the saucepan as these can cause unwanted crystallisation. Take a wet pastry brush and periodically wipe down the sides to wash these away.
5. Simmer and bring to temperature – Once boiling, reduce the heat and let it simmer gently. Clip a candy thermometer to the side of your saucepan. To get an accurate reading, the tip should be fully submerged but not touching the bottom of the saucepan. The syrup is ready once the temperature hits 116°C (240°F). Remove your saucepan from the heat and set aside for about a minute while the bubbles subside.
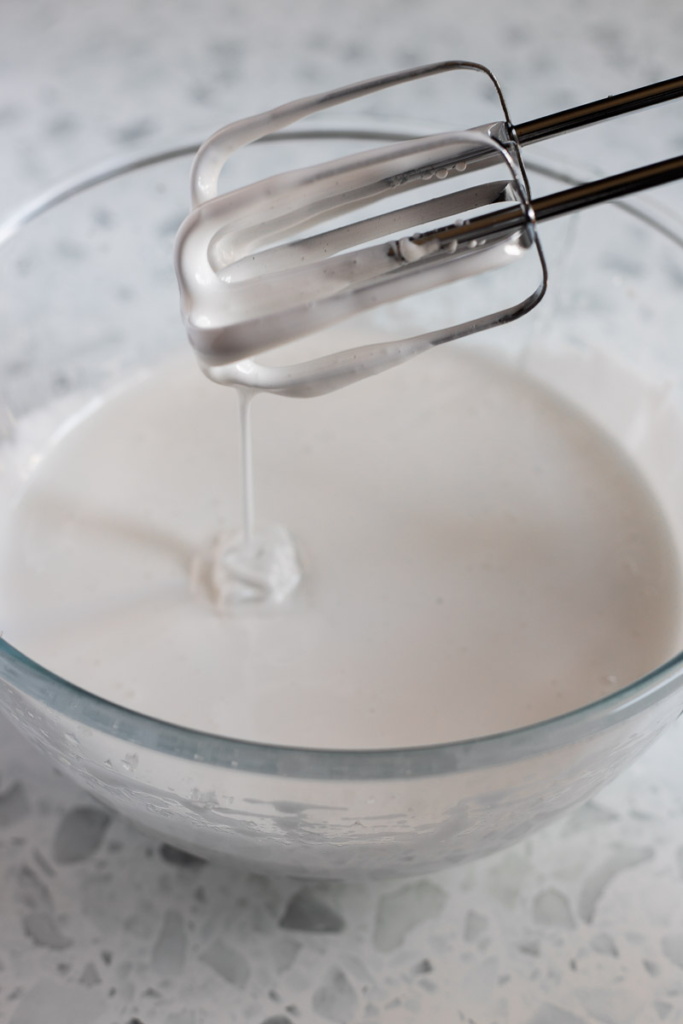
6. Combine bloomed gelatine with the sugar syrup – Break up the bloomed gelatine using a handheld mixer (or stand mixer with the whisk attachment) set to medium speed. While continuing to whisk, slowly and carefully pour the hot sugar syrup down the side of the bowl. If you pour this directly over the top, you risk scorching the gelatine and your marshmallows won’t set properly. Continue whisking for 4-5 minutes or until the mixture has doubled in size. Increase the speed to high and whisk for another 4-5 minutes until the mixture is about 3 times its original size. It should be thick, white and marshmallowy (is that a word?).
7. Add flavourings – Add the salt and vanilla and whisk until just combined. Optional: if using food colouring, or any other flavourings, you can also add these now.
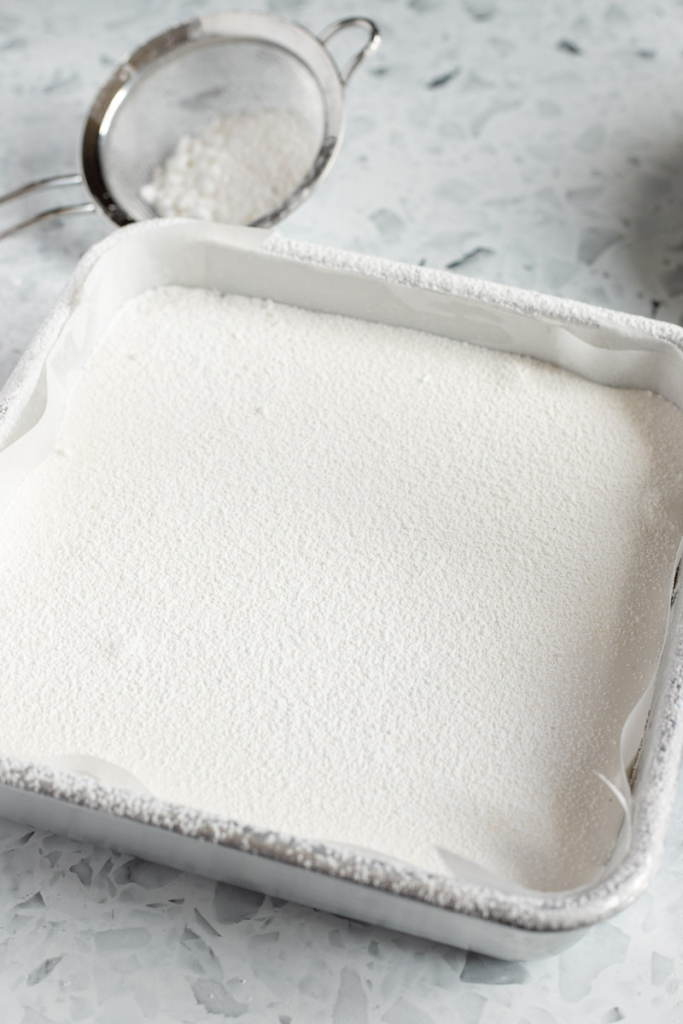
8. Pour, spread and set – Use a lightly greased rubber spatula to scrape the marshmallow into your prepared baking tin. The marshmallow will begin to set as it cools, so move quickly! Use the spatula to smooth out the top the best you can. Generously sift the top with dusting powder. Cover and let set at room temperature for a minimum of 6 hours. Overnight is best, if you can wait that long.


9. Cut the marshmallows – Prepare a large cutting board with the dusting powder and grease a knife or bench scraper. I find a knife to be the most effective for getting a clean cut, but either will work. Use the parchment paper to lift the marshmallows from the baking tin and carefully peel away the parchment paper. Cut the marshmallows into your desired size and shape — mine are roughly 3 x 3 cm. Toss the marshmallows with more dusting powder, making sure to coat each side. We’re going to remove the excess later, so don’t be shy with the powder.


Temper the chocolate
1. Melt the chocolate – In my experience, the easiest way to temper chocolate is in the microwave. Chop or break the chocolate into small, even pieces. Place 2/3 of the chocolate into a microwave-safe bowl or measuring jug — try to use something small and with a good amount of depth to make for easier dipping. Microwave in 30-second bursts, stirring after each, until the temperature registers about 45°C (113°F) on a candy thermometer.
2. Add the “seed” chocolate – Add the remaining 1/3 of the chocolate a few pieces at a time, stirring after each addition until fully melted and smooth.
3. Cool to temperature – Continue stirring and monitoring the temperature with your candy thermometer. Once the chocolate has cooled to the 30°C to 32°C (86°F to 90°F) range, it’s ready to use!


Dip the marshmallows
1. Remove excess powder – Working with one marshmallow at a time, use a dry pastry brush to remove extra dusting powder. If some of this gets into your tempered chocolate (and it will), it’s not a big deal.
2. Coat in chocolate – Dip the marshmallow into the tempered chocolate with a fork, making sure it’s well coated on each side. Lift it out and scrape the bottom of the fork against the bowl to remove excess chocolate. Place it on a parchment-lined baking sheet to set.
3. Let them set – Tempered chocolate sets at room temperature in about 3-5 minutes, but I recommend placing them in the fridge for a bit before serving.
Customise Your Marshmallows
- Drizzle the coated marshmallows with melted white chocolate for an elegant finish.
- Add a few drops of red food colouring to make pink marshmallows.
- For peppermint crunch marshmallows, add 1 tsp (or more) of peppermint extract to the whipped marshmallow. Then, sprinkle the dipped marshmallows with crushed candy cane before the chocolate sets.
- Make thinner marshmallows in a 23 × 33 cm (9 × 13 in) baking dish, then use a greased cookie cutter to punch out shapes once set.
- Dress them up with colourful, themed sprinkles of your choice — great for birthdays, baby showers, the holidays, and more…the world is your oyster!
FAQ

Homemade Chocolate-Covered Marshmallows
* Please note: all cup measurements are approximate and based on Australian standard cups (250ml). For best results, weigh your ingredients with a kitchen scale.
Equipment
- 20 x 20 cm baking dish
- pastry brush
- small saucepan
- candy thermometer
- hand mixer, or stand mixer with the whisk attachment
Ingredients
For the marshmallows
- 125 ml (½ cup) cold water
- 7 tsp gelatine powder
- 440 g (2 cups) granulated sugar
- 175 g (½ cup) glucose syrup, see notes for subs
- 125 ml (½ cup) water
- ¼ tsp salt
- 2 tsp vanilla bean paste, or vanilla extract
- vegetable oil for greasing
For the dusting powder
- 60 g (⅜ cup) icing sugar
- 40 g (¼ cup) cornflour
For the tempered chocolate
- 540 g (19 oz) good quality dark chocolate, see notes
Instructions
Prepare the dusting powder
- In a small bowl, whisk together the icing sugar and cornflour. Set aside.
Make the marshmallows
- Lightly grease a 20 x 20 cm (8 x 8 in) square baking dish. Line all sides with parchment paper. Grease the paper with more oil and generously sift with the dusting powder.
- In a large mixing bowl, add 125 ml (½ cup) of cold water and sprinkle over the gelatine powder. Mix until combined, and set aside to bloom — at least 10 minutes.
- To make the sugar syrup, combine the granulated sugar, glucose syrup and water in a small saucepan. Stir together until sugar is moistened.
- Set the saucepan over medium heat, and bring the mixture to a gentle boil. From this point onwards, DO NOT STIR. If necessary, gently swirl the pan to ensure even heat distribution. Check for sugar crystals clinging to the sides of the pan. You can swipe these away with a wet pastry brush.
- Reduce heat to a low simmer, and clip a candy thermometer to the side of the saucepan. Ensure the tip is submerged in the sugar syrup but not touching the bottom of the saucepan. Continue simmering until your thermometer reads 116℃ or 240℉ (softball stage). Immediately remove saucepan from the heat, and set aside until bubbles have subsided — about 1 minute.
- Coming back to your mixing bowl, use an electric mixer on medium speed to break up the bloomed gelatine (it will be chunky and rubbery in texture). While continuing to whisk, slowly pour the sugar syrup down the inner edge of the bowl. Whisk on medium speed for 4-5 minutes, or until the mixture has doubled in size. Turn mixers to high and continue to whisk for another 4-5 minutes, or until mixture is about 3 times its original volume. It should be white and fluffy and leave thick ribbons when the whisks are lifted.
- Add salt, vanilla and any other desired colours/flavourings. Whisk until just combined and no streaks remain.
- Working quickly, use a greased rubber spatula to scrape the marshmallow into your prepared baking dish (don't worry about getting every last bit). Use the spatula to even out the surface of the marshmallow the best you can. Generously sift with the dusting powder. Cover, and leave at room temperature to set for a minimum of 6 hours or overnight.
- Sift a large cutting board with the dusting powder. Lift the marshmallow from the dish and gently peel away the baking paper. Using a greased knife or bench scraper, cut the marshmallow into cubes of your desired size. I like to make mine roughly 3 x 3 cm.
Temper the chocolate
- Place ⅔ of the chocolate into a microwave-safe bowl. Microwave in 30-second intervals, stirring in between, until fully melted and the temperature on a candy thermometer reads 45℃ (113℉).
- Stir in the remaining ⅓ chocolate a few pieces at a time. Ensure each addition is fully melted before adding more.
- Continue stirring until the chocolate cools to a temperature between 30℃ and 32℃ (86℉ and 90℉). The tempered chocolate should have a smooth, glossy appearance.
Dip the marshmallows
- Before dipping the marshmallows, remove excess dusting powder with a dry pastry brush.
- Use a fork to lower each marshmallow into the tempered chocolate, ensuring an even coating. Lift the fork and scrape the bottom against the side of the bowl to remove excess chocolate. Place the coated marshmallow onto a lined baking tray.
- If the chocolate has been tempered properly, it should set at room temperature within 3-5 minutes. You can place the marshmallows in the refrigerator to help them set.