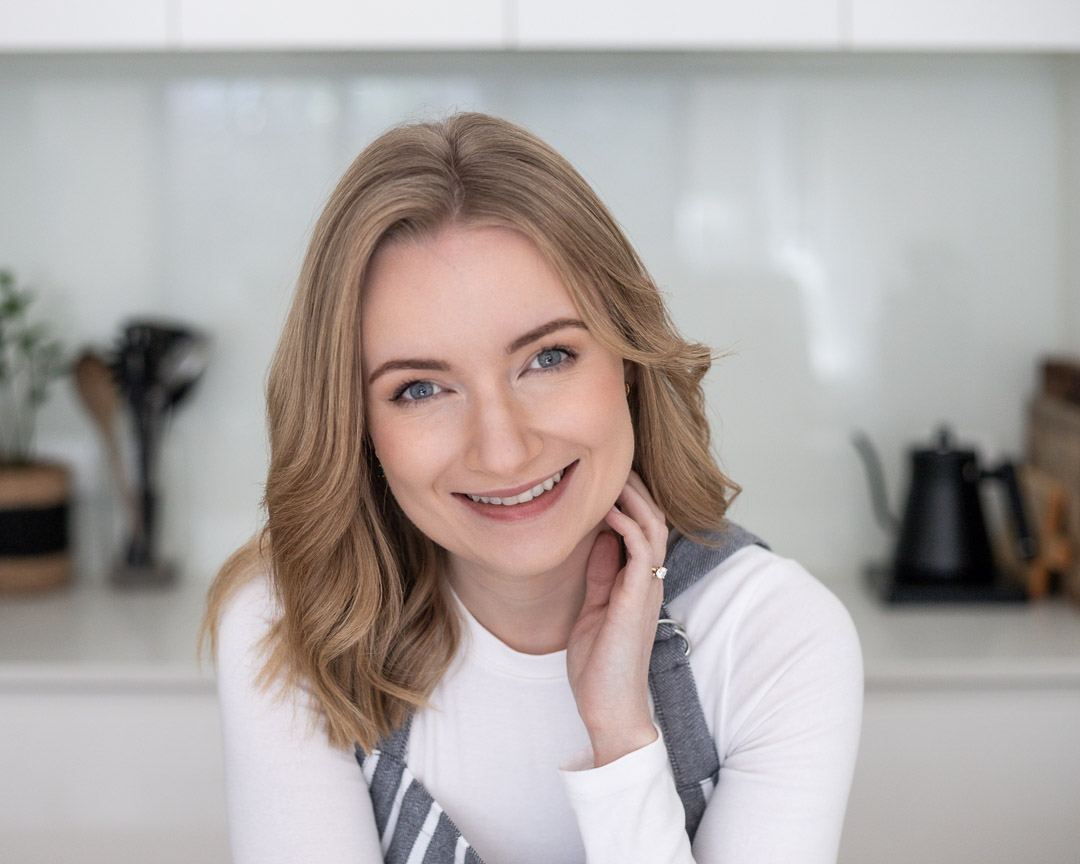
Oh hi there!
I’m Emily, the Melbourne-based, self-taught baker, recipe developer, and food photographer behind Pumpkin & Pavlova. This blog is my outlet for sharing all the things I love to bake (and conveniently love to eat). My recipes are made from scratch, often a little indulgent, and as the name suggests, shaped by the two places I’ve called home: the US and Australia. Some are effortless crowd-pleasers; others are weekend-worthy projects that demand a bit of patience. Always delicious, always dependable, and never fussy just for the sake of it. With the occasional corgi cameo sprinkled in for good measure…
Learn More
A taste of what you’ll find here
Get to know me better
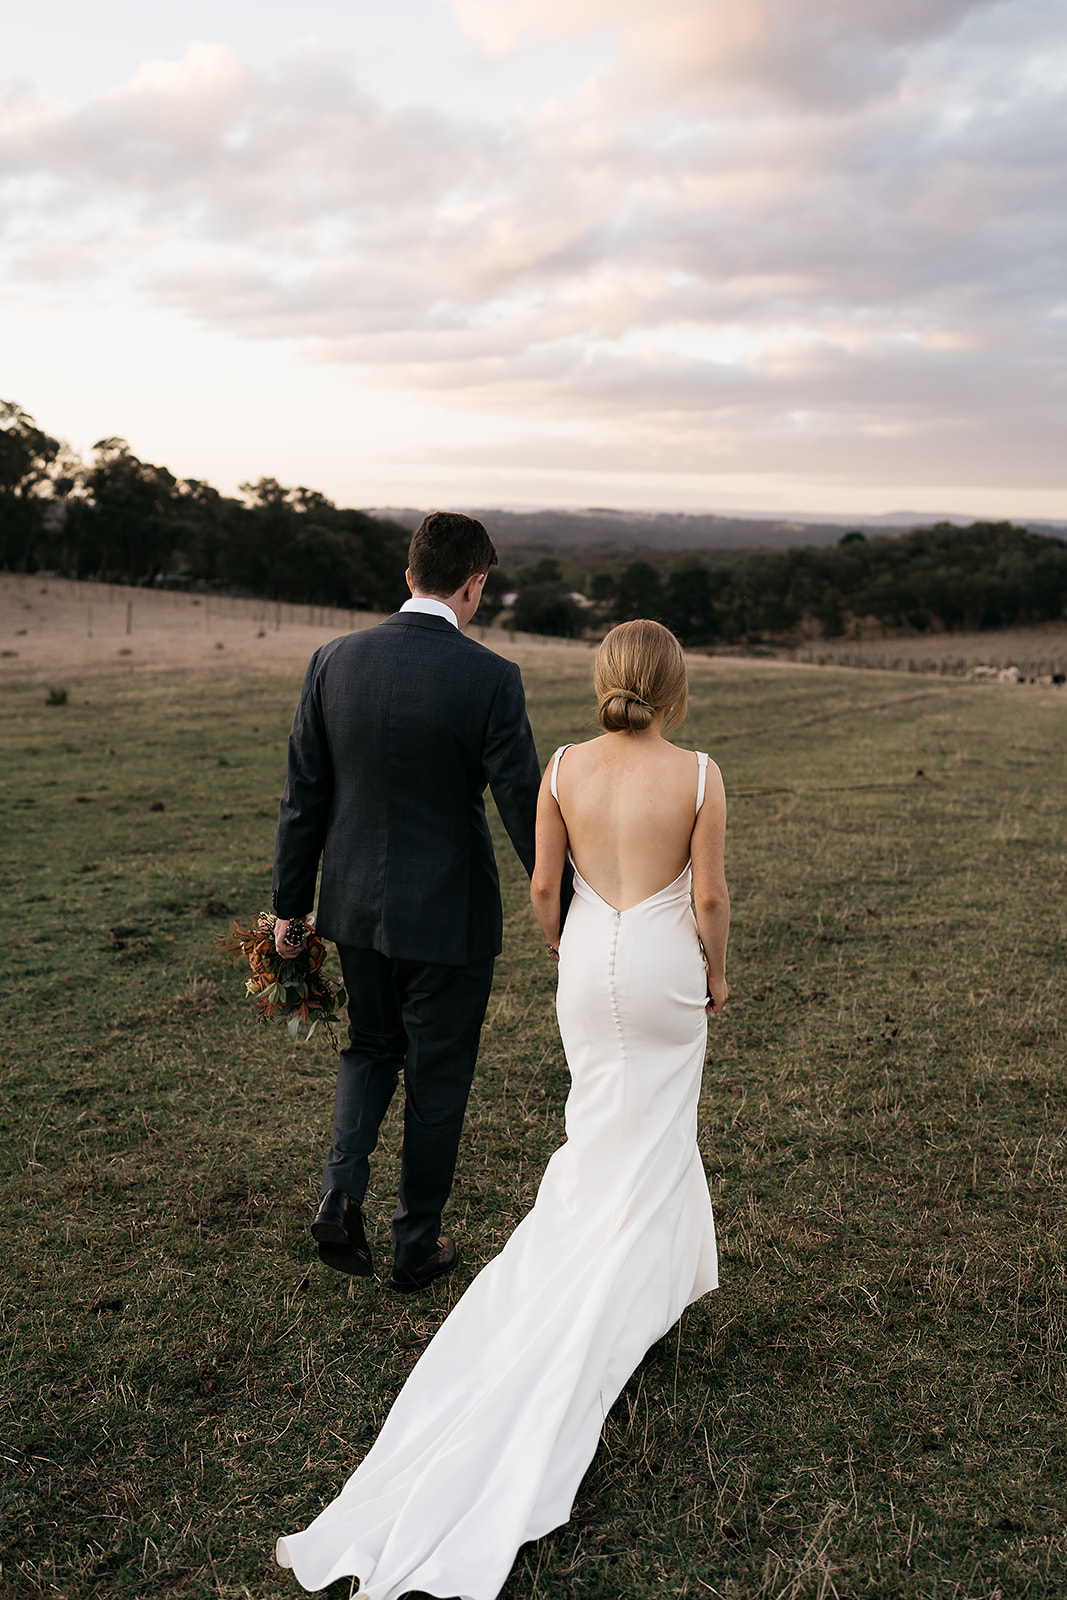
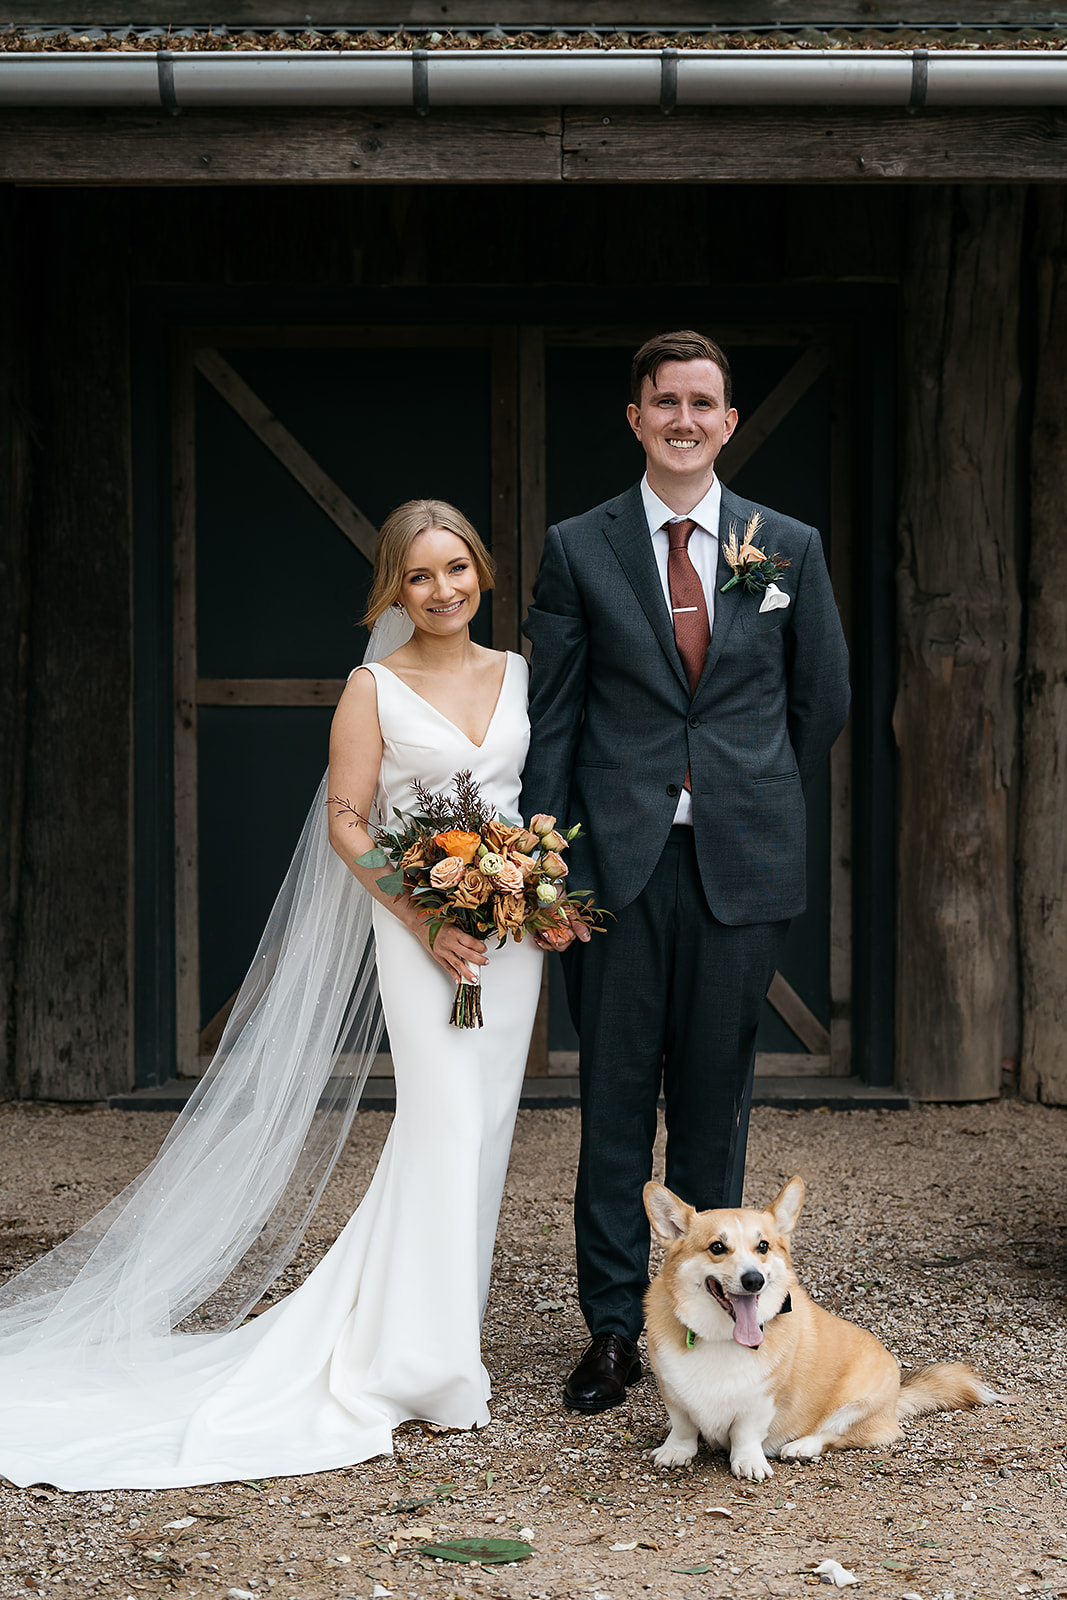
Born in Australia and raised in the States, I’ve since found my way back to Melbourne, where I was reunited with my first love, Vegemite… and also met my husband, James! Together, we have a corgi named Murphy, who considers himself the real star of this operation (and honestly, he might be right—he’s very photogenic).
Before I immersed myself in baking and recipe development, I worked behind the scenes in TV, from scripted dramas to live news. The days were long and the stress levels were high. Soon enough, I realised I’d rather be running around frantically in my own kitchen than in a production office.
Lucky for you, I don’t have some long-winded story about the origins of my passion for baking — I’ve simply always loved good food. Growing up, If mum was baking a cake, sure enough, I was lurking in the shadows waiting to lick the beaters. If I wasn’t eating, I was thinking about what I could sink my teeth into next. Come to think of it, not much has changed!
Initially, baking for me was a means to an end, but over time, I’ve learned to enjoy the process itself. Getting my hands dirty, experimenting with new flavours, figuring out what works and what doesn’t. There’s nothing quite like making something beautiful and delicious with your own two hands.
Some of my favourite things are: buttermilk biscuits, baked cheesecake (none of this no-bake nonsense), sticky date pudding, and anything involving custard and/or cinnamon.
Measurements
Explained
Grams vs. cups (and why grams win)
There’s a reason most professional bakers use a kitchen scale: baking is chemistry, and weighing ingredients ensures precision. Cups are convenient, for sure, but they’re inconsistent. A cup of flour can weigh anywhere from 120 g to 150 g depending on how it’s scooped.
Long story short, I provide both grams and cups to make my recipes accessible, but if you want the best chance of success, use a kitchen scale.
Bonus: weighing ingredients = less washing up
Let’s talk about cup sizes…the baking kind, that is.
Cup sizes aren’t standardised around the world (why would they be? 🙃). I use Australian/metric cups, which hold 250 ml. US cups are slightly smaller at 240 ml. It might not sound like much, but in baking even small differences can change the outcome.
Or, to skip the guesswork entirely, you can just use a kitchen scale.
Also worth noting: Australia is the only country that uses a 20 ml tablespoon. Elsewhere, a tablespoon is 15 ml. To eliminate confusion, where precision matters I’ll always provide measurements in teaspoons, since teaspoons are the same size everywhere (5 ml).
Want to Connect?
OMG! That looks amazing. I love cheesecake!!! Where I live, it’s challenging to get good ingredients, so this will have…
These look amazing!!! Thanks for sharing the tangzhong method. I’ve never heard of it before and look forward to giving…
Glad you learnt something! It’s one of the many nuances of recipe writing. Thanks for your comment.
I never even thought about the difference in the wording about sifting before or after measuring. Thank you! That’s so…
This made for a wonderful Christmas dessert! I made it two days ahead of time and doubled the recipe. Now…
Leave a Reply