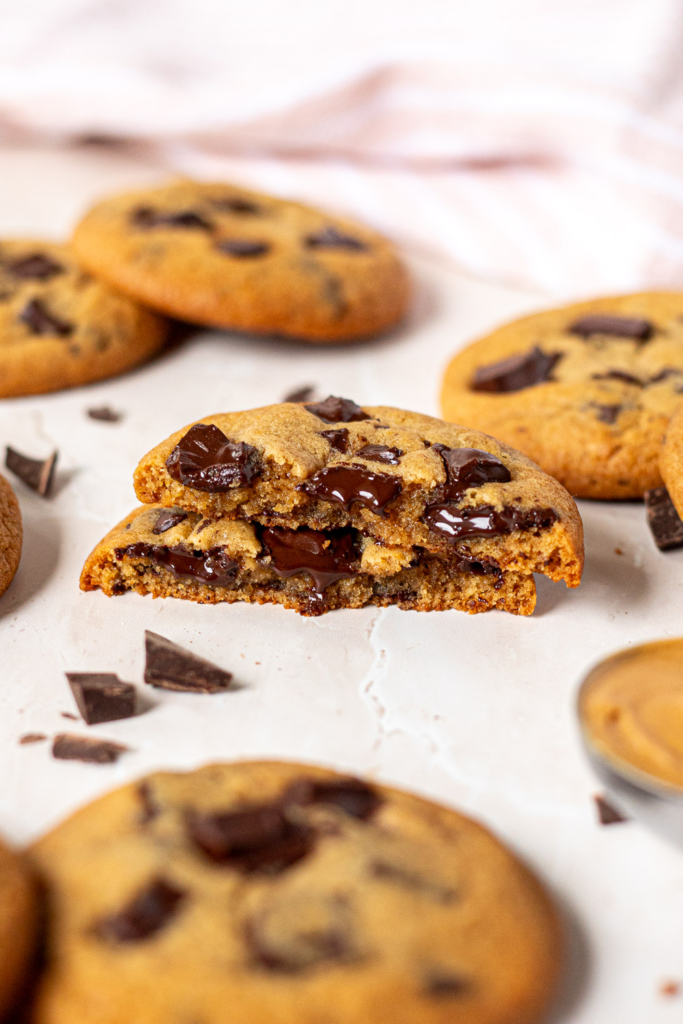
Soft, chewy, salty, and sweet — this is a classic done right. These peanut butter chocolate chunk cookies have caramelised edges, fudgy centres, and pockets of gooey, bittersweet chocolate. Peanut butter lovers, consider this your new go-to recipe.

Jump to…
When it comes to cookies, it’s hard to beat the classics. None of those Instagram-style, candy-loaded monstrosities do it for me.
A classic chocolate chip cookie is always going to be my number one, but these peanut butter chocolate chunk cookies are a very close second.
These are everything you could want in a peanut butter cookie: crispy, slightly caramelised edges, soft and fudgy centres (that stay soft even after they’ve cooled!), and just the right amount of peanut butter flavour. The chocolate chunks just felt right here, adding these glossy, molten pockets that you can’t quite achieve with chocolate chips.
Do I Really Have to Chill the Dough?
Here’s the catch — this dough really does need time to chill. The dough is sticky (thanks to the peanut butter) so it needs at least 1 hour in the fridge to solidify the fats before you can scoop and roll it.
But if you can swing it, a 12-24 hour chill transforms these cookies. It gives the flavours time to mingle and develop (a bit like how leftovers always taste better the next day), and let’s the flour hydrate, producing cookies that are thicker, chewier, and less prone to spreading.
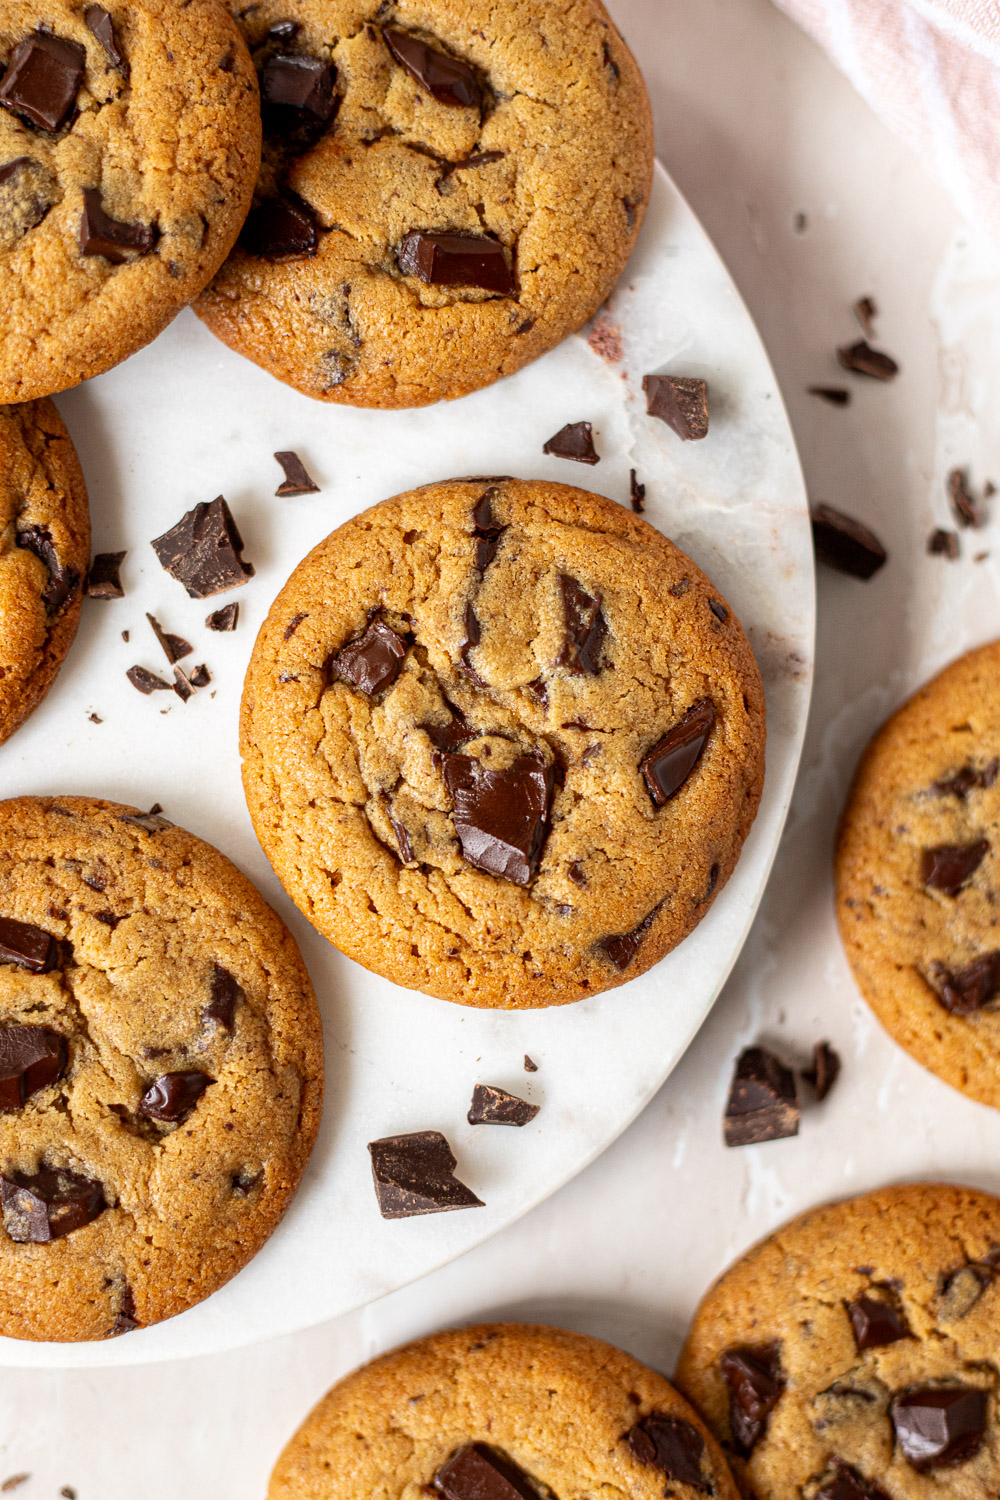
The cookies in the photos had a full 24-hour chill!
Note: Chilling for more than 24 hours won’t improve the texture and flavour of these cookies any further. That said, this dough will keep for up to 3 days in the fridge, so you can make it ahead of time and bake whenever you want a fresh batch 😋🍪
The Best Peanut Butter for Cookies
Look, I’m all about 100% natural peanut butter — the kind made from peanuts and nothing else — but it just doesn’t work in cookies (and most baking in general). The separating oils in all-natural peanut butter can make cookies crumbly, greasy, and more prone to spreading.
Instead, go for a creamy, smooth, no-stir variety, like Skippy or Bega. These blend in and emulsify much better with the other ingredients. Skippy Natural actually works well (this is what I use). Contrary to the name, it’s still a processed peanut butter, but it doesn’t contain the hydrogenated oils found in regular old Skippy.

Ingredient Notes
- Flour: plain (all-purpose) flour is all you need. If measuring with cups, spoon the flour into the cup then level off the top. Too much flour can make your cookies dry or cake-y.
- Baking soda: baking soda helps the cookies spread and brown without rising too much.
- Salt: enhances the peanut butter flavour. Reduce if using salted butter!
- Brown + white sugar: each sugar plays a different role — brown sugar adds moisture and chewiness, while white sugar helps the cookies spread and crisp around the edges.
- Butter: melted butter results in cookies that are denser and fudgier than those made with cold or softened butter. Microwave the butter until just melted, then let it cool most of the way before using.
- Honey: in my opinion, this is the secret ingredient to a good cookie! As a natural humectant, honey helps to keep cookies moist for longer. It also encourages browning and adds warm, caramel notes. Golden syrup is the closest swap, though the flavour won’t be quite the same.
- Egg + egg yolk: the fat from an extra egg yolk adds richness and moisture, contributing to a soft and chewy texture. As always, use room temperature eggs.
- Vanilla extract: use pure vanilla extract or sub with vanilla bean paste. Imitation vanilla just isn’t the same.
- Peanut butter: see above for my peanut butter recommendations!
- Chocolate: chocolate chunks create those irregular pools of gooey, melty chocolate that give these cookies a bakery-style look. Use chocolate chips if you prefer! Either way, I suggest a good-quality dark/semi-sweet baking chocolate like Nestle Plaistowe or Cadbury (I just buy whatever is on sale).
*For precise measurements, please refer to the recipe card below
How to Make Peanut Butter Chocolate Chunk Cookies
1. Combine the dry ingredients – Whisk together the flour, baking soda, and salt. Set aside.
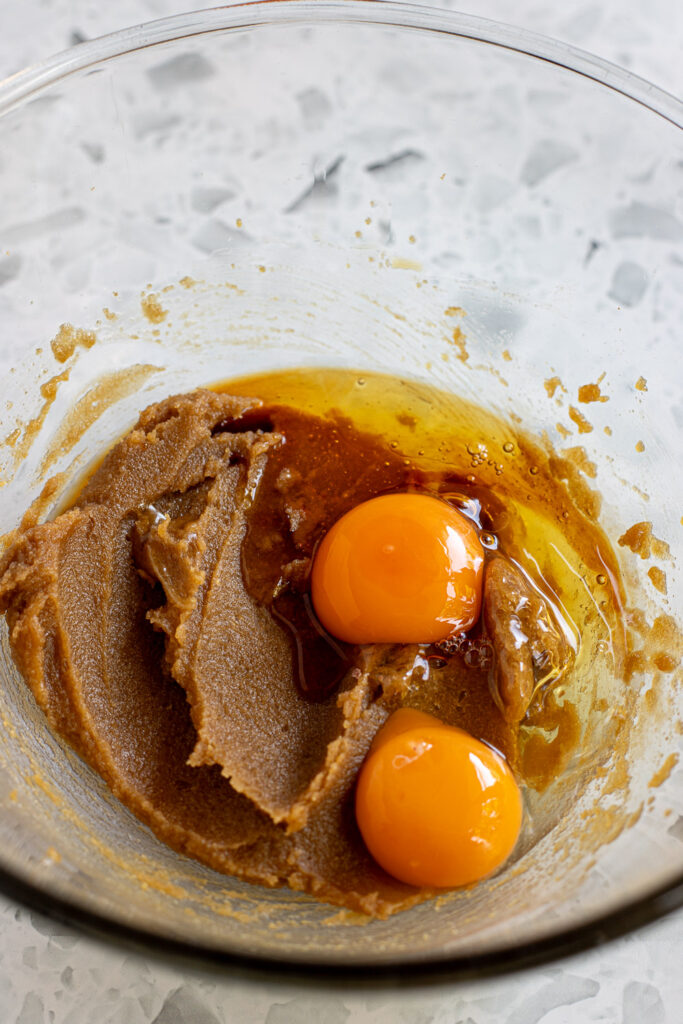
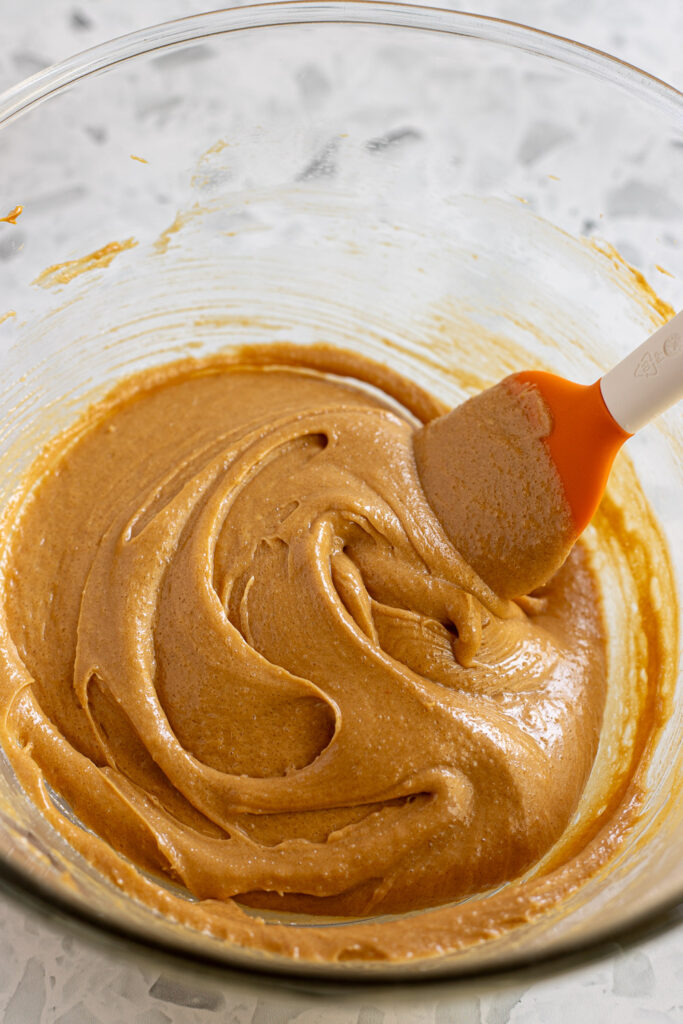
2. Mix wet ingredients – Add the cooled, melted butter and both sugars to a large bowl. Using an electric mixer, beat until well combined (1-2 minutes). The mixture will be thick and grainy. Add the egg, egg yolk, honey, and vanilla, and beat until just incorporated. Finally, add the peanut butter and beat lightly until smooth and creamy.
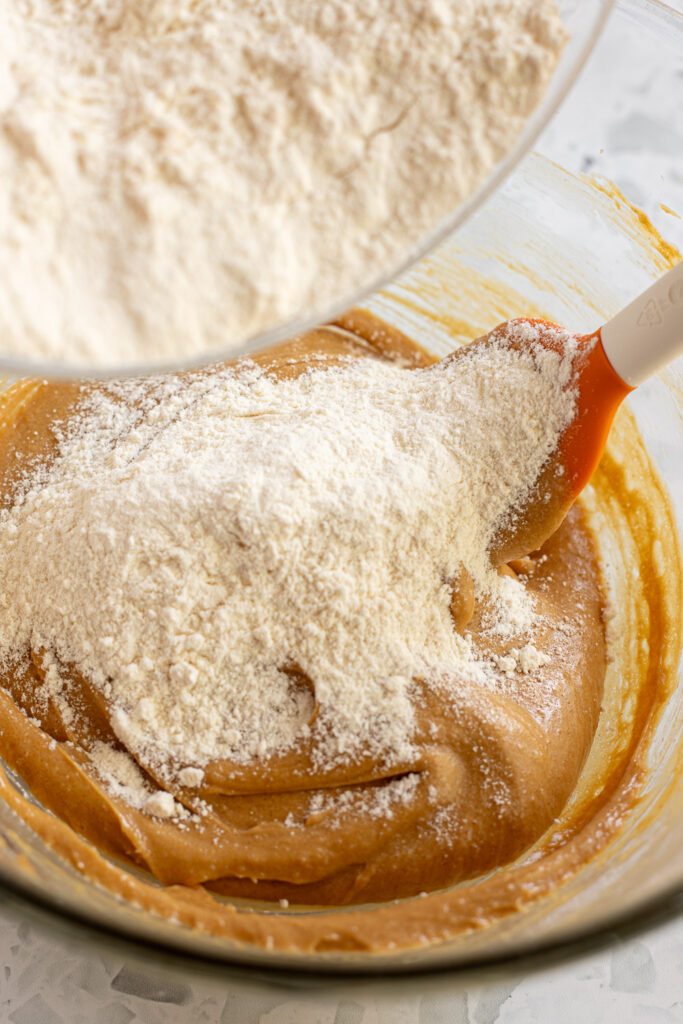

3. Add the dry to the wet – Gradually add the dry ingredients to the bowl, mixing until just combined. The dough will be quite sticky because of the peanut butter, but it will firm up as it chills. Avoid over-mixing or adding more flour.
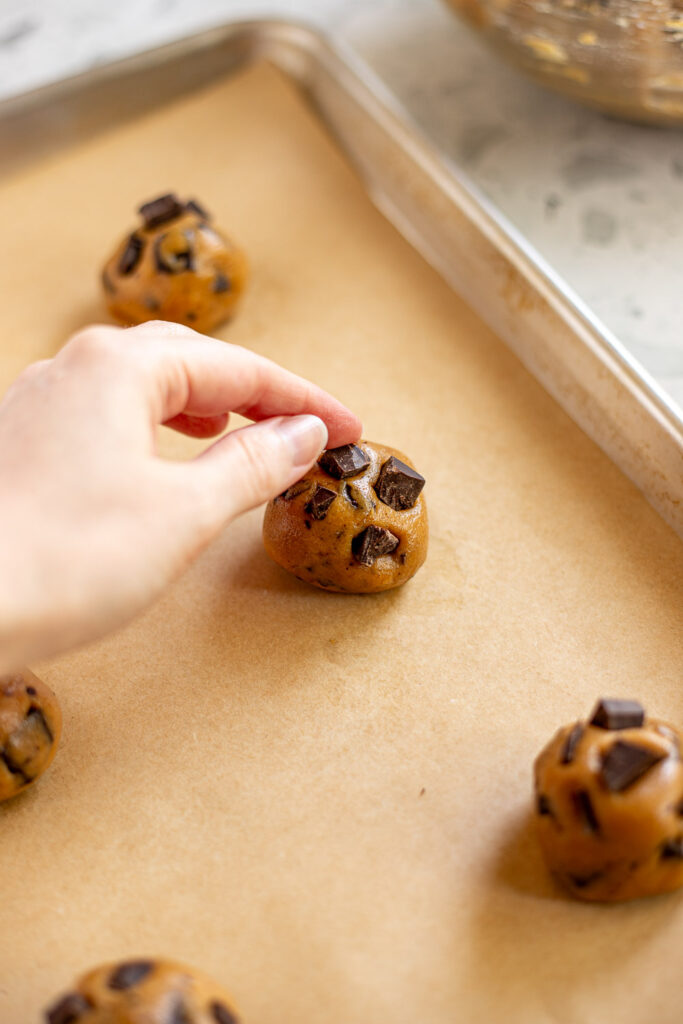
4. Fold in the chocolate – Set aside 1/3 of the chocolate for later. Add the remaining 2/3 to the dough and gently fold until evenly distributed.

5. Chill the dough – Cover the bowl with cling film and refrigerate for a minimum of 1 hour and up to 3 days. I recommend waiting 12-24 hours if you can!
6. Prep for baking – Preheat your oven to 180°C (160°C fan/350°F) and line a couple of baking sheets with parchment paper. You can make do with one baking sheet if that’s all you have, but you’ll have to do several batches.
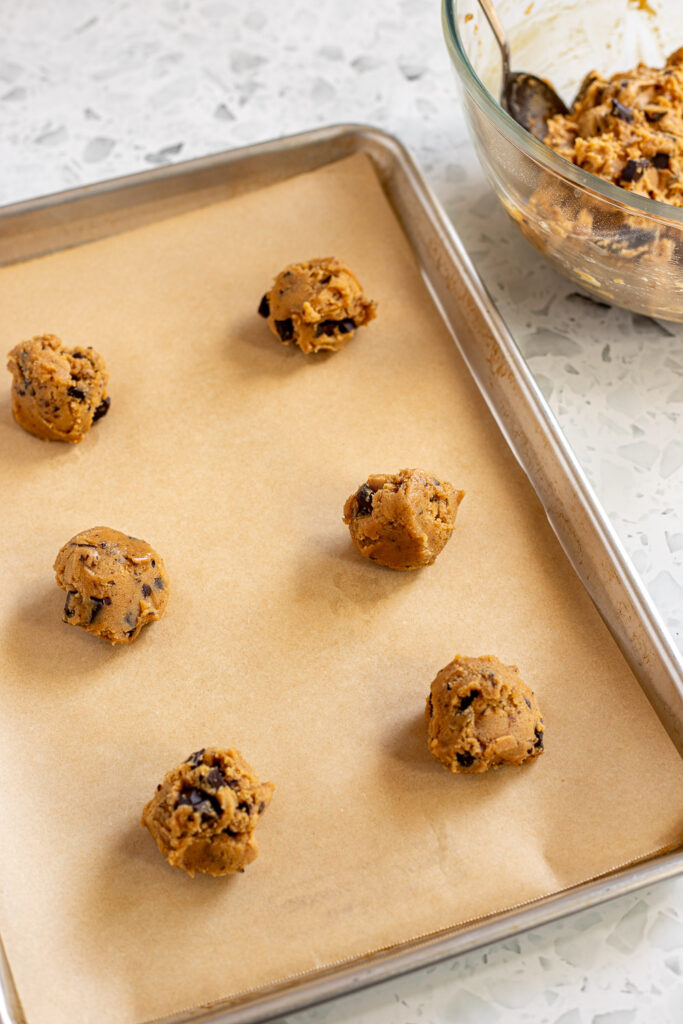
7. Scoop & roll – If your dough is quite firm, allow it to sit on the countertop for 10 minutes, or until it softens just enough you can scoop it. Use a tablespoon, cookie scoop, or ice cream scoop, to portion out about 2-3 tablespoons of cookie dough at a time. Roll the dough portions lightly between your palms to form a ball shape — less rolling will give you a more rustic, bakery-style look. Arrange the dough balls on the baking sheets, leaving space between them to allow for spreading.
8. Bake – Bake the cookies for 10-11 minutes, or until the edges are lightly golden. For soft cookies, the centres should look a little underdone. Remove from the oven and give the tray a couple of taps on the countertop to help the cookies settle and deflate. Let them cool on the tray for about 10 minutes before transferring to a wire rack.

Tips & Tricks
- Slightly underbake. The centres should look a little underdone when they first come out of the oven. As they rest on the tray, the residual heat will finish cooking them, leaving you with perfectly soft centres. If you’re an outlier who prefers a crunchy cookie, bake them for an extra minute or two.
- Give them time to set. I know the temptation to dig into a warm cookie is strong, but don’t try to move them too soon or they’ll fall apart! That 10-minute rest on the tray is crucial for helping them firm up.
- Cool your trays between batches. Placing cookie dough on a hot or warm tray causes the butter to melt before the cookies even reach the oven. Always start with a completely cool tray to prevent excess spreading and greasy bottoms!
- Keep the dough cold. If you’ve ever wondered why each batch of cookies looks slightly different from the next, it’s probably due to temperature. As the dough sits on the countertop, the butter warms up causing — you guessed it — excess spreading and greasy bottoms! Keep the dough covered and chilling in the fridge until you’re ready for the next batch.
Why aren’t my cookies round like yours?
Despite what you might think, food bloggers don’t have special powers that make our cookies come out perfectly round. Here’s what I do when mine get a little lopsided: right after removing from the oven and tapping the tray, I place something round (a cookie cutter, drinking glass, or similar) around each cookie and gently swirl a few times to nudge the edges back into place. Voila! Perfectly round cookies.
Peanut Butter Chocolate Chunk Cookies
* Please note: all cup measurements are approximate and based on Australian standard cups (250ml). For best results, weigh your ingredients with a kitchen scale.
Equipment
- hand mixer or stand mixer with paddle attachment, optional (can mix by hand)
- baking sheet(s)
Ingredients
- 195 g (1 ½ cups, spooned and levelled) plain flour
- ½ tsp baking soda
- ½ tsp salt, reduce to ¼ tsp if using salted butter
- 145 g (⅔ cup, tightly packed) brown sugar
- 55 g (¼ cup) granulated sugar
- 125 g (½ cup) butter, melted and cooled
- 1 egg + 1 egg yolk, room temperature
- 2 tbsp honey, sub with golden syrup
- 1 tsp vanilla extract
- 125 g (½ cup) peanut butter, creamy/spreadable kind, NOT all-natural
- 180 g (6 oz) good-quality dark or semi-sweet chocolate bar, roughly chopped, sub with chocolate chips
Instructions
- Combine the flour, baking soda, and salt in a medium bowl. Set aside.
- In a large mixing bowl, or the bowl of a stand mixer, add both sugars and the cooled, melted butter. Beat until well combined — the mixture will resemble a thick, grainy caramel. Add the egg, egg yolk, honey, and vanilla, and continue beating until incorporated. Then add the peanut butter and beat until smooth.
- Gradually add the dry ingredients and mix until just combined.
- Fold roughly 2/3 of the chocolate chunks into the cookie dough (reserve the remaining 1/3 for pressing into the tops).
- Cover the bowl with cling film and chill for a minimum of 1 hour, ideally overnight (12-24 hours).
- Preheat the oven to 180℃ (160℃ fan/350℉) and line 2 baking sheets with parchment paper.
- Remove the dough from the fridge. if it's too firm to scoop, allow it to sit at room temperature for 10 minutes to soften up. For medium-sized cookies, scoop about 2-3 tbsp of dough at a time and roll lightly between your palms to form a ball. Arrange 5 cm (2 in) apart on a lined baking sheet. Press a few larger pieces of chocolate into the top and sides of each cookie.
- Bake the cookies for 10-11 minutes, or until the edges are just starting to brown. As soon as they come out of the oven, firmly tap the baking sheet once or twice on the countertop. This deflates the cookies, keeping the middles soft and chewy. Allow to cool on the baking sheet for 10 minutes before transferring to a wire rack.