
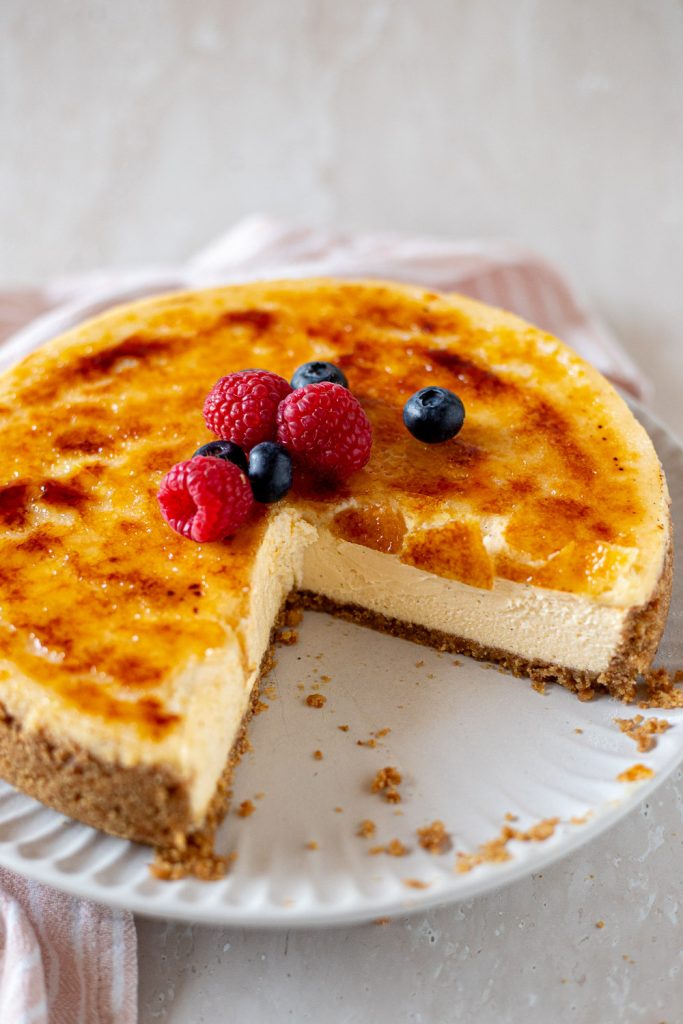
This crème brûlée cheesecake is the best of both worlds. A buttery biscuit base, creamy filling speckled with vanilla bean, all topped with a thin layer of crunchy caramel that snaps under your fork. Indulgent, elegant, and make-ahead friendly — everything you want in a show-stopping dessert!
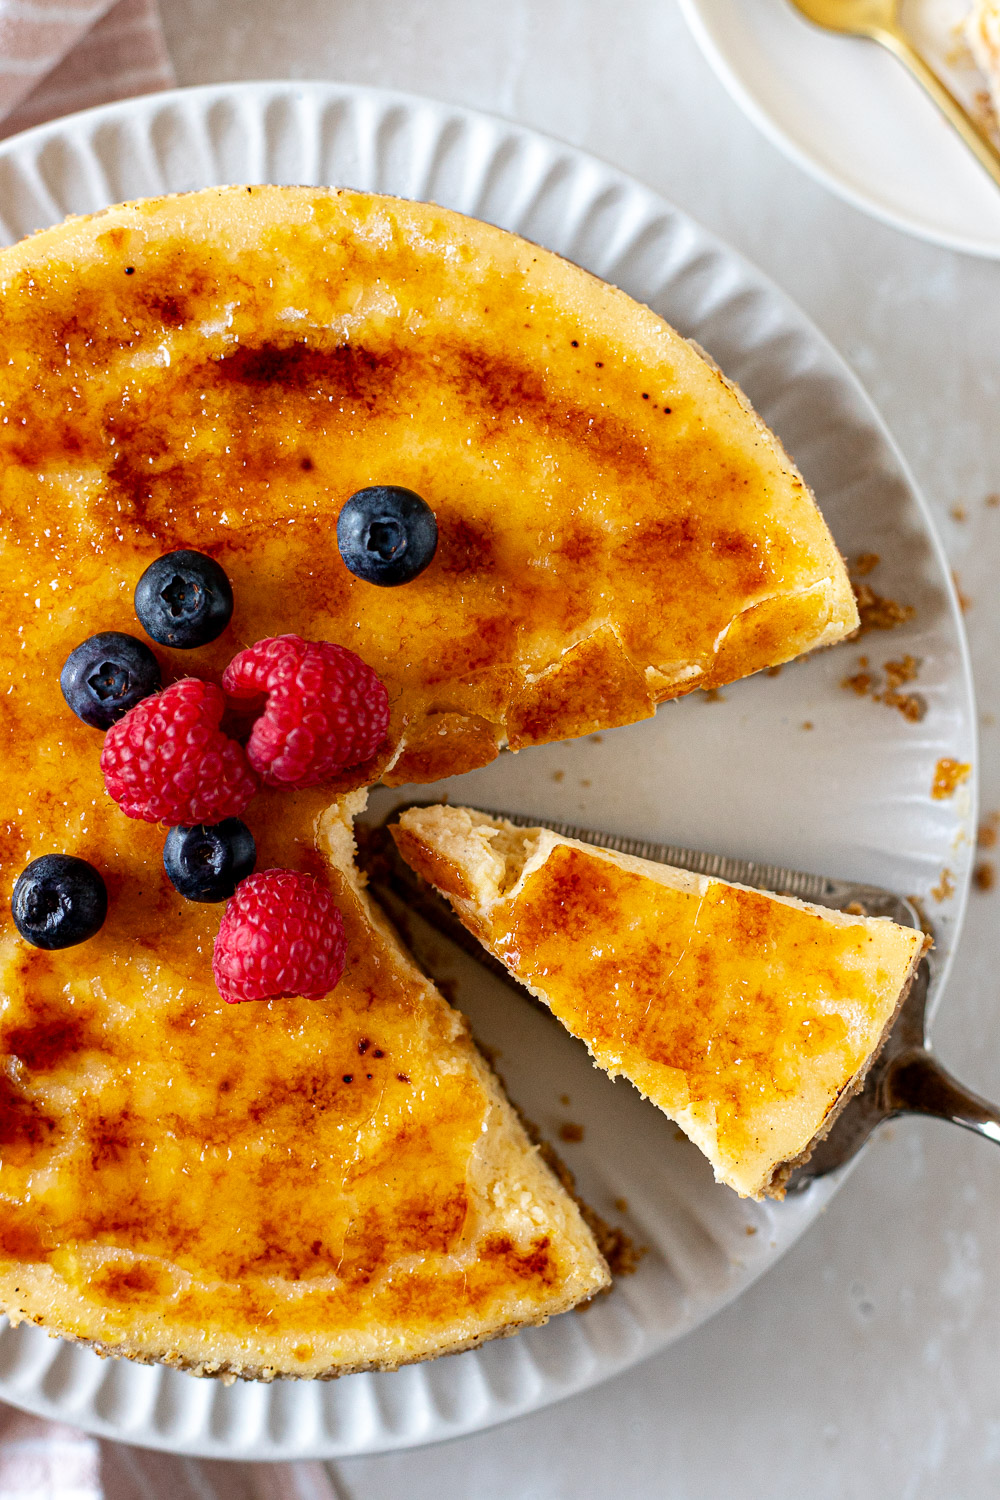
Is there anything cooler than whipping out a blowtorch at a dinner party? Well, I wouldn’t know because I don’t host dinner parties…but I can’t imagine there is! 😎🔥
This crème brûlée cheesecake may look like something you’d find in the display cabinet of a fancy pâtisserie. But if you’ve made a baked cheesecake before, you’re already 95% of the way there. The only extra step is showering the top with sugar and giving it the crème brûlée treatment just before serving.
I know the words “water bath” strike fear into the hearts of many home bakers, but using one is the key to a crack-free, silky-smooth cheesecake. I’ll walk you through how to set one up, so you get all the benefits without the dreaded soggy crust. (Though if you’re a beginner and want to skip the water bath all together, my blackberry pear crumble cheesecake bars are a great place to start.)
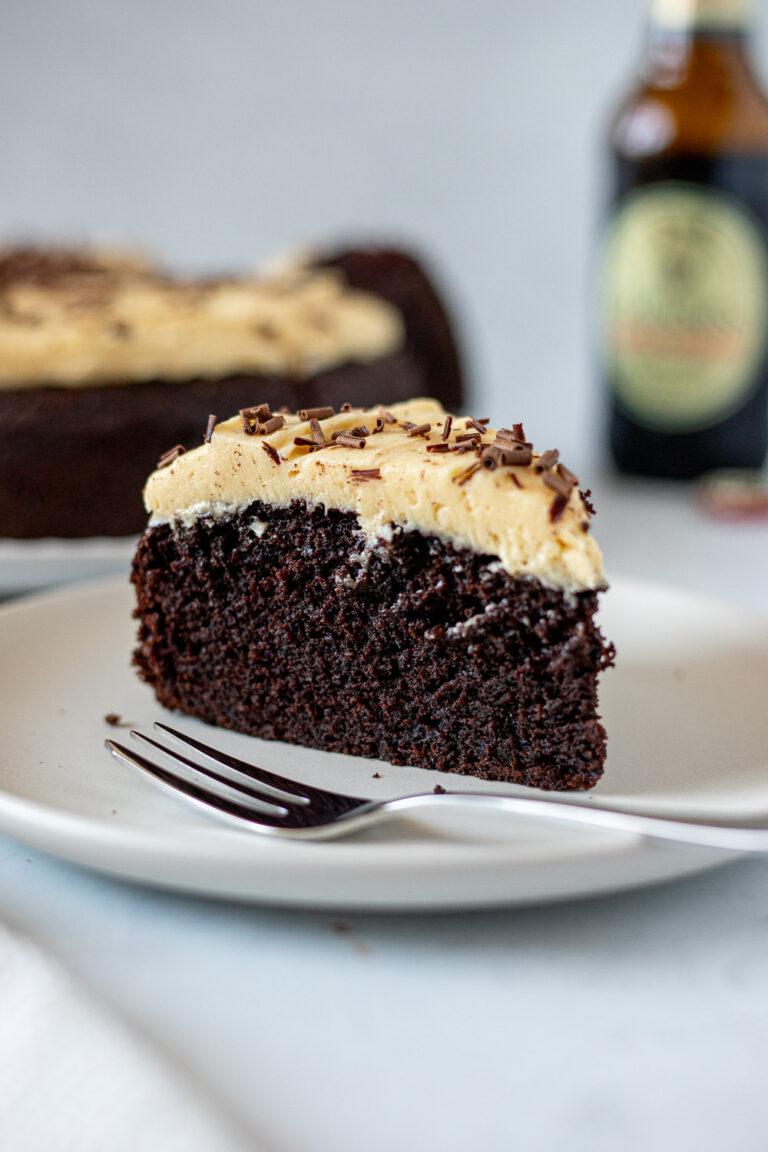
In the world of show-stopping desserts, this cheesecake is right up there with my strawberry matcha Swiss roll and chocolate Guinness cake! It really is that good.
Ingredient Notes & Substitutions
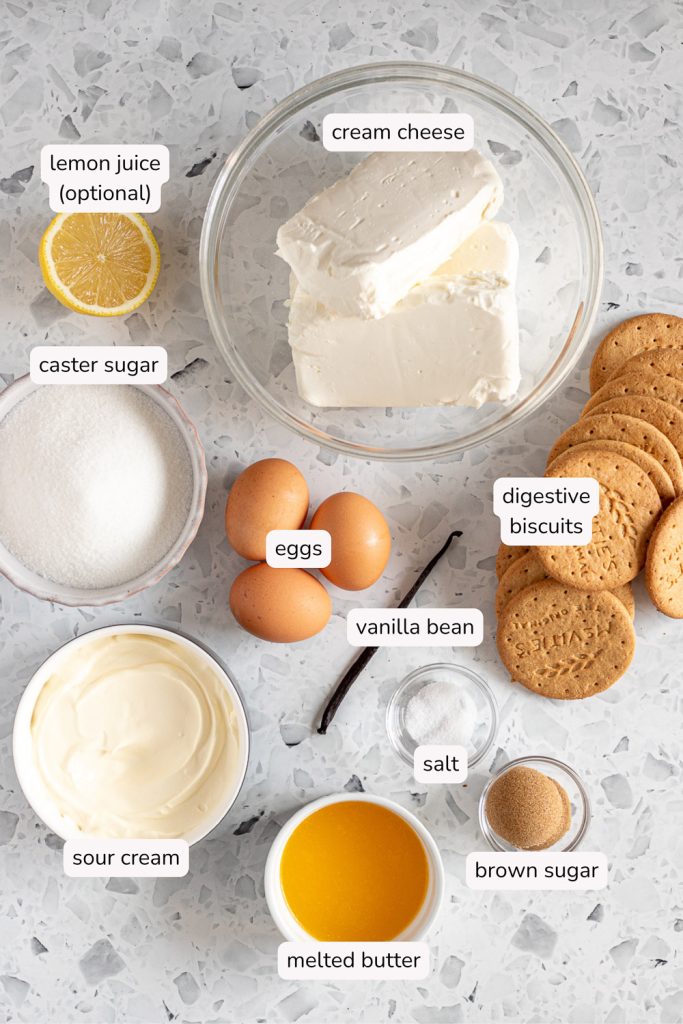
Here’s everything you’ll need to make my creme brûlée cheesecake (only 10 ingredients)!
For the brown sugar biscuit base
- Digestive biscuits: If you can’t get graham crackers, these are the next best thing! But really, any plain, sweet biscuit will do (Nice, Marie, Scotch Fingers, etc.). Opt for a gluten-free biscuit to make this cheesecake gluten-free.
- Brown sugar: I like using brown sugar here because the molasses lends a nice caramel flavour to the crust. You can substitute with white sugar.
- Melted butter: This is what holds the biscuit crumbs together.
- Salt: Leave this out if using salted butter.
For the cheesecake filling + caramelised topping
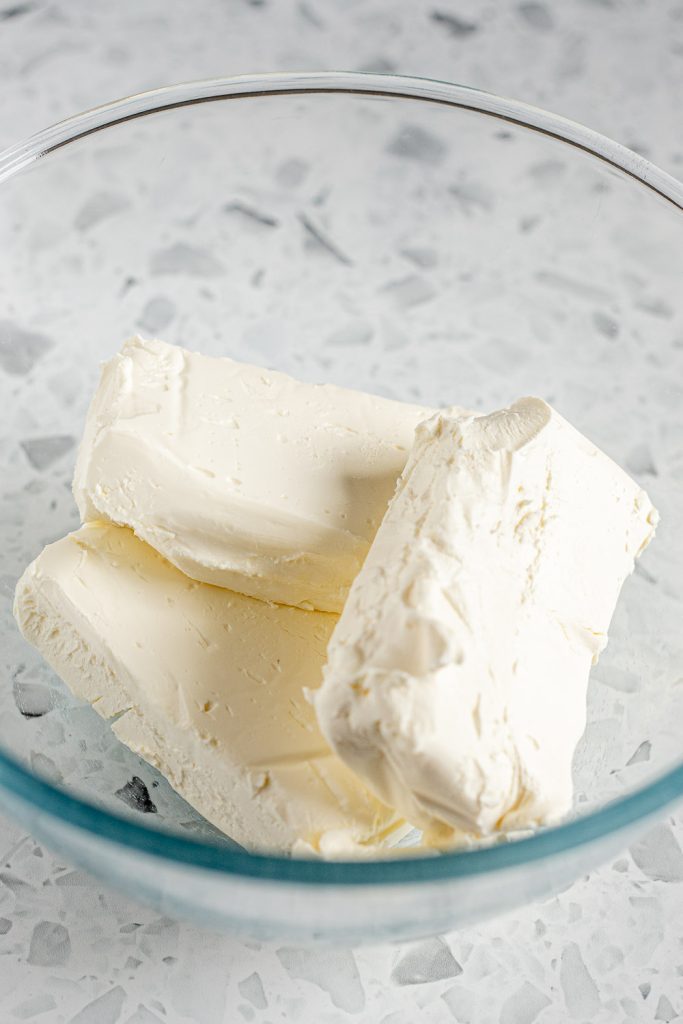
- Cream cheese: Use blocks of cream cheese rather than the spreadable kind. Philadelphia is my old reliable, but I’ve also had success with the Coles and Woolworths home brands. Most importantly, your cream cheese must be softened first. Take it out of the fridge at least 1 hour before you begin. Alternatively, for a shortcut, you can submerge the blocks (still wrapped in foil) in a bowl of lukewarm water for about 15 minutes.
- Sour cream: Adding sour cream to the batter lightens the texture and makes the cheesecake extra creamy. Use full-fat sour cream, and make sure it comes to room temperature first — or give it a quick 5-10 second zap in the microwave to take the chill off.
- Caster sugar: The finer crystals dissolve more easily into the cheesecake batter and caramelise more quickly on top. You can substitute regular white granulated sugar if needed.
- Eggs: You’ll need 3 large eggs (about 55g each) at room temperature.
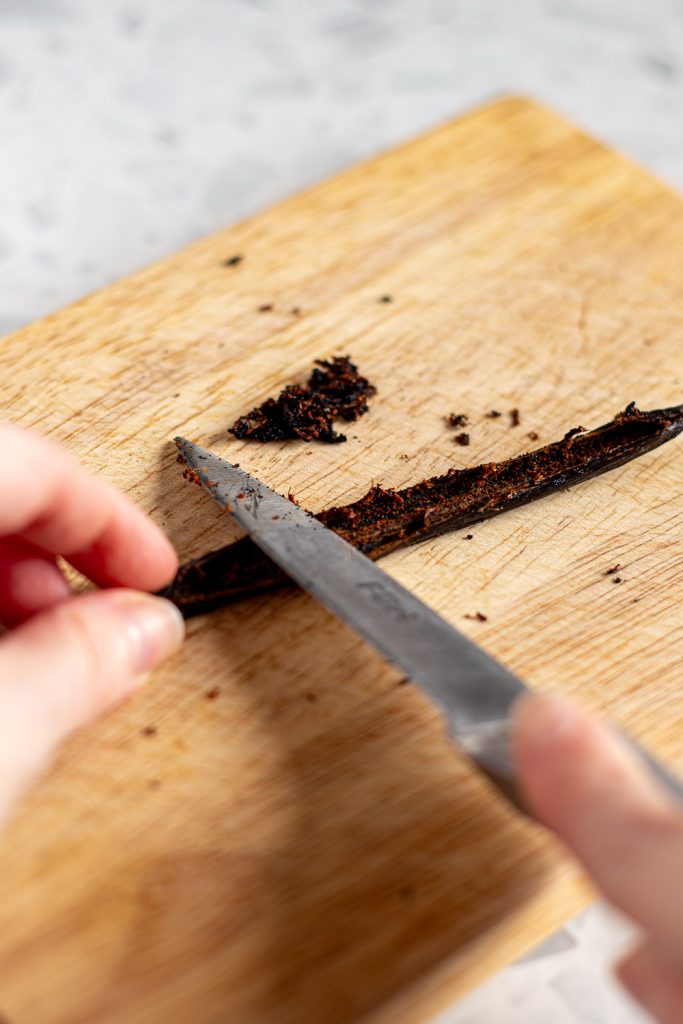
- Vanilla bean: Using the seeds from a fresh whole vanilla bean is most authentic to creme brûlée. That said, vanilla bean paste also works well and you’ll still get those signature black specks.
- Lemon juice (optional): This doesn’t make the cheesecake taste lemony! It’s there to help cut through the fat and add a bit of freshness. By all means, leave this out if you prefer a richer, more decadent flavour.
- Salt: Enhances the flavours — don’t skip it.
*For the full list of ingredients with measurements, see the recipe card below.
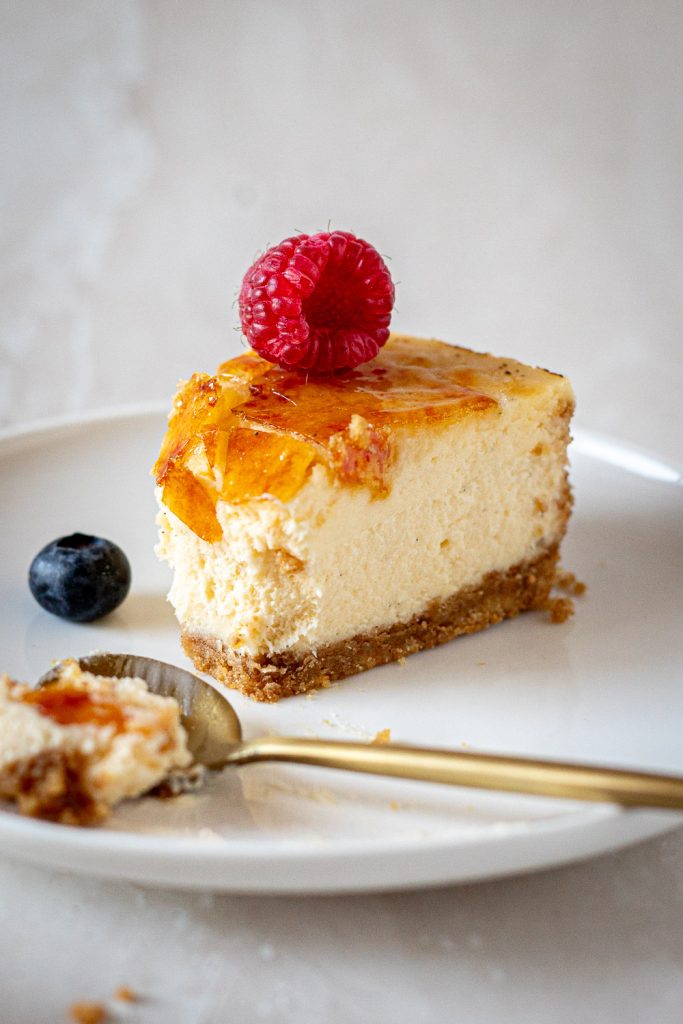
Equipment You’ll Need
To set yourself up for success, there are a few pieces of equipment you’ll want to make sure you have on hand.
- 23 cm (9-inch) springform cake tin: springform tins have removable sides, making it much easier to release your cheesecake without damaging it. I’ve included info on different tin sizes in the recipe notes.
- Roasting pan: you can use any oven-safe pan or skillet that’s larger than your cake tin, but make sure there is at least a 2 cm gap on all sides so the water can fully surround the cheesecake. I would caution against disposable aluminium roasting trays as they bend and flex when lifted — not what you want when dealing with boiling hot water!
- Electric mixer: I typically use a handheld mixer for cheesecake batter because I find it easier to incorporate the cream cheese and avoid lumps. You can use a stand mixer with the paddle attachment if you prefer, but make sure you’re stopping frequently to scrape down the sides of the bowl.
- Kitchen torch: a refillable butane kitchen torch gives an intense, direct heat that caramelises the sugar quickly without warming the cheesecake beneath. You can pick one up for around $20 AUD. Warning: once you have one, you will want to torch everything.
If you don’t have a kitchen torch and would rather not invest in one, I’ve included an alternative method below.
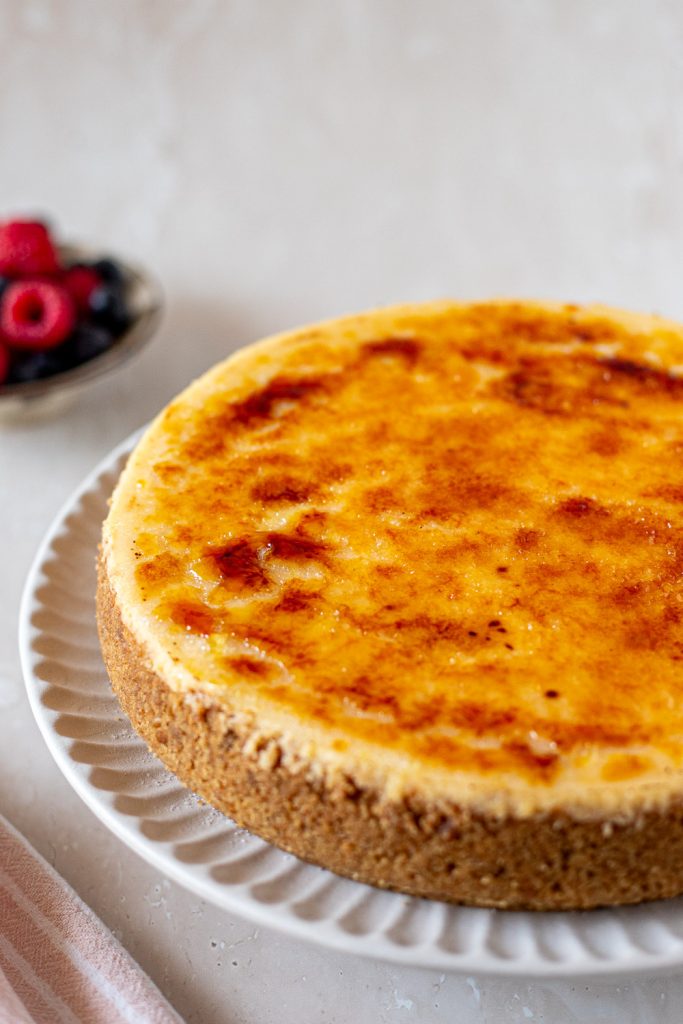
How to Make Crème Brûlée Cheesecake
This cheesecake isn’t difficult to make, but it does require a little planning. Make sure your ingredients have time to come to room temperature, then allow a minimum of 5-6 hours for cooling and chilling before serving.
Prepare the tin
Water leaking into your cheesecake is a gutting experience. If this is your first baked cheesecake or you simply don’t want to leave anything to fate, please follow the leakproof method below. I used the foil-only method myself, but I am a rather experienced cheesecake baker…so in other words, do as I say and not as I do!
- Lightly grease a 23 cm (9-inch) springform tin with butter or neutral-flavoured oil, and cut a circle of parchment paper fit the base.
- Choose your water bath protection:
- Foil-only method: Wrap the outside of the tin tightly in heavy-duty foil, scrunching it up around the rim. Use at least 3 layers (more is better). Alternate directions for full coverage. If you notice any tears, start again.
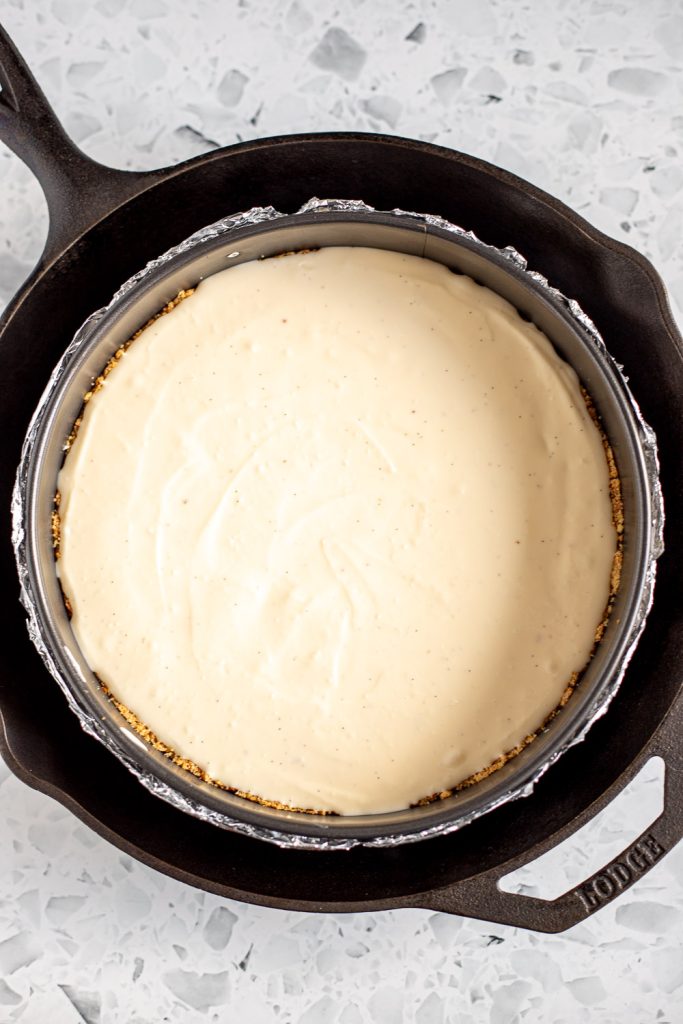
- Leakproof method (recommended): After wrapping in foil, place the springform tin inside a larger solid-bottomed cake tin, or inside a large oven bag. Scrunch the bag down so it sits snugly around the tin to form a waterproof barrier.
Make the biscuit base
- Preheat your oven to 180°C (160°C/350°F).
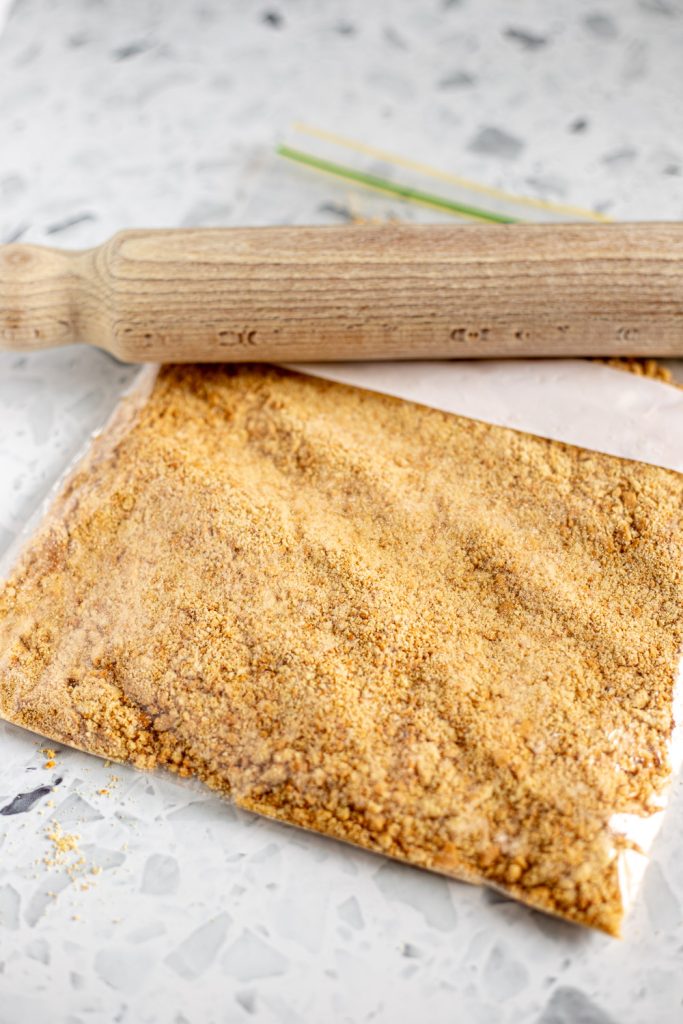
- Pulse the biscuits in a food processor or crush with a rolling pin (my preferred method for easy cleanup).
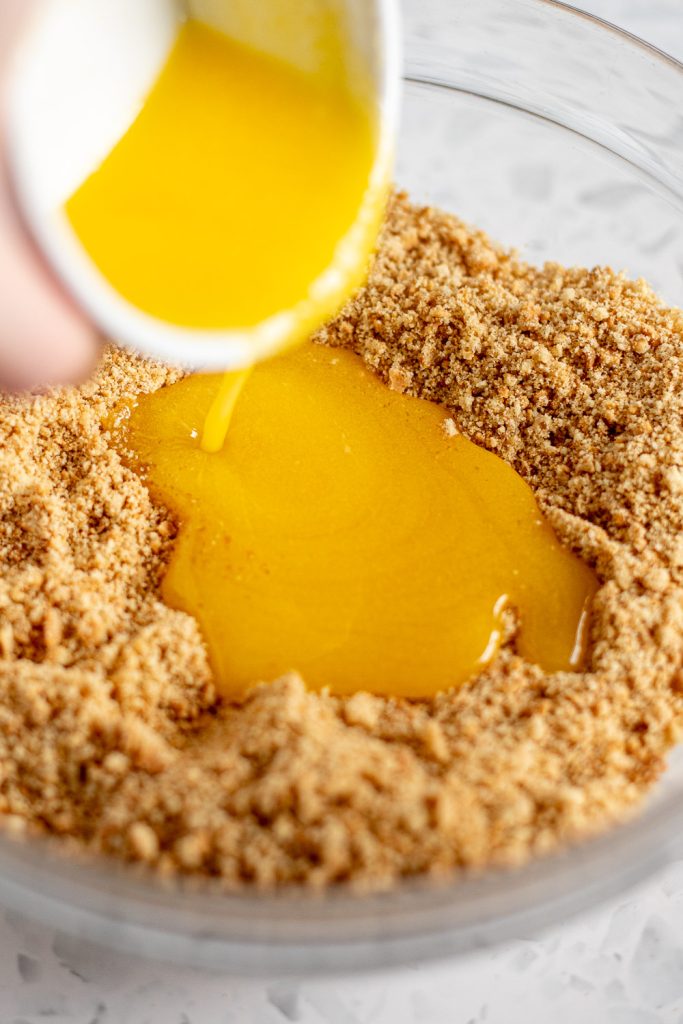
- Stir the biscuit crumbs with the brown sugar, salt, and melted butter until combined. It should hold together when you press it between your fingers — if not, add a little extra melted butter.
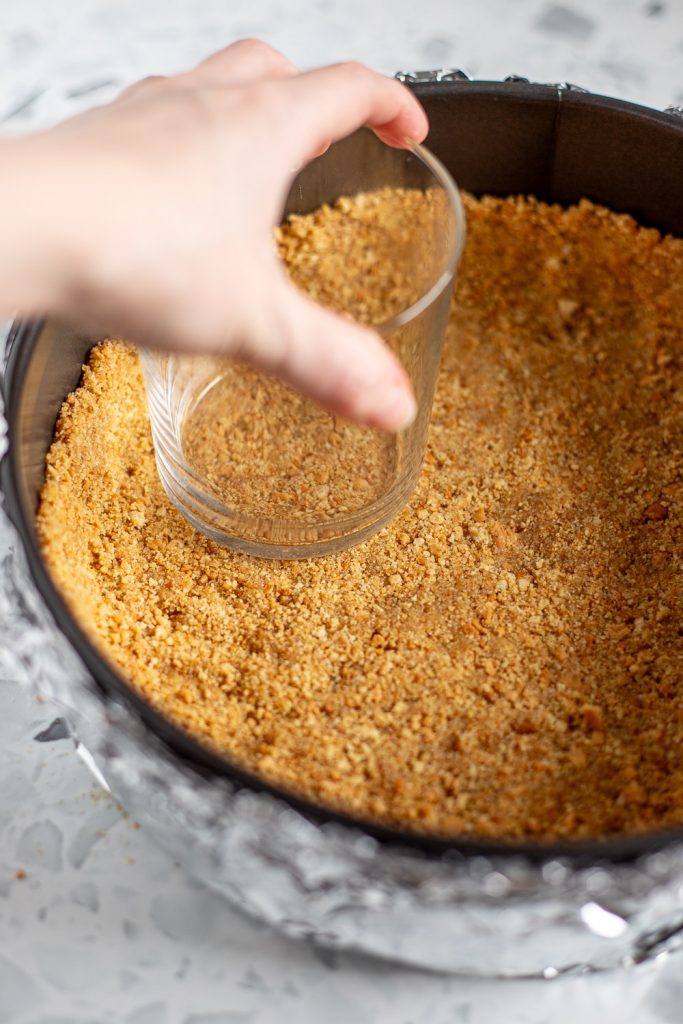
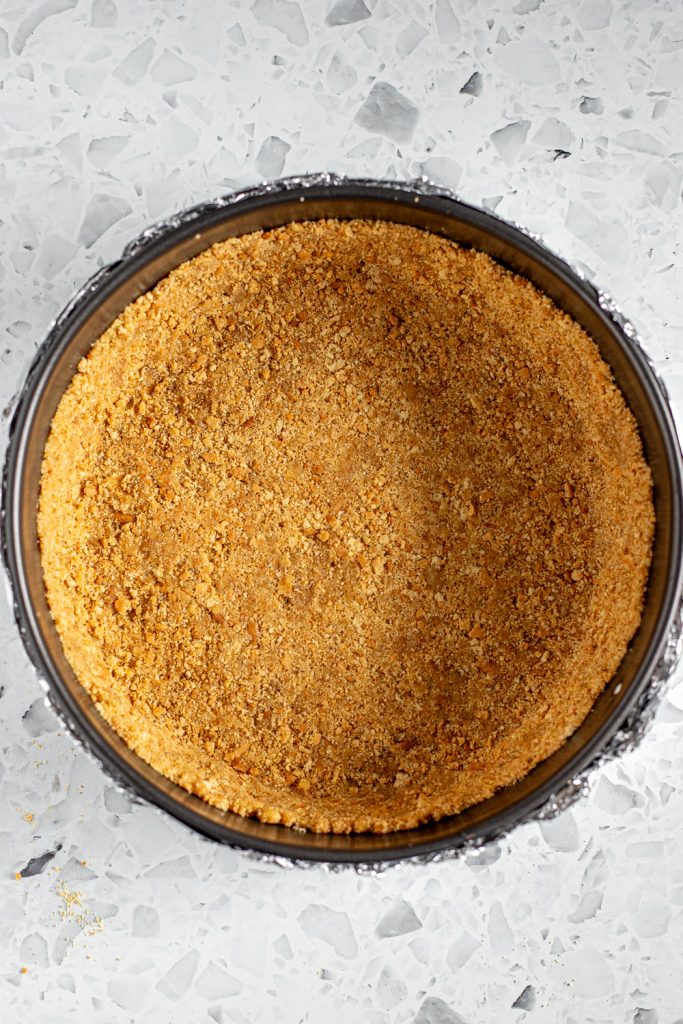
- Use a flat-bottomed glass or measuring cup to press the mixture evenly into the base of the springform tin. Bring it about 2-3 cm (1 inch) up the sides, or leave the sides naked if you prefer.
- Bake for 10-12 minutes until golden and fragrant. Set aside to cool.
Prepare the cheesecake filling
- Reduce the oven temperature to 160°C (140°C/325°F).
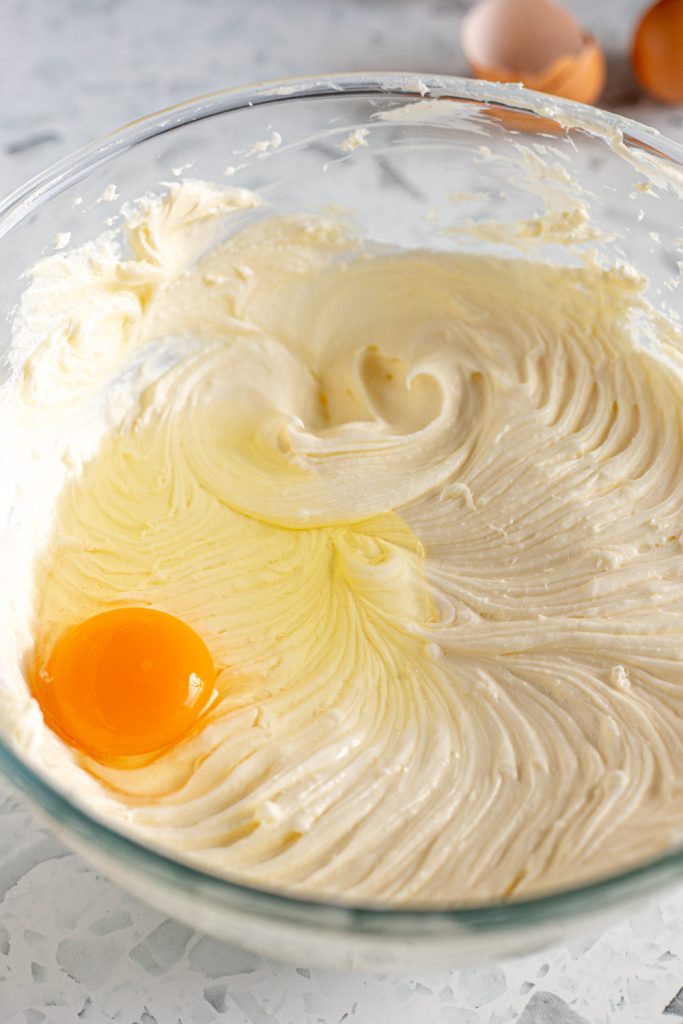
- Beat the cream cheese on its own until smooth and lump-free. Add the sour cream and sugar, and beat until combined. Beat in the eggs one at a time.
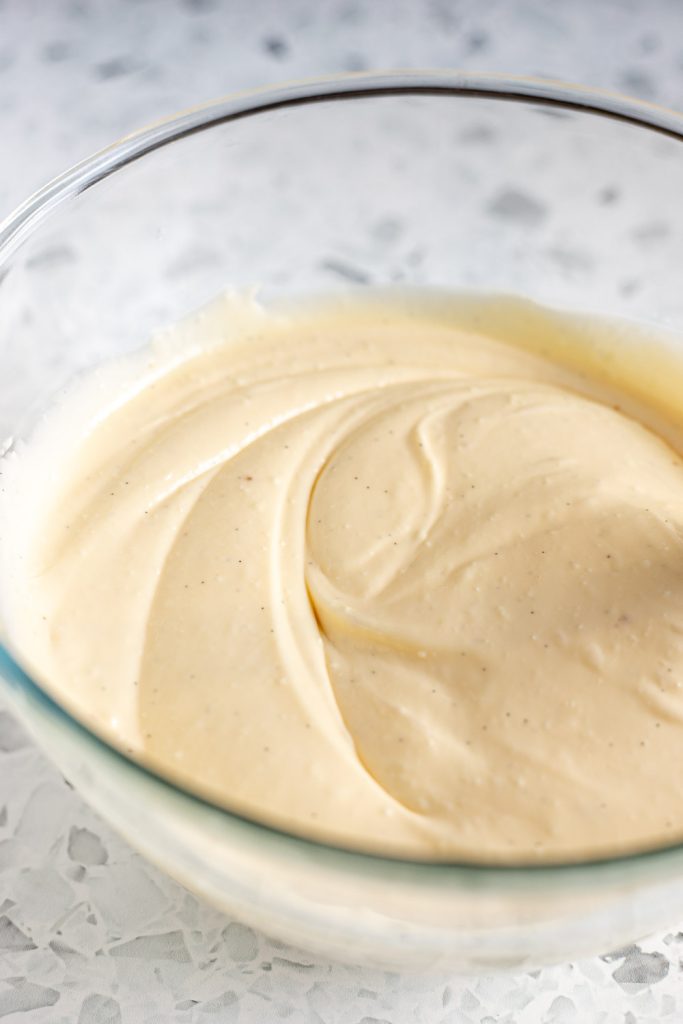
- If using a fresh vanilla pod, split it lengthways and scrape out the seeds (as shown). Add the vanilla, lemon juice (if using), and salt. Beat on low speed until just combined.

Prepare the water bath
- Bring a kettle of water to a boil.
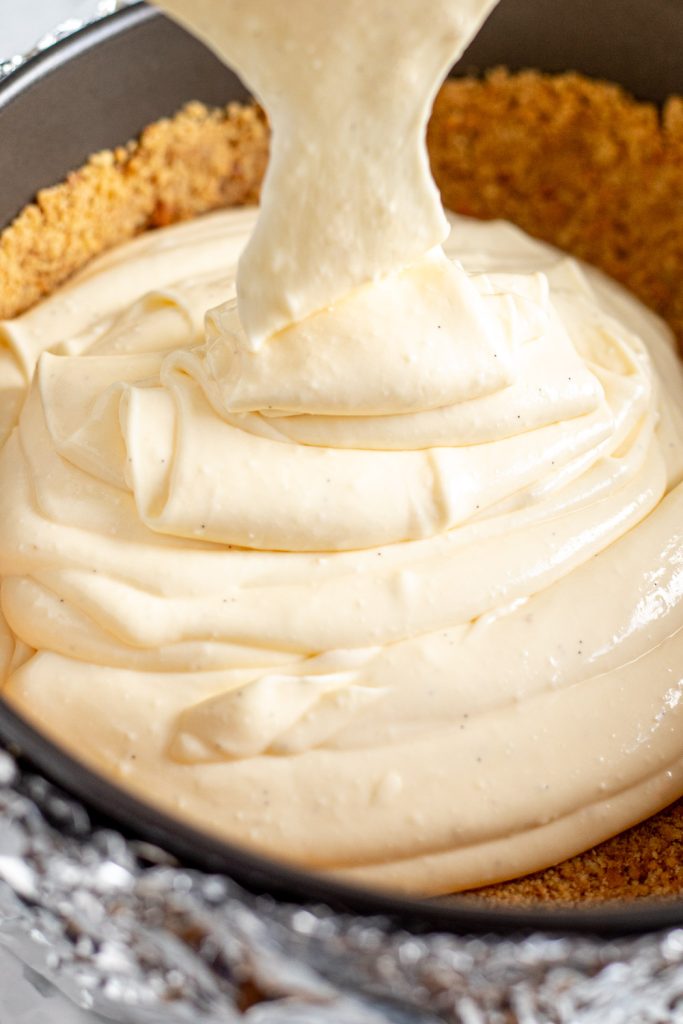
- Pour the filling into the prepared crust and smooth the top. Tap the tin on the counter to remove air bubbles, then place inside of a large roasting pan or skillet.
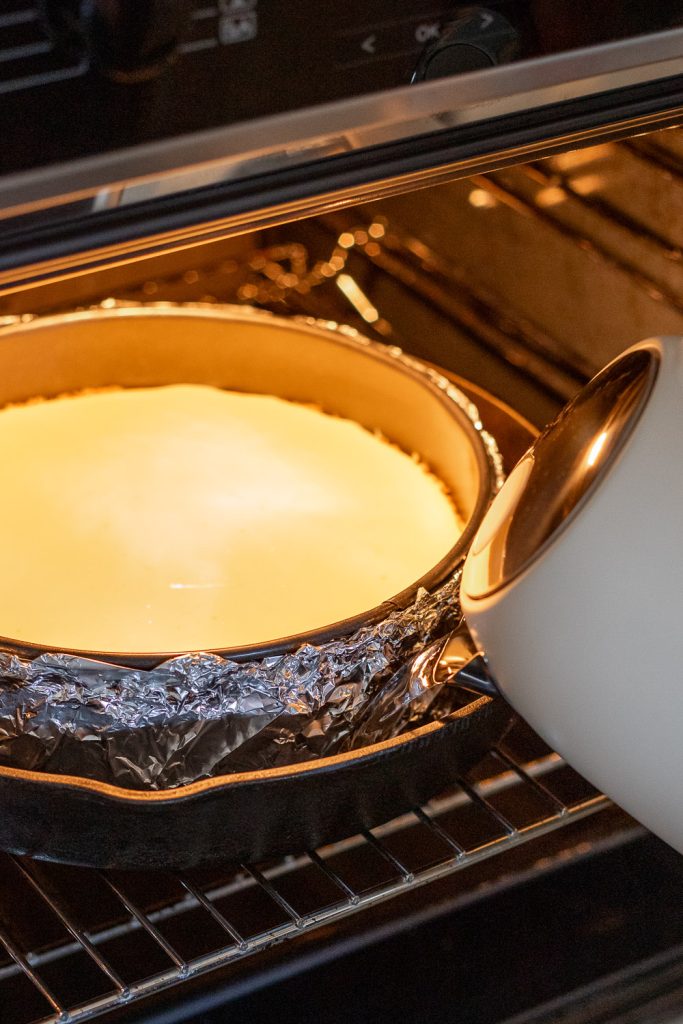
- Working quickly so too much heat doesn’t escape, transfer the pan to the oven and carefully pour water around the edges, taking care not to get it between the layers of foil. The water should reach about halfway up the sides of the cake tin (roughly 3 cm or just over 1-inch deep).
Bake, cool, set
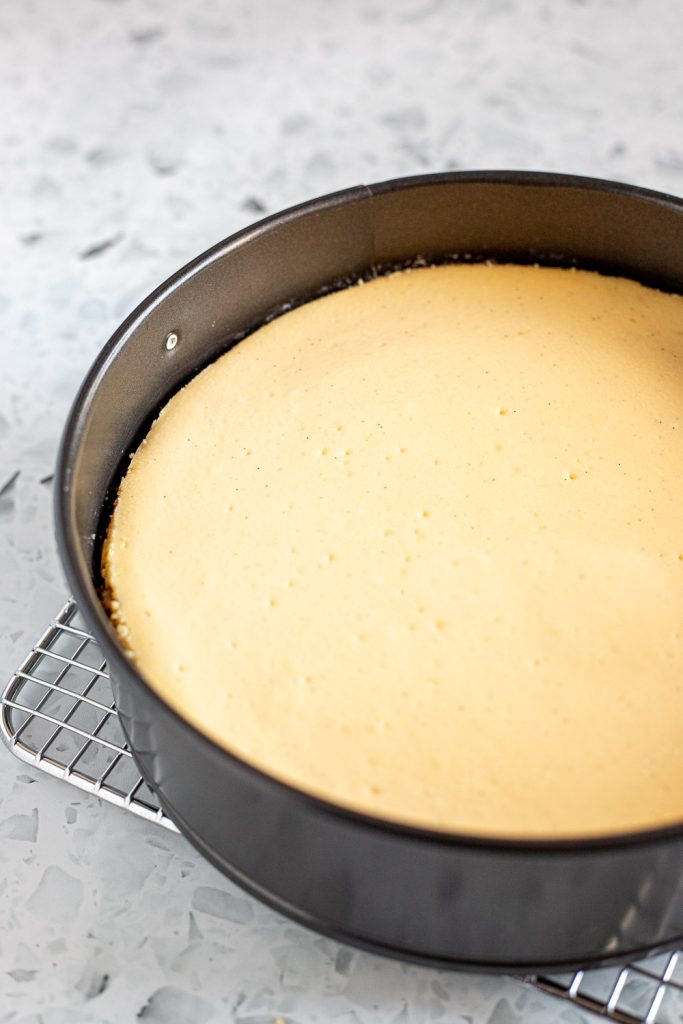
- Bake for 60–75 minutes, or until the cheesecake is puffed around the edges and the centre is just set but still wobbles like jelly when you gently shake the pan.
- Turn off the oven, prop the oven door open, and allow to cool in the water bath for 1 hour.
- Remove the cake tin from the water bath and discard the foil. Don’t panic if you notice some moisture between the layers of foil. As long as the inner layer against the cake tin is dry, it’s most likely condensation rather than a leak.
- Cool completely to room temperature, then transfer to the fridge to chill for at least 4 hours, or overnight.
Brûlée the top
- Run a knife around the edge of the cheesecake, then release the sides of the springform tin. If you want to remove the base, carefully invert the cheesecake onto a plate while it’s still cold (chilled cheesecake is much less fragile). Remove the base, then invert once more so it’s right-side up.
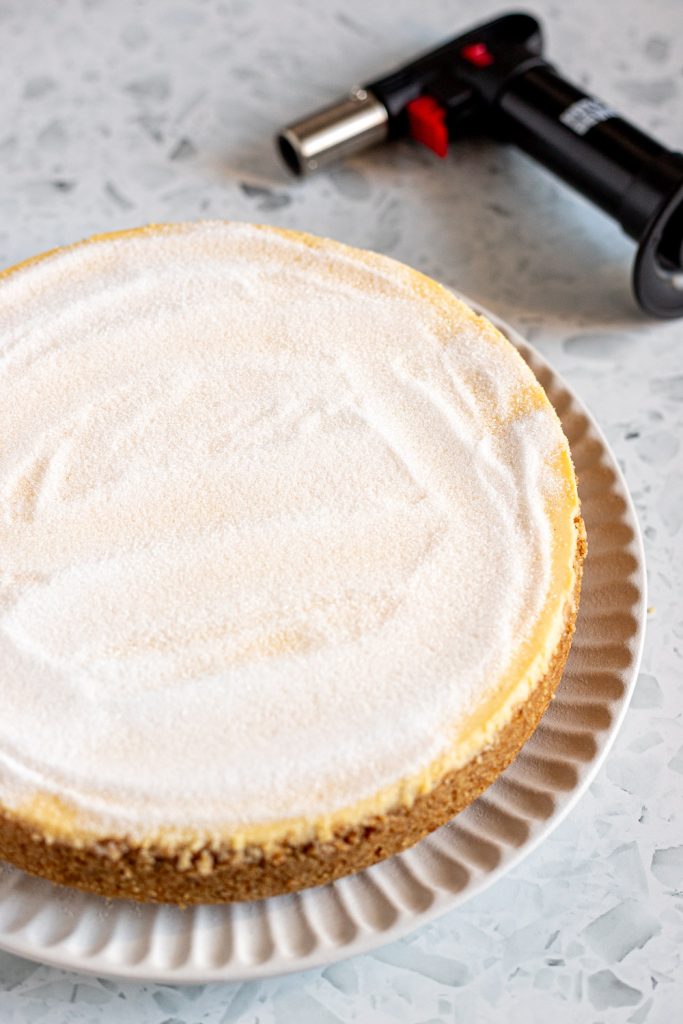
- Blot the surface of the cheesecake with paper towel to remove any condensation, then scatter the caster sugar evenly over the top.
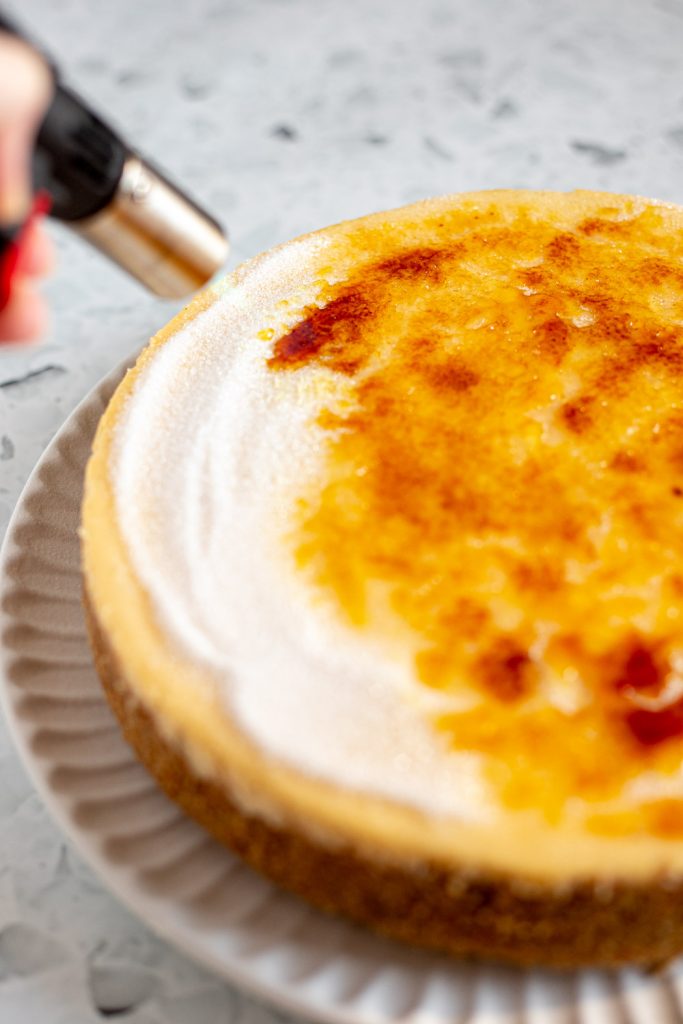
- Hold a kitchen torch about 5 cm (2 inches) above the sugar and move it continuously in small circular motions. Avoid holding the flame in one spot for too long. Continue until the sugar is evenly caramelised and deep amber in colour. It should harden into a thin, crackly layer within a couple of minutes.
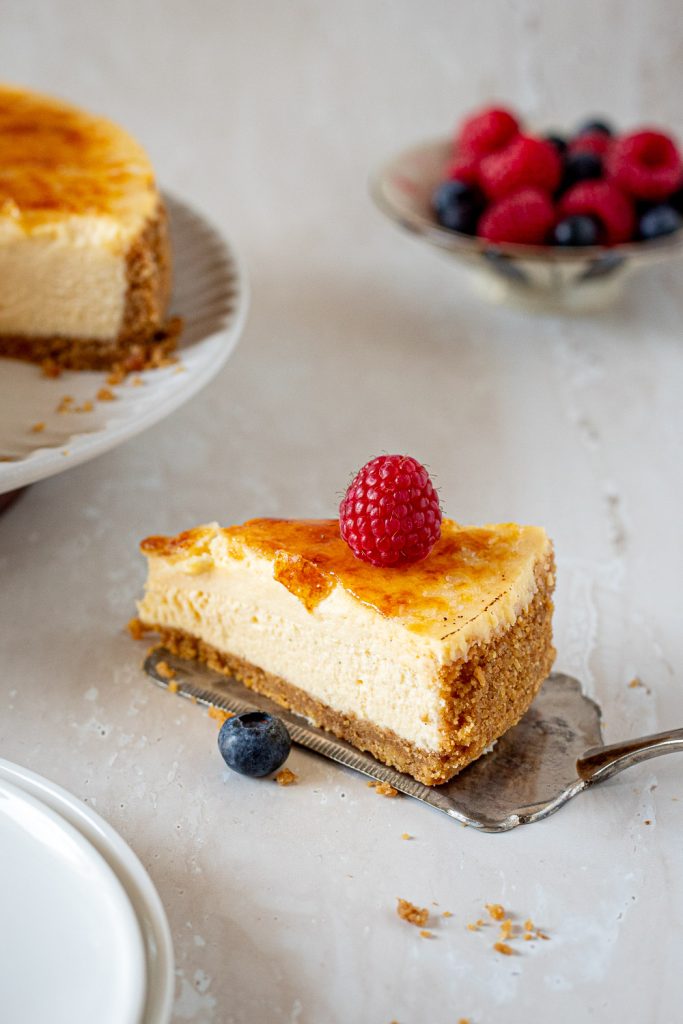
- Slice the cheesecake with a warm knife and serve as is, or with fresh berries for a pop of colour!
Can I Make This Without A Blowtorch?
A kitchen torch will give you the best results. However, you can use your oven broiler to achieve a similar effect. Make sure the cheesecake is well chilled before you start so it doesn’t get too warm or soft. Set the broiler to high heat and place the cheesecake on the top rack, as close to the heating element as possible. The sugar should start to bubble and caramelise within a couple of minutes, so keep a very close eye on it.
Cheesecake Troubleshooting
How to Store Creme Brûlée Cheesecake
Store this cheesecake covered in the fridge for up to 5 days. To restore its creamy texture, let it come to room temperature before serving.
Serving tip: The caramel topping will soften over time and turn into a liquid caramel, so it’s best to brûlée the top right before serving. If you plan on having leftovers, I suggest brûléeing individual slices instead of the whole cheesecake. It’s also much easier to cut neat slices this way!
* Please note: all cup measurements are approximate and based on Australian standard cups (250ml). For best results, weigh your ingredients with a kitchen scale.
Equipment
- 23 cm (9-inch) springform cake tin
- hand mixer or stand mixer with the paddle attachment
- large roasting dish or oven-safe skillet, for the water bath
- kitchen blow torch, see notes for oven broiler method
Ingredients
For the biscuit base
- 200 g (7 oz) digestive biscuits (about 12-14 biscuits), or graham crackers (see Note 3 for more alternatives)
- 85 g (⅓ cup) butter, melted and slightly cooled
- 2 tbsp brown sugar, tightly packed
- pinch of salt, omit if using salted butter
For the vanilla cheesecake filling
- 750 g (1.65 lbs) cream cheese, softened
- 190 g (¾ cup) sour cream, room temperature
- 220 g (1 cup) caster sugar
- 3 large eggs, room temperature
- 1 vanilla bean pod, or 1 tbsp vanilla bean paste
- 2 tsp lemon juice, optional (see Note 4)
- ½ tsp fine salt
For the caramel crust
- 55 g (¼ cup) caster sugar
Instructions
Make the biscuit base
- Preheat the oven to 180°C (160°C fan/350°F). Lightly grease the base and sides of a 23 cm (9-inch) springform cake tin and line the base with a circle of parchment paper. Wrap the outside of the tin in multiple layers of heavy-duty foil (I use 4 layers). See Note 2 for extra waterproofing tips.
- Crush the biscuits into fine crumbs using a food processor, or place them in a sealed sandwich bag and crush with a rolling pin.
- Add the biscuit crumbs, brown sugar, and salt to a bowl. Pour in the slightly cooled melted butter and stir to combine. It should resemble coarse, wet sand.
- Pour the mixture into the prepared tin and spread it out evenly. Use a flat-bottomed glass or measuring cup to press it into a firm, even layer, bringing it slightly up the sides. Bake for 10-12 minutes, until lightly golden and toasted. Set aside to cool while you prepare the filling.
Prepare the cheesecake filling
- Reduce the oven temperature to 160°C (140°C fan/325°F).
- In a large bowl, or the bowl of a stand mixer fitted with the paddle attachment, beat the cream cheese on low speed for about 30 seconds, then add the sour cream and sugar and beat until smooth and creamy. Beat in the eggs one at a time, then add the vanilla bean, optional lemon juice, and salt. Scrape down the bottom and sides of the bowl to ensure everything is incorporated.
Bake & cool
- Pour the filling into your slightly cooled crust, smooth the top with a spatula, then firmly tap the tin a couple of times on the countertop to eliminate any big air bubbles.
- Boil a kettle of water for the water bath. Place the cake tin inside a large roasting dish or oven-safe pan/skillet, leaving at least a 2 cm gap on all sides. Working quickly so too much heat doesn’t escape, carefully transfer to the middle oven rack, then pour in the boiling water until it reaches about 3 cm (1 inch) deep or halfway up the sides of the cake tin. Close the oven door.
- Bake for 60-75 minutes or until the edges look slightly puffed and set, and the centre still has a noticeable wobble when you gently shake the pan. Tent loosely with foil if it starts to develop brown spots. Turn off the oven, crack the door open, and leave to cool in the water bath for 1 hour.
- Remove from the water bath and discard the foil. Transfer to a wire cooling rack to cool completely. Cover tightly with cling film and chill in the fridge for a minimum of 4 hours (overnight is best).
Caramelise the top
- Run a knife around the edges and release the sides of the springform tin. Blot the top of the cheesecake with paper towel to remove any moisture, then sprinkle with caster sugar.
- Use a kitchen torch (or see Note 5 for oven broiler method) to caramelise the sugar until golden brown. The heat setting will depend on how powerful your torch is, so always start low and increase as needed. Keep it moving in a circular motion to avoid burn spots. Allow 2-3 minutes for the topping to harden, then slice and serve!
OMG! That looks amazing. I love cheesecake!!! Where I live, it’s challenging to get good ingredients, so this will have to go on my baking wish list.