These flourless chocolate orange brownies are rich, fudgy, intensely chocolatey — and just so happen to be gluten free! Made with almond meal instead of flour for a truffle-like texture that melts in your mouth, they’re flavoured with orange zest and a cheeky splash of orange liqueur (or orange juice, if you prefer). Basically, a Terry’s Chocolate Orange in brownie form.
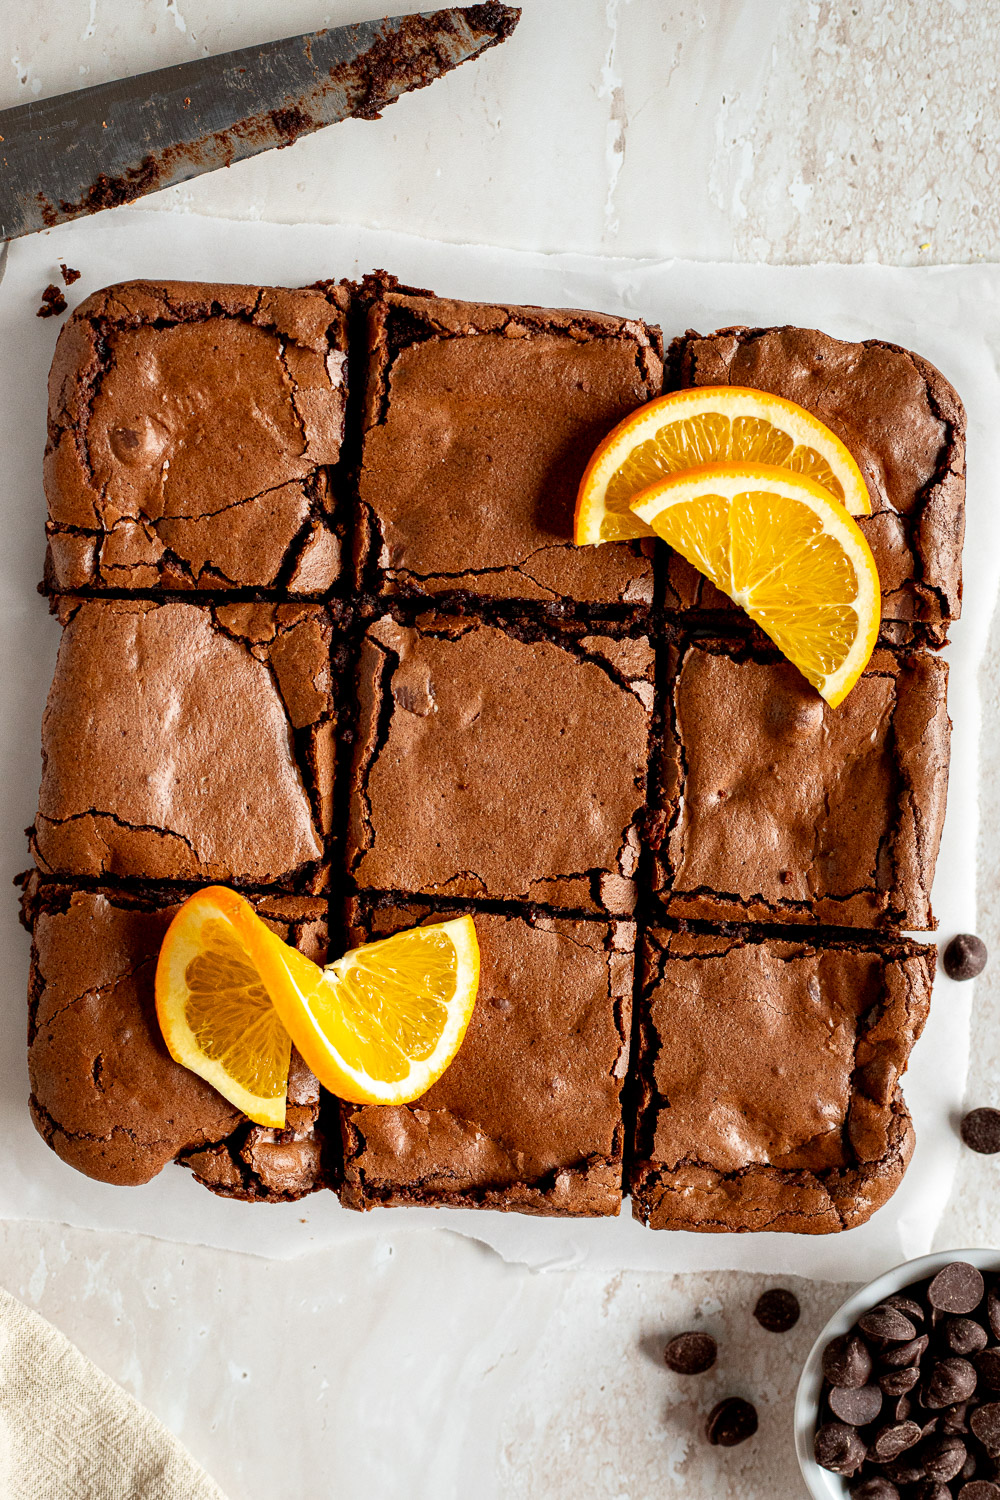
I’ve always loved the idea of flourless desserts. Something about them feels so understated and elegant. Somehow, my initial plan for a flourless chocolate cake morphed into brownies, and then finally into these. For once, my indecisiveness has led to great things!
Christmas or not, my love for chocolate and orange runs deep, and these brownies are spectacular served warm with a scoop of vanilla ice cream, or cold and fudgy straight from the fridge.

Why Make Flourless Brownies (Even if You Eat Gluten)
This is not a recipe you reluctantly reach for when you’re catering for a gluten-free dinner guest.
Flourless brownies have a wonderfully soft, almost truffle-like texture. Unlike your classic brownie (which is equally delicious in its own right), these are not cakey and they don’t get chewy around the edges. They’re dense without being heavy, rich without being overly sweet, and they quite literally melt in your mouth.
In the absence of gluten, flourless brownies rely on a higher ratio of eggs for structure and stability. Some recipes use cornflour or tapioca starch to help thicken the batter, but I’ve swapped this for almond meal which adds a nutty flavour.
When I first tested these, I was worried they’d be gritty judging by how the batter looked, but the almond meal disappears into these once baked. I was also pleased to find out that the natural oils in almonds keeps these seriously moist. These brownies honestly taste the same 5 days later as they do freshly baked — I can’t say that about traditional brownies 😏
Ingredient Notes and Substitutions
Heads up: there’s a lot of chocolate in these brownies…3 types in fact! Melted dark chocolate makes them fudgy, cocoa powder intensifies the chocolate flavour, and chocolate chips add little pockets of texture. Please stick to dark chocolate as specified, or the brownies will be sickly sweet!

Here’s what you’ll need:
- Dark chocolate: Use a good-quality dark chocolate with 60-70% cocoa content. For melting purposes, avoid chocolate chips or anything labelled as “compound chocolate.”
- Butter: Cut the butter into evenly sized pieces to help it melt evenly. Salted butter is fine, but you’ll want to omit the added salt.
- Cocoa powder: You can use either natural or dutch-processed (AKA alkalised) cocoa powder, just make sure it’s unsweetened. Dutch-processed (which is what I used) will make the brownies slightly darker with a more intense chocolate flavour. In Australia, cocoa powder isn’t always labelled clearly, but most supermarket brands (including the generic home brands) are indeed Dutch-processed.
- Caster sugar: I recommend caster sugar for brownies because the smaller granules dissolve more easily, which is what helps to form that shiny, crackly top. You can use regular granulated sugar, if that’s all you have.
- Orange zest: You’ll need the zest of about 1 large or 2 medium oranges. This is enough to make the brownies taste distinctly orange-y without becoming overpowering. Be careful when zesting that you don’t get any of the white pith underneath the skin (this part is very bitter).
- Eggs: Bring the eggs to room temperature before you start baking. If you forget, simply submerge them in a bowl of lukewarm tap water for about 10 minutes.
- Vanilla: Adds a subtle warmth that goes so well with orange. I used vanilla extract but vanilla bean paste also works.
- Orange liqueur (optional): A little splash of orange liqueur, such as Cointreau or Triple Sec, really amps up the orange flavour without making the brownies taste artificial or boozy. That said, I wouldn’t run out to buy a bottle just for this recipe. If you don’t have any on hand, simply substitute with some freshly-squeezed orange juice.
- Almond meal: Don’t confuse almond meal with almond flour! Almond meal is made from coarsely ground almonds with the skins still on, while almond flour is made from blanched almonds ground into a much finer powder. You can find almond meal in the baking aisle of most supermarkets, or you can make your own in a blender or food processor.
- Salt: Used as a flavour enhancer in baking — don’t skip it (unless your butter is salted).
- Chocolate chips (optional): Not strictly necessary but recommended for a bit of texture. Use dark or semisweet chocolate chips!
*For the full list of ingredients with measurements, see the recipe card below

Step-by-Step: Flourless Chocolate Orange Brownies
There’s nothing complicated about making these flourless chocolate orange brownies. In fact, it’s basically the same process as making traditional brownies with wheat flour. I’ve just added two quick steps to really drive home the chocolate-orange flavour: blooming the cocoa powder and massaging the orange zest into the sugar to release its oils.
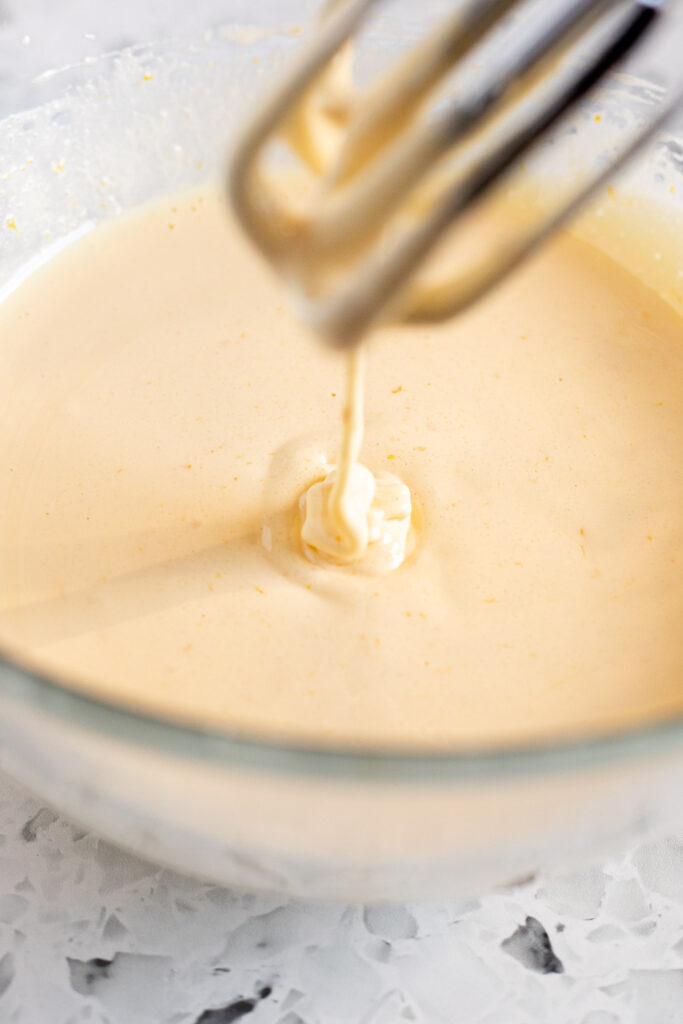
If you only take one piece of advice from me today, let it be this: don’t rush beating your eggs and sugar! You need to reach the “ribbon stage,” which rakes about 3-5 minutes (possibly longer if your mixer is underpowered). Partially dissolving the sugar into the egg whites is key to achieving that shiny, meringue-like top layer!
1. Prep – Position a rack in the centre of your oven and preheat it to 180°C (160°C fan/350°F). Line a 20 cm (8-inch) square baking tin with parchment paper, leaving some overhang.
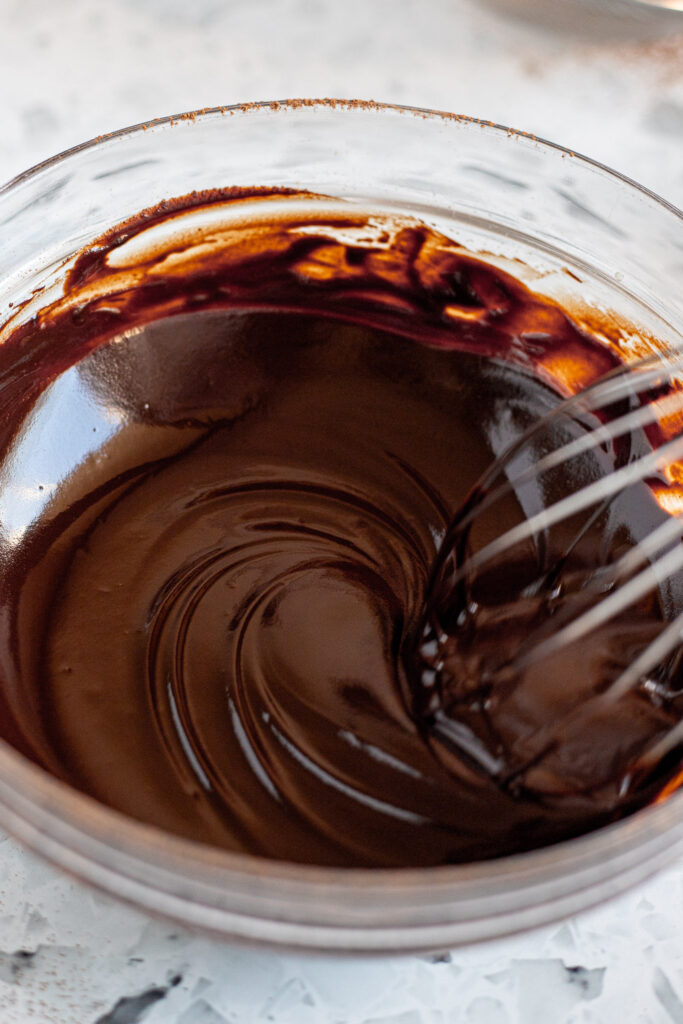
2. Melt the butter and chocolate – Place the butter and chocolate in a microwave-safe bowl and heat for 20-seconds at a time, stirring in between each burst.
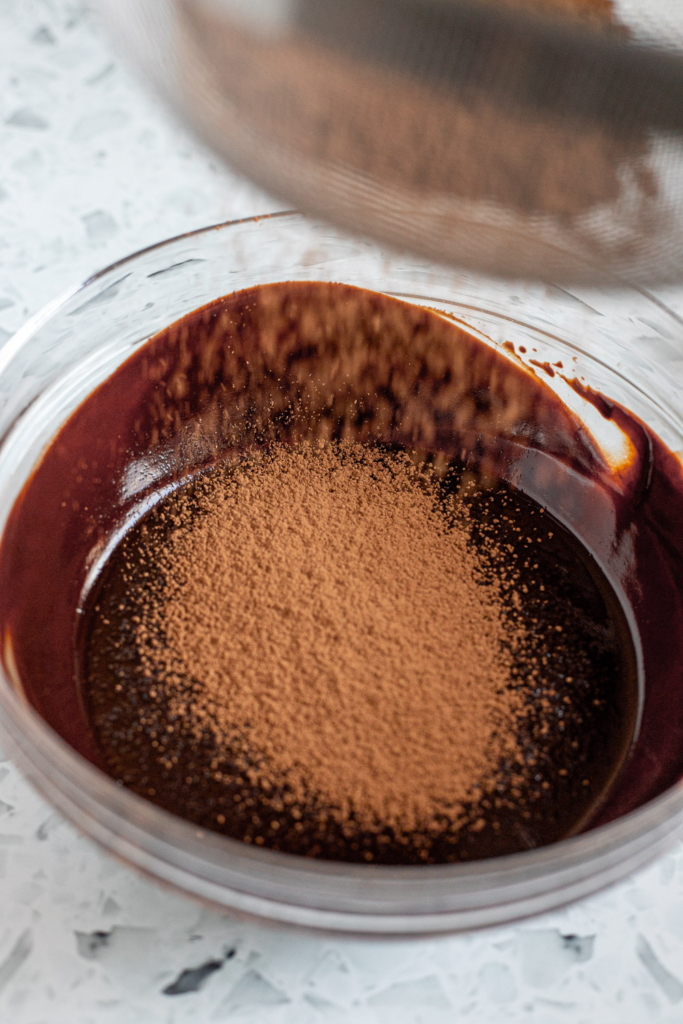
3. Bloom the cocoa – Sift in the cocoa powder, then whisk until smooth and glossy. Set the mixture aside to cool slightly.
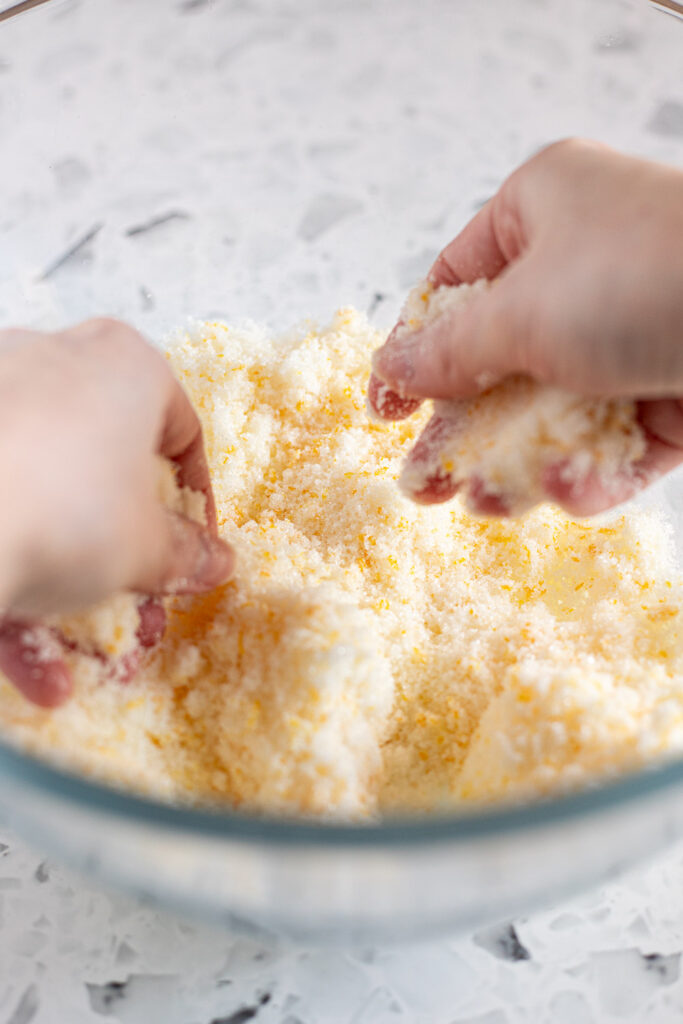
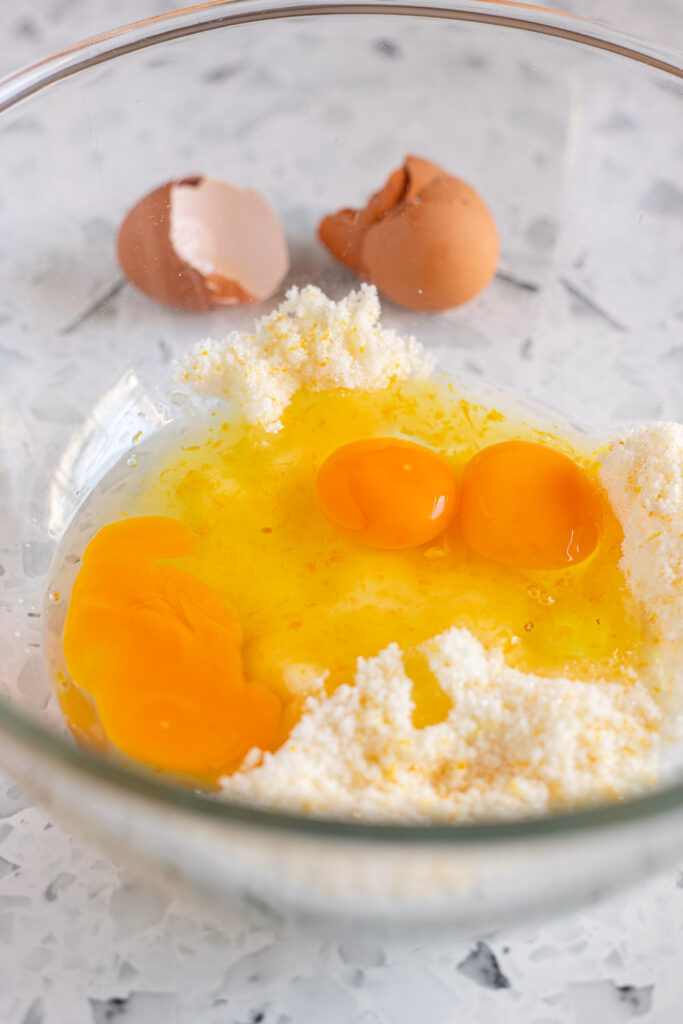
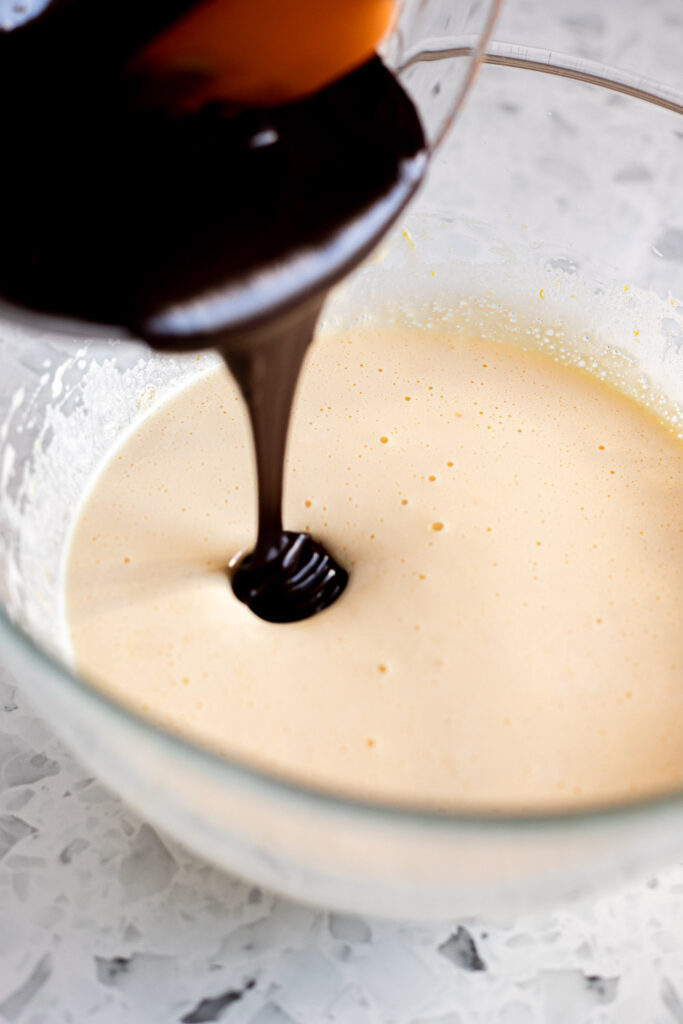
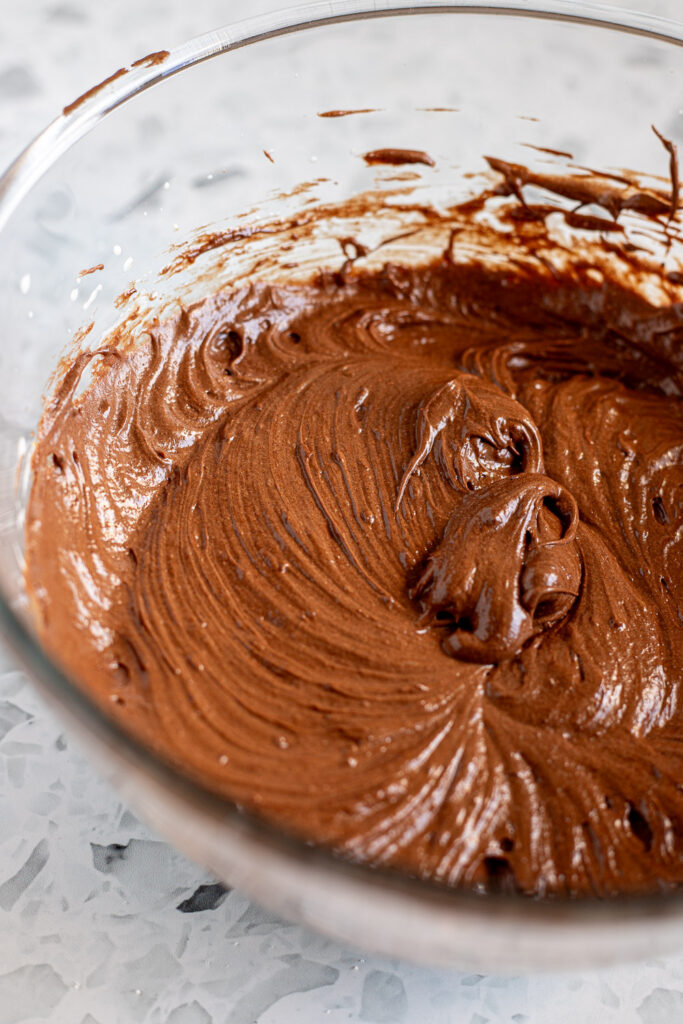
4. Massage the orange zest – In a large mixing bowl, massage the orange zest into the sugar until fragrant.
5. Beat the eggs and sugar – Crack the eggs into the bowl and beat for 3-5 minutes, or until very pale and the beaters leave thick ribbons when lifted. If the mixture still looks grainy, keep beating until the sugar has mostly dissolved (it won’t dissolve fully).
6. Add the chocolate mixture and flavourings – Slowly drizzle in the slightly cooled chocolate mixture, then add the vanilla and orange liqueur (or orange juice). Beat on low speed until just combined.
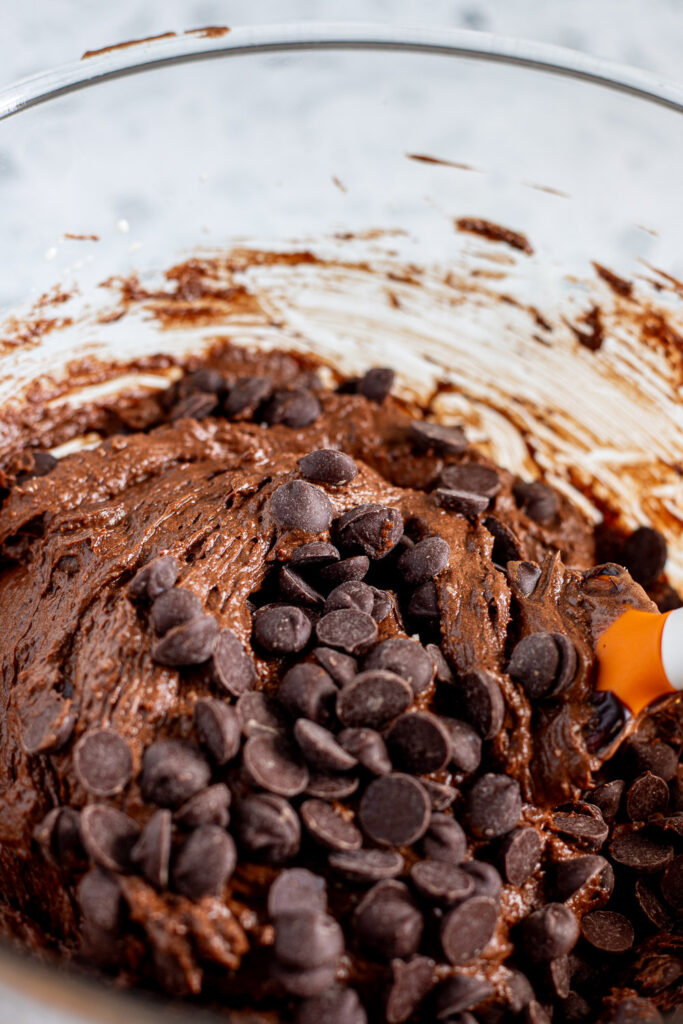
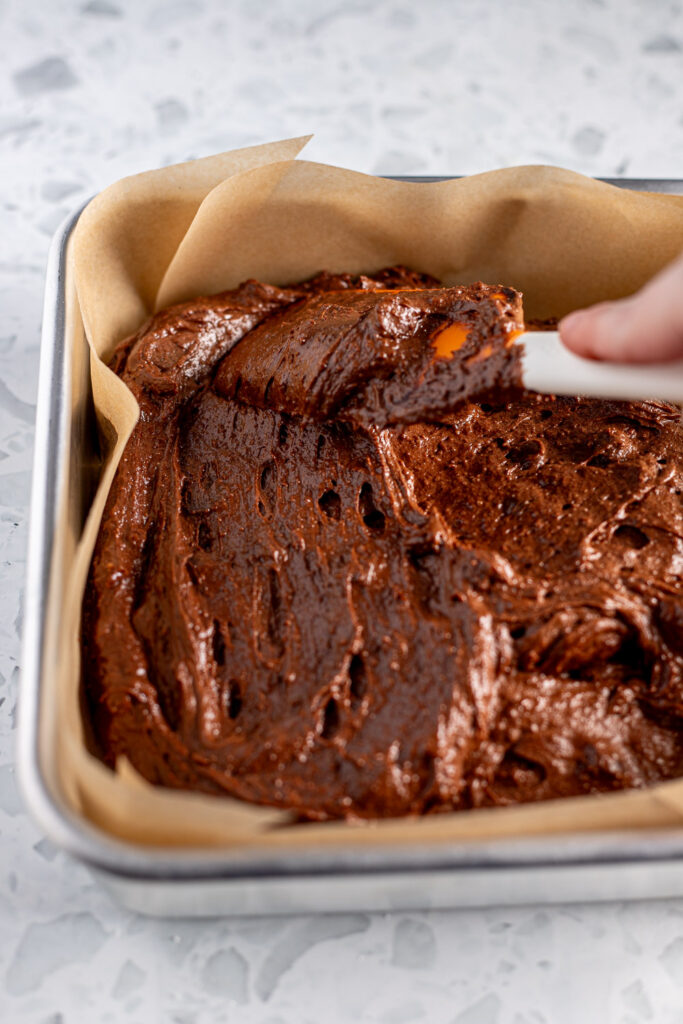
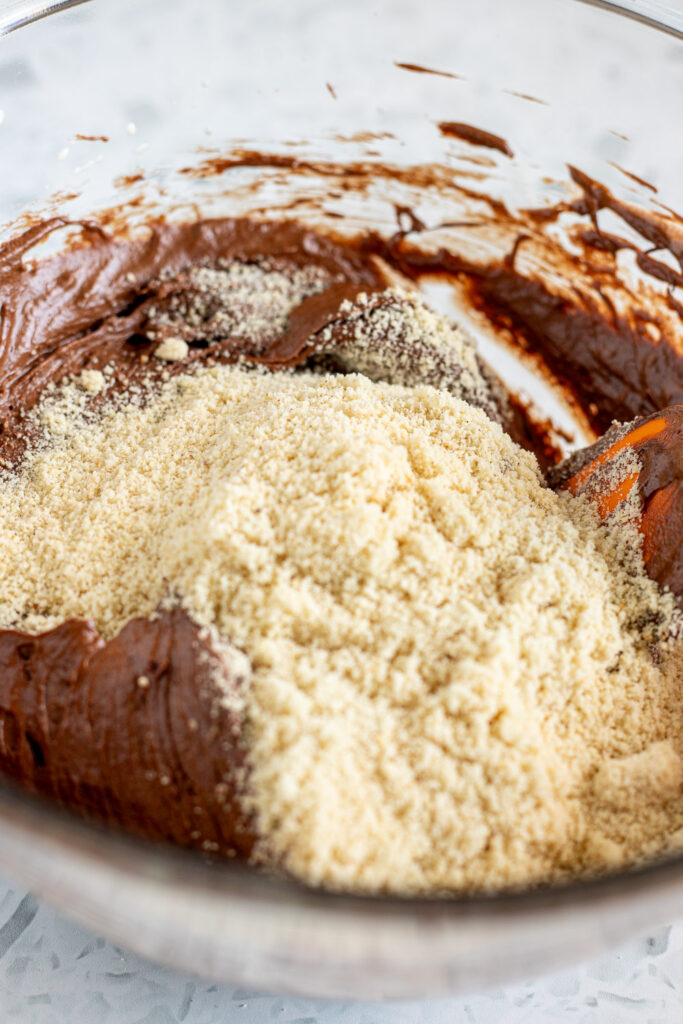
7. Fold in the dry ingredients (and choc chips) – Switch to a rubber spatula and gently fold in the almond meal and salt until combined. Then fold in the chocolate chips. The batter will be on the thicker side.
8. Pour into baking tin – Scrape the brownie batter into the lined tin. Use your spatula to nudge it into the corners and smooth the surface the best you can.
9. Bake – Place on the centre rack and bake for approximately 30-35 minutes, or until a toothpick inserted in the centre comes out with moist crumbs. Smears of melted chocolate are fine, but if you see wet batter, bake for a few minutes longer.

10. Cool & Serve – let cool completely in the tin before cutting and serving.
How to Tell When Fudgy Brownies are Done
The old “bake until a toothpick comes out clean” rule doesn’t really apply to fudgy brownies like this. What you’re looking for on your toothpick is thick, moist crumbs. and smears of melted chocolate. There should be no wet, glossy batter, and the top of the brownies should look set.
32 minutes seems to be the sweet spot for me. But because every oven is different, I would suggest you start checking from the 25-minute mark.
A couple things to remember:
- In this instance cracks ≠ overbaked! The meringue top sets quickly, while the batter underneath continues to cook and expand, causing those cracks across the surface.
- Brownies continue to cook and firm up as they cool, so it’s better to err on the side of underdone.
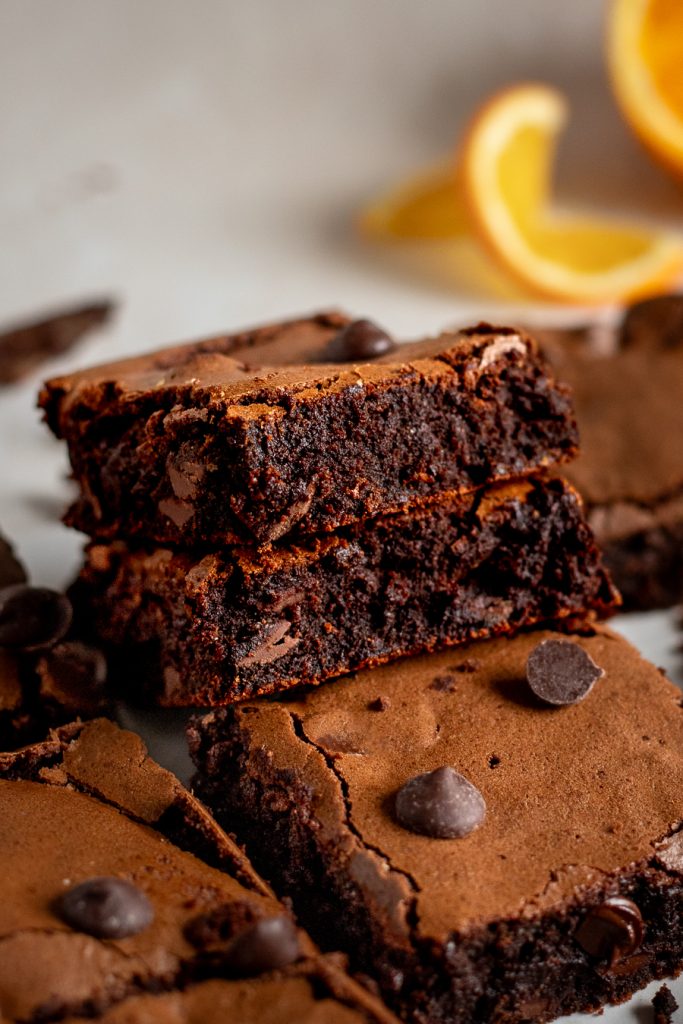
How to Cut Flourless Brownies Cleanly
- Cool completely. Flourless brownies are very delicate when they’re still warm! Let them cool completely in the tin before attempting to lift them out using the parchment paper. If they start to flex or crack in the middle, stop and let them cool for longer.
- Chill (optional). If you want perfectly clean cuts and smooth edges that almost resemble a block of fudge, refrigerate the brownies for a couple hours, or overnight. I personally don’t do this, as I prefer the moist crumb texture of a room temperature brownie.
- Use a warm, straight-edged knife. Run your knife under hot water, dry it with a towel, then make cuts in a single downward motion. Absolutely do not use a serrated knife and never saw back-and-forth. Wipe the blade clean between each cut.
More Recipes for Chocolate-Lovers
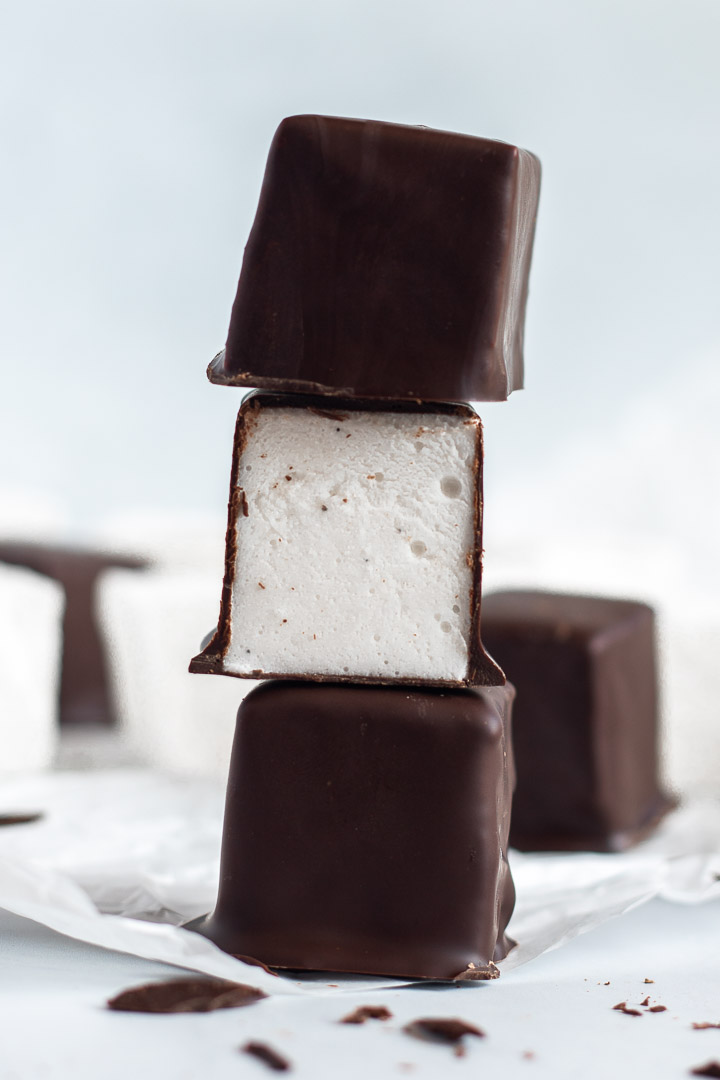
- Homemade Chocolate-Covered Marshmallows (naturally gluten free)
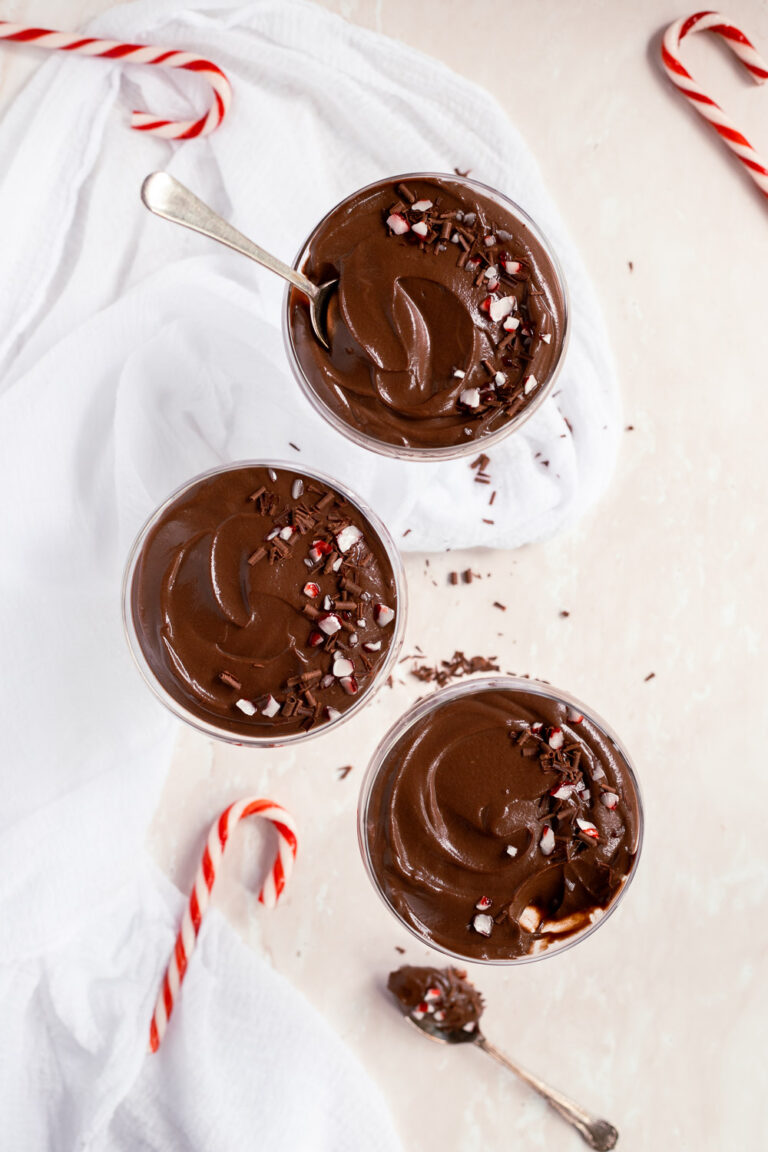
- Chocolate Peppermint Pudding (also gluten-free!)
- Chocolate Guinness Cake with Vanilla Malt Buttercream (very much not gluten free, but so delicious!!!)
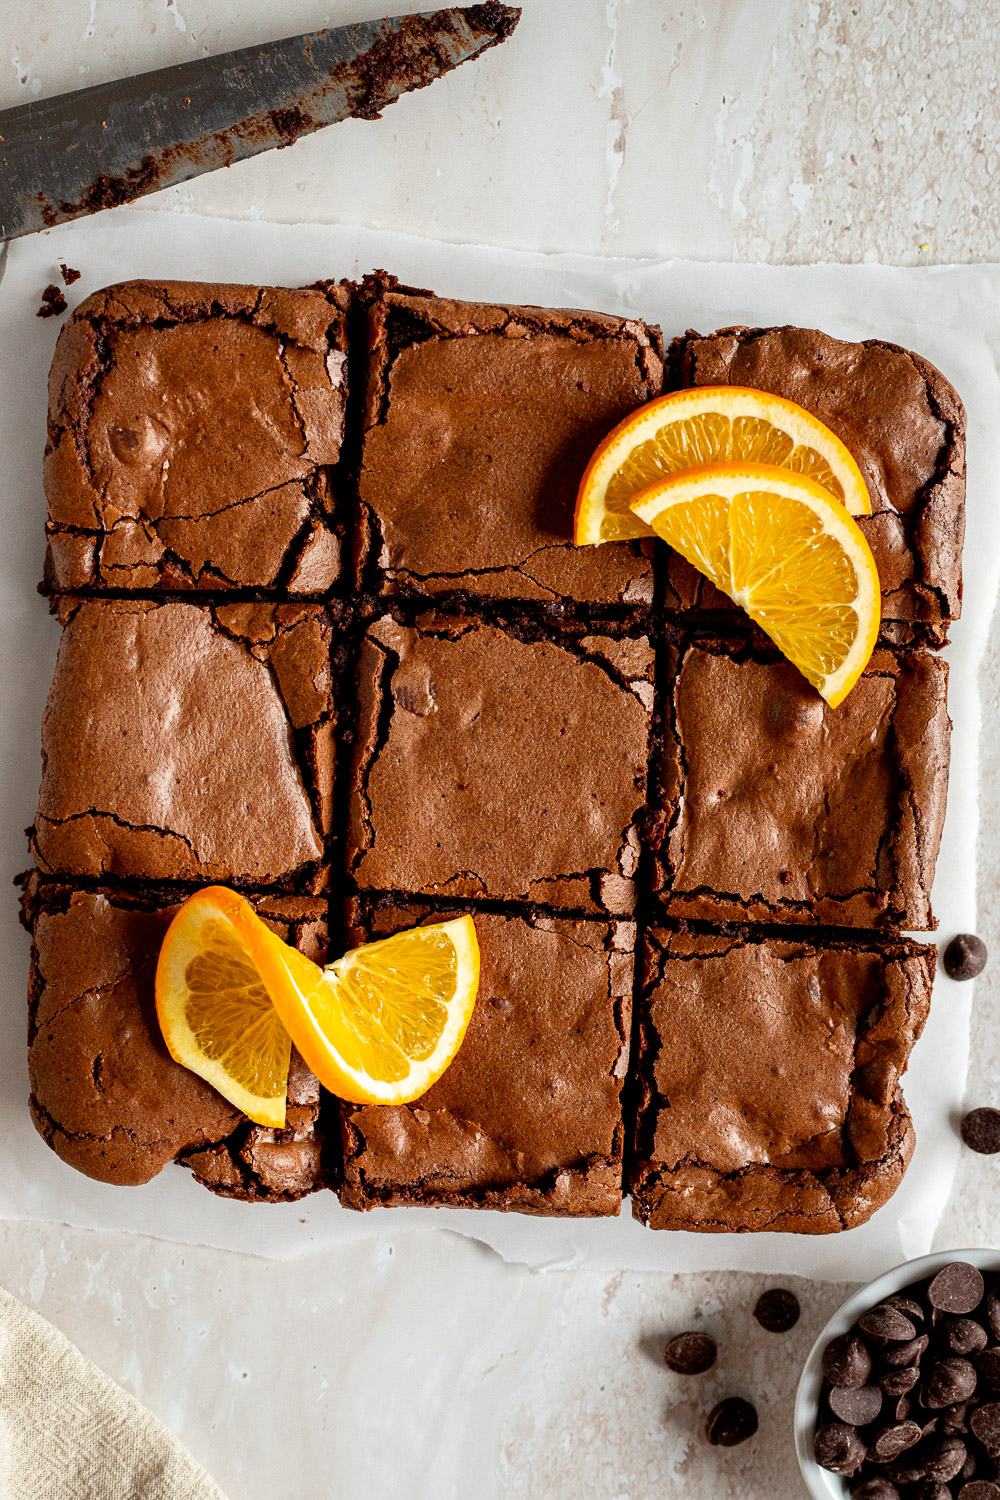
Flourless Chocolate Orange Brownies
* Please note: all cup measurements are approximate and based on Australian standard cups (250ml). For best results, weigh your ingredients with a kitchen scale.
Equipment
- 20 cm (8-inch) square baking tin, metal recommended
- hand mixer or stand mixer with the whisk attachment
Ingredients
- 150 g (5 ½ oz) dark chocolate (60-70% cocoa), roughly chopped
- 125 g (½ cup) butter, cut into evenly sized pieces
- 25 g (⅓ cup) unsweetened cocoa powder
- 220 g (1 cup) caster sugar, sub with any white sugar
- 1 tbsp orange zest, about 1 large or 2 medium oranges
- 3 eggs, at room temperature
- 2 tsp vanilla extract
- 1 tbsp orange liqueur, such as Cointreau, Grand Marnier, Triple Sec (sub with freshly squeezed orange juice)
- 90 g (¾ cup) almond meal, not almond flour (see notes)
- ¼ tsp salt, omit if using salted butter
- 130 g (⅔ cup) dark or semisweet chocolate chips, optional
Instructions
- Preheat the oven to 180℃ (160℃ fan/350℉) and line a 20 cm (8-inch) square baking tin with parchment paper. Leave some overhang for easy removal.
- Place the dark chocolate and butter in a microwave-safe bowl. Microwave in 20-second increments, stirring between each interval, until just melted. Sift in the cocoa powder and whisk to combine. Set aside to cool slightly (lukewarm is fine, but it shouldn't be hot).
- In a large mixing bowl, use your fingers to massage the orange zest into the sugar until fragrant (this releases the natural oils for a stronger orange flavour).
- Add the eggs to the bowl and, using an electric mixer, beat together with the sugar until the mixture is very pale, the sugar has mostly dissolved, and the beaters leave thick ribbons when lifted (about 3–5 minutes).
- Add the slightly cooled chocolate-butter mixture, vanilla, and orange liqueur (or orange juice) and beat on low speed until just combined.
- Use a rubber spatula to fold in the almond meal and salt, then fold in the chocolate chips.
- Scrape the brownie batter into the lined baking tin. Spread into an even layer, making sure to push it into the corners.
- Bake on the middle rack for 30-35 minutes. For super gooey brownies, start checking around the 25-minute mark. A toothpick inserted into the centre should come out with thick, moist crumbs, but no wet batter. For firmer brownies, bake closer to 35 minutes, until a toothpick comes out mostly clean. The brownies will continue cooking once they come out of the oven, so be careful not to overbake them.
- Allow to cool fully in the tin before removing and slicing. These are especially delicious served warm with vanilla ice cream!