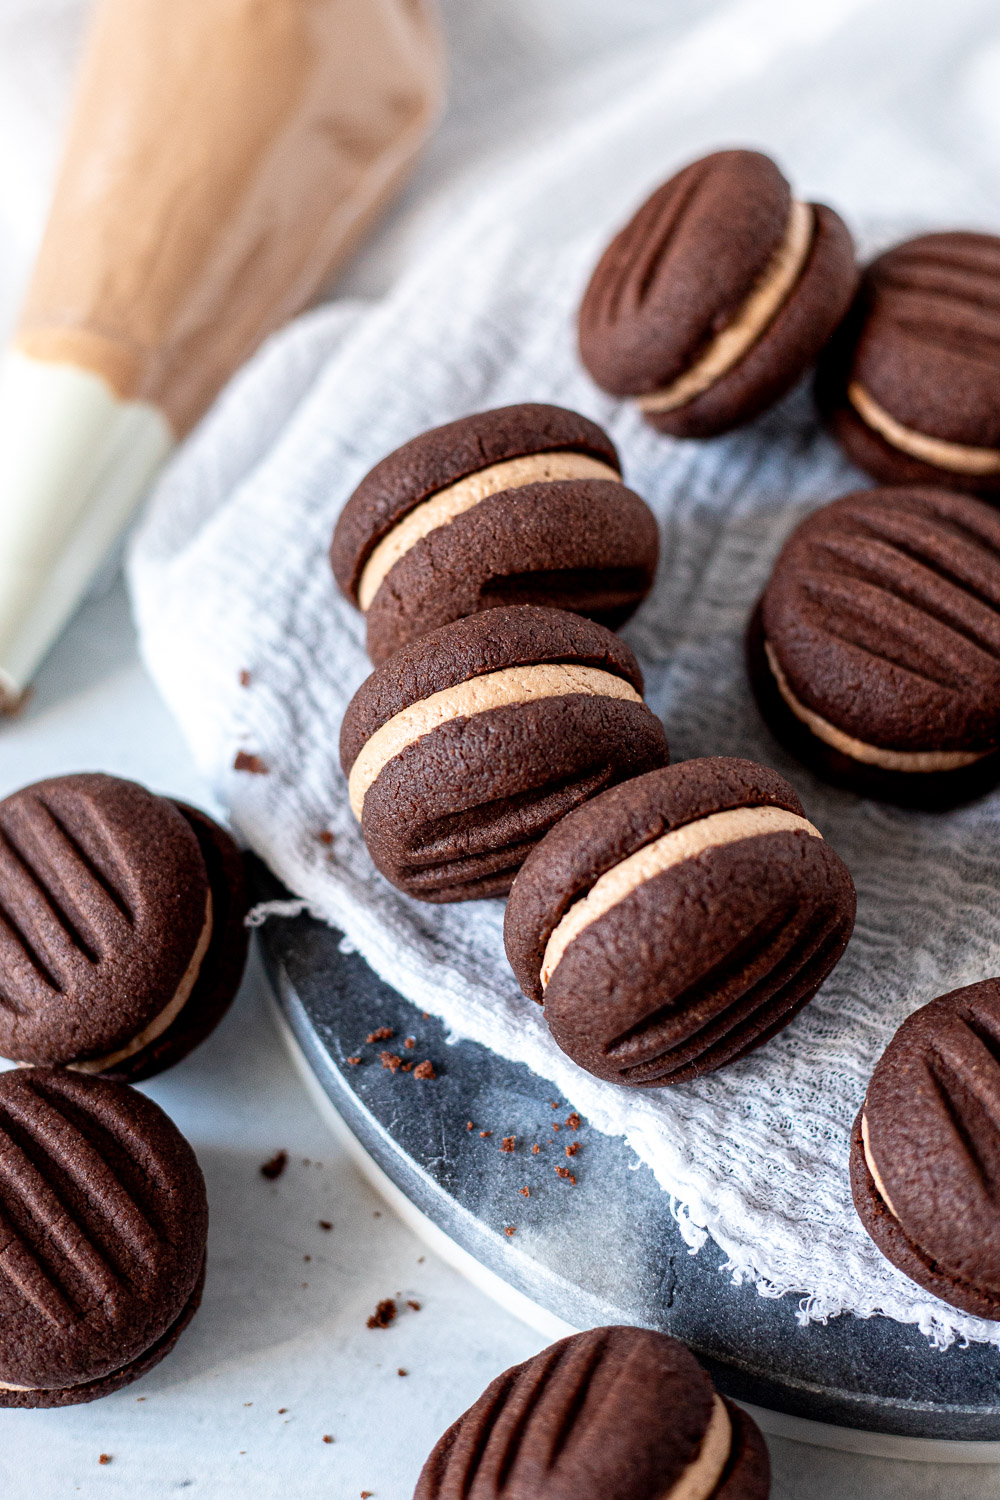
A chocolate hazelnut twist on a true Aussie classic! Bittersweet cocoa biscuits sandwich a fluffy Nutella buttercream, swapping the traditional fruit flavours for something a little more indulgent. Delicate and buttery, these melting moments truly deliver on their melt-in-your-mouth promise.
Jump to…
What Are Melting Moments?
An oldie but a goodie! Melting moments are an Australian-Kiwi café staple, and the biscuit everyone’s nana seems to have stashed away in an old button tin (for good reason).
As the name suggests, these delicate biscuits quite literally melt in your mouth. Traditionally, they’re sandwiched together with a fluffy lemon or passionfruit buttercream. But I’m on a real chocolate kick lately, so today we’re making chocolate hazelnut melting moments!
I swapped some of the flour for cocoa powder, added a little extra sugar to balance the bitterness of the cocoa, and flavoured the filling with chocolate hazelnut spread (AKA Nutella). A little bitter, a little nutty, and not too sweet to have as a mid-morning snack.
And yes, for fear of getting kicked out of the country, I will be using the word ‘biscuit’ rather than cookie. 😁

Melting Moments vs Shortbread
Melting moments share a lot in common with shortbread, but a higher proportion of butter and the addition of cornflour (US cornstarch) gives them their signature melt-in-the-mouth texture. Cornflour works by diluting the protein content, producing a lighter and more delicate biscuit.
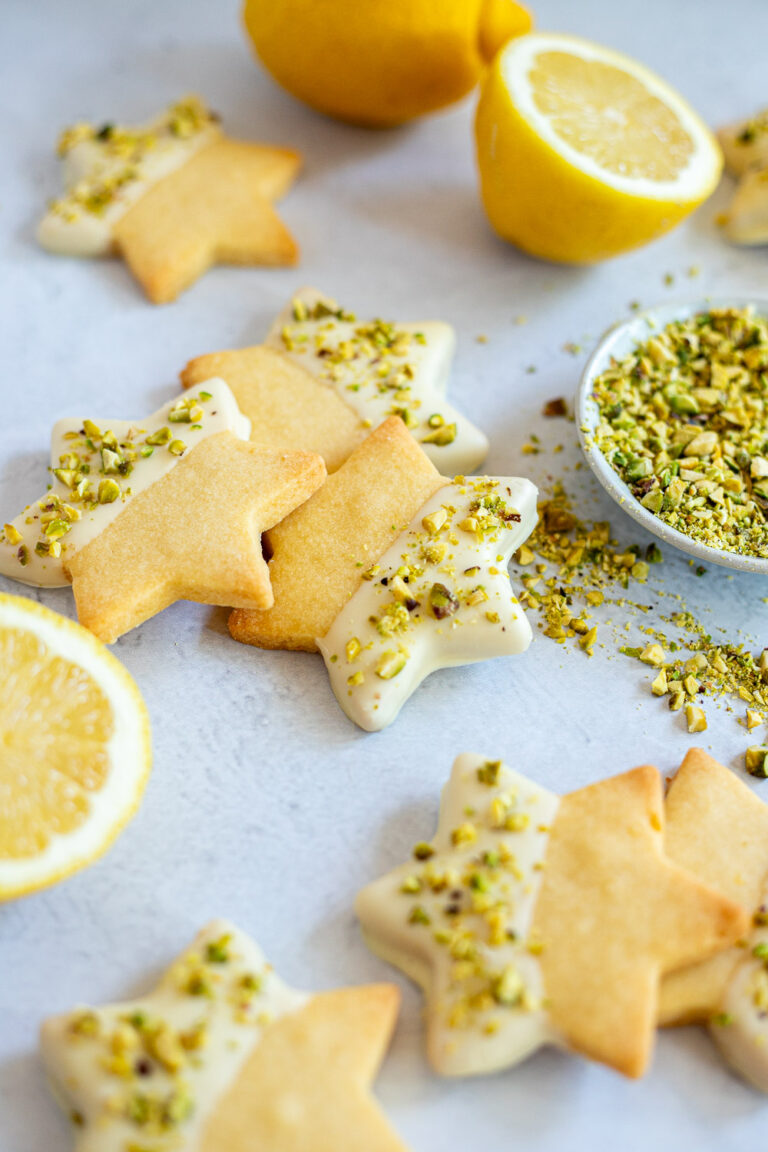
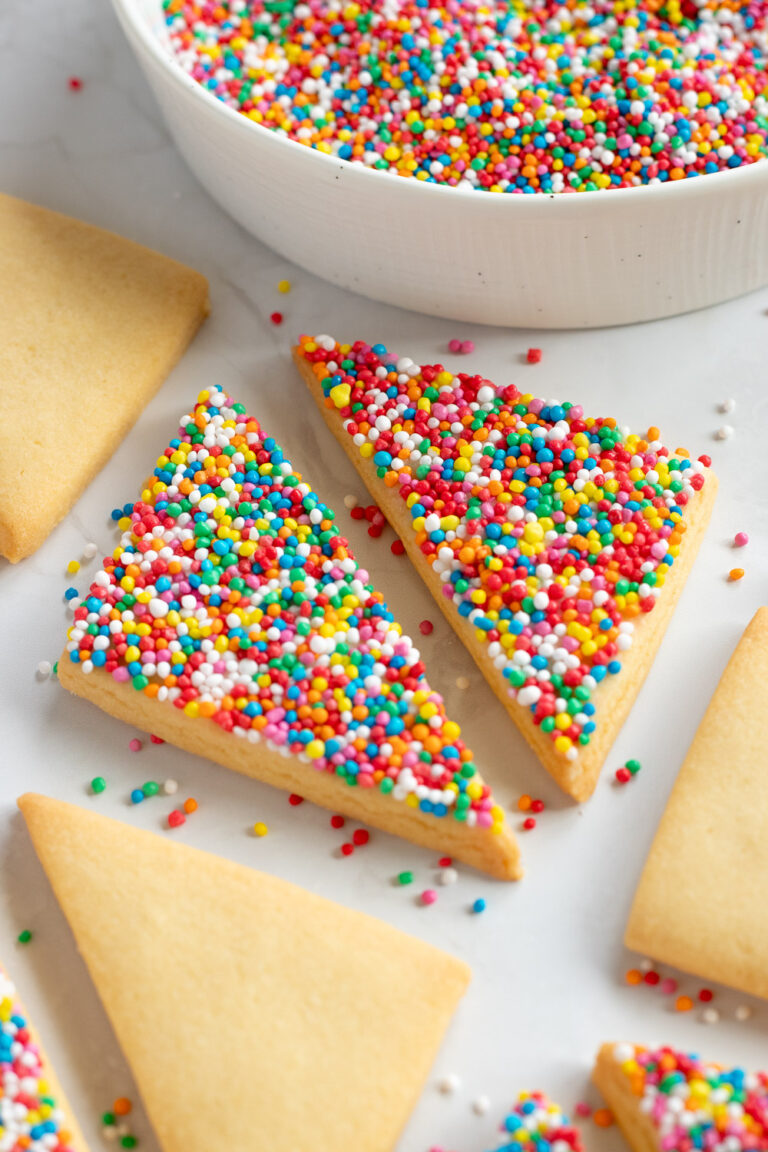
If you prefer a more traditional shortbread texture, you can try my Fairy Shortbread or Lemon Pistachio Shortbread Cookies.
What You’ll Need
As is the case with most old-fashioned recipes, you only need a handful of simple pantry ingredients to make these. Nutella counts as a pantry staple, right?

- Plain flour: also known as all-purpose flour.
- Cornflour: this is what we call cornstarch in Australia. Not to be confused with American “cornflour” which is made from ground corn kernels rather than the extracted starch. Needless to say, this type of cornflour wouldn’t make very nice biscuits!
- Cocoa powder: I use Dutch-process cocoa powder because I prefer the darker colour, and it’s generally more readily available than natural cocoa in Australia. However, natural cocoa will work fine too. Just make sure you’re using unsweetened cocoa powder rather than drinking chocolate.
- Salt: enhances the chocolate flavour and cuts down on bitterness.
- Butter: you’ll need softened butter for both the biscuits and buttercream filling. Let it sit out for about an hour at room temperature, until soft to touch but not melting or greasy! Salted butter is generally fine for these, just make sure to omit the added salt.
- Icing sugar: also known as powdered/confectioners’ sugar. Make sure to sift it well to get rid of any lumps.
- Chocolate hazelnut spread (Nutella): I use Nutella, but this should work with any chocolate hazelnut spread, including supermarket home brands. You could even try a homemade version, like this one from Chocolate Covered Katie.
- Milk: use just enough to loosen the buttercream to a smooth, spreadable or pipe-able consistency. Cream would also work if that’s what you have on hand.
*For the full list of ingredients with measurements, see the recipe card below
How to Make Chocolate Hazelnut Melting Moments
This is a really simple recipe — if you’ve ever made shortbread and/or buttercream before, that’s essentially all we’re doing! Equipment-wise, you’ll just need an electric hand mixer or stand mixer with the paddle attachment.
Make the biscuit dough
1. Combine the dry – Add the flour, cocoa powder, cornflour, and salt to a medium bowl and whisk until evenly combined. If your cocoa powder is lumpy, make sure you sift it first!
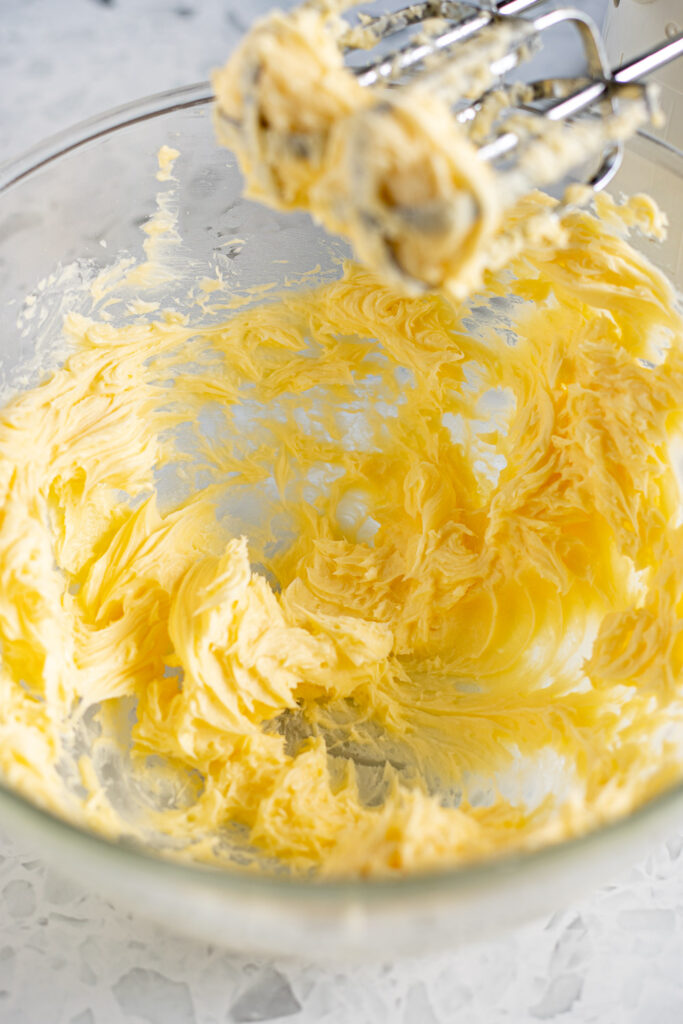
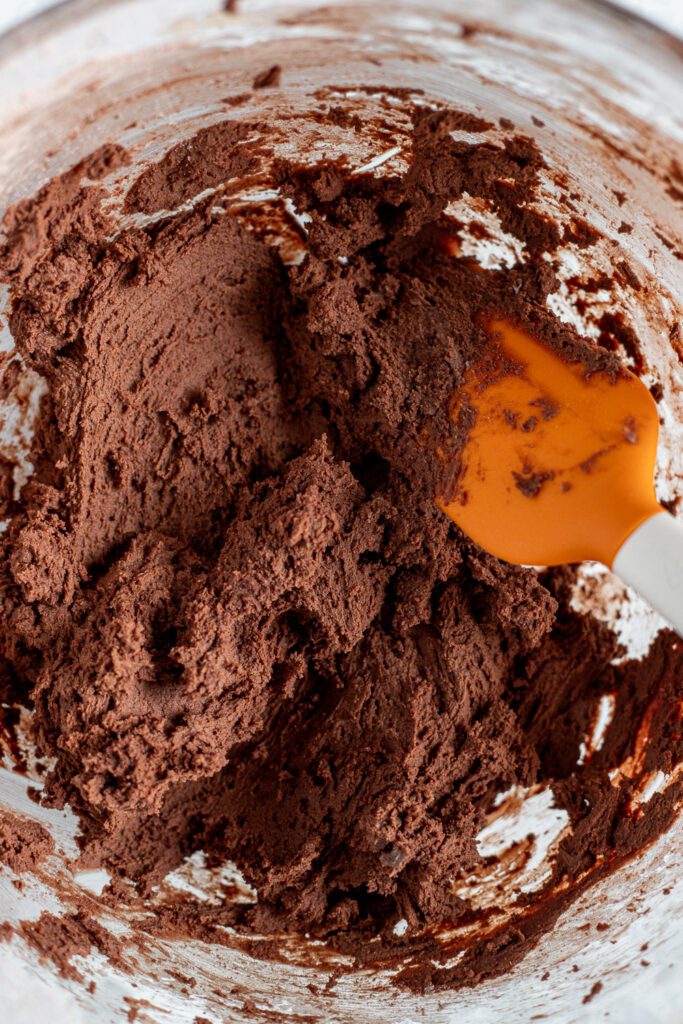
2. Cream the butter and sugar – Use a hand mixer or stand mixer fitted with the paddle attachment to beat the butter and sugar for 2-3 minutes, until light and fluffy.
3. Add dry in batches – With the mixer on low speed (to prevent a cloud of cocoa powder), beat in the dry ingredients a little at a time until fully incorporated. If your beaters start to clog up, switch to a rubber spatula and finish mixing by hand.
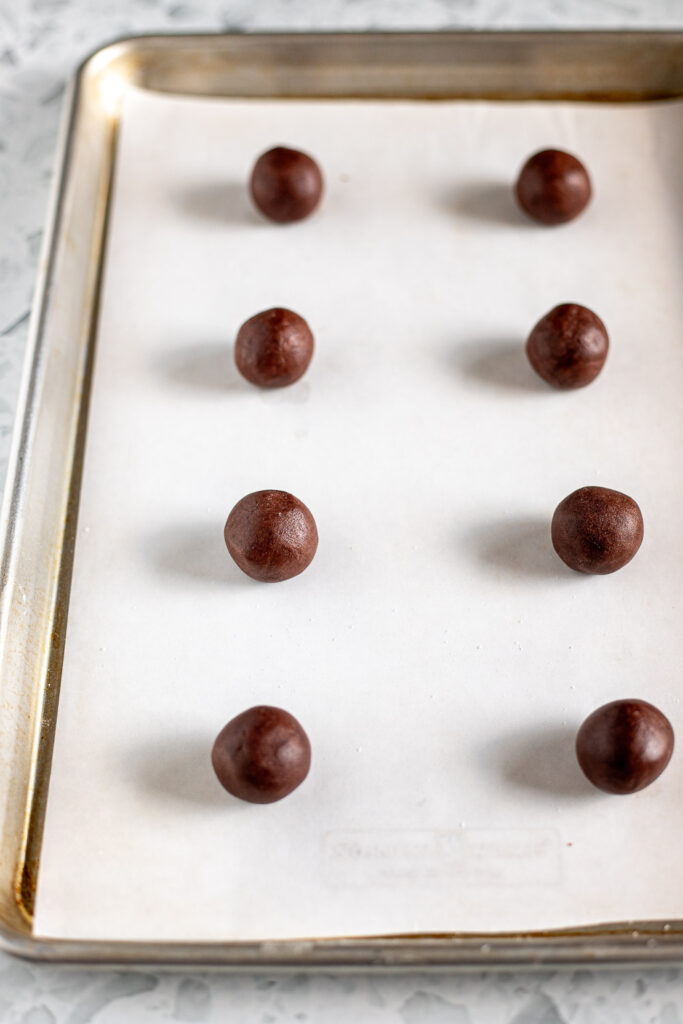

4. Roll – With lightly floured hands, divide the dough into 1 tbsp portions (15 g, if you want to be precise) and place on parchment-lined baking trays, leaving at least 5 cm (2 inches) between each. You should end up with 36-40 balls total.
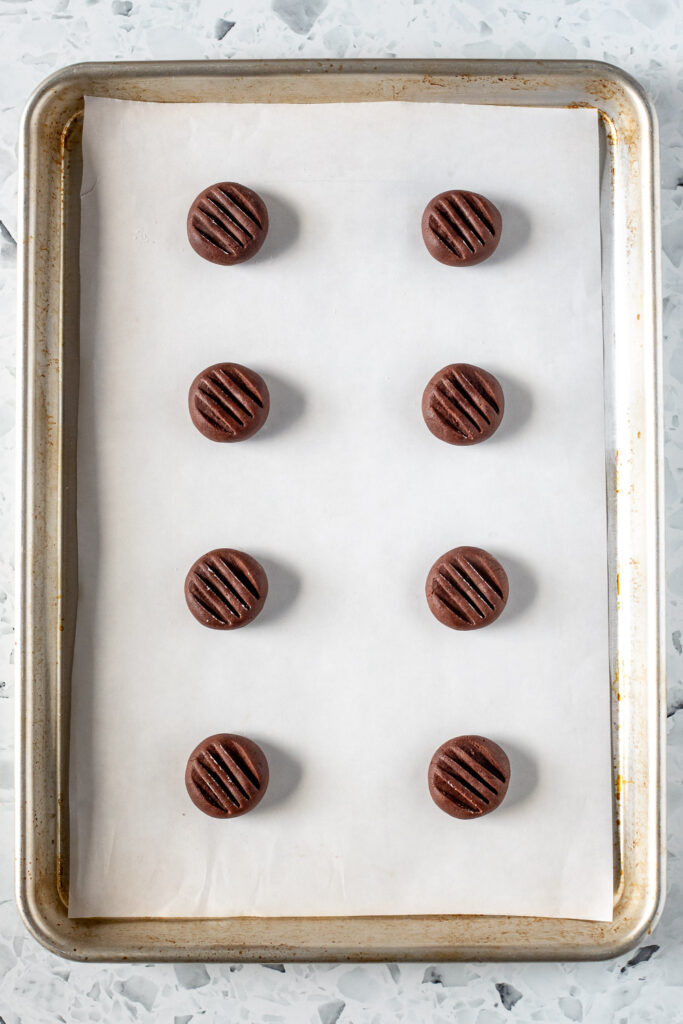
5. Flatten – Dip a fork into flour and tap off any the excess. Press the tines into the top of each dough ball to flatten it slightly. Try to lift the fork straight up rather than dragging it across the dough which makes them a bit lopsided.
6. Chill – Place the trays of biscuits in the refrigerator to chill for at least 30 minutes. This is essential to prevent spreading!
Bake and cool
1. Preheat your oven to 180°C (160°C/350°F).
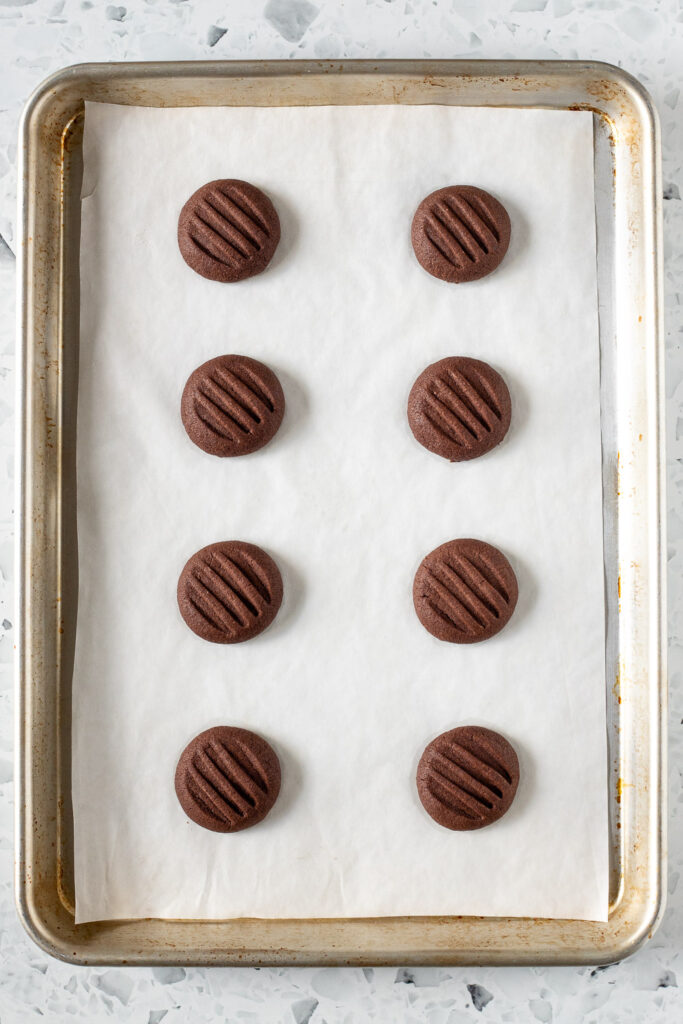
2. Bake until just set – It can be tricky to tell when chocolate biscuits are done. Bake until the tops look set, and slightly puffed, and the surface is dry to touch (about 12-15 minutes). Like most cookies, they firm up a lot as they cool, so resist the urge to overbake. Remember to rotate your trays halfway through for even baking.
3. Cool completely – Don’t pick these up while they’re still hot or they’ll fall apart! Allow to cool for at least 5-10 minutes on the tray before carefully transferring to a cooling rack.
Make the buttercream
1. Beat the butter and sugar – Beat the butter until it looks smooth and creamy, then add the icing sugar in 2-3 batches, mixing on low speed until incorporated.
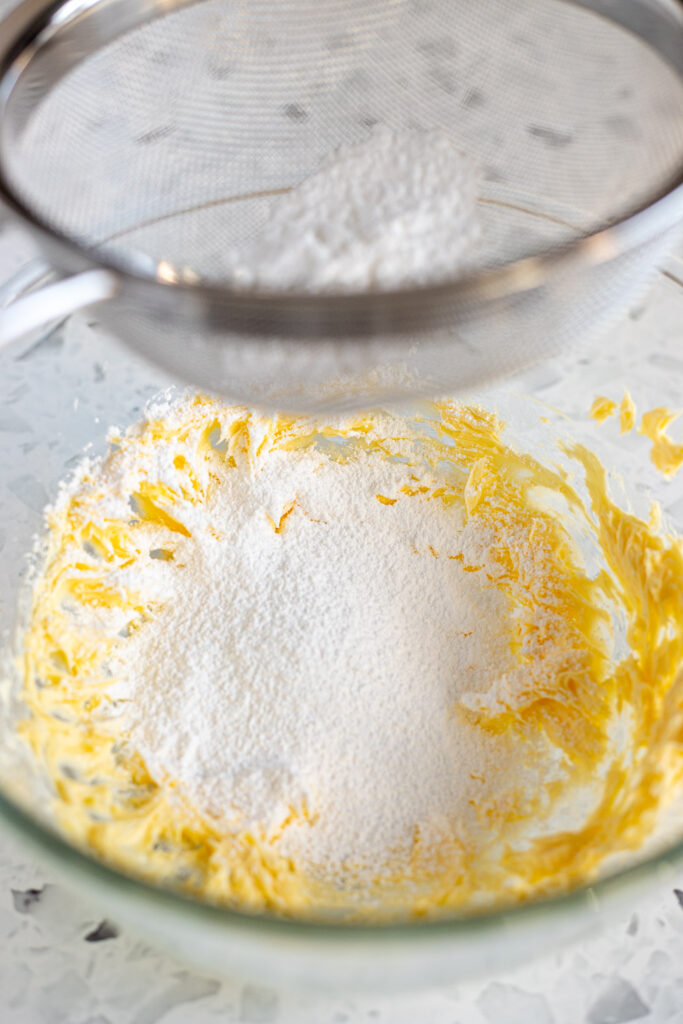
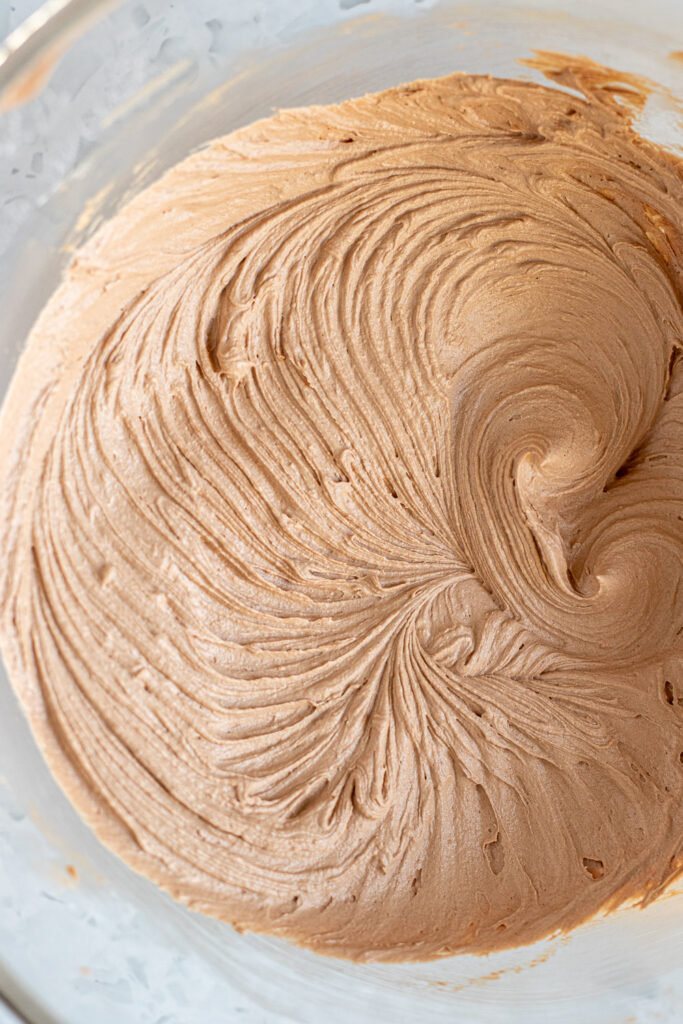
2. Mix in Nutella – Add the Nutella and continue to beat until combined. Turn the speed to high and beat for a further 1-2 minutes to make the buttercream light and fluffy. Make sure to scrape the bottom and sides of the bowl as you go.
3. Adjust consistency – You can add milk if it’s too thick or more icing sugar if it’s too thin. I find I normally need to thin mine out with about 2-3 tsp of milk.
Assemble the biscuits
1. Sandwich with buttercream – Pipe a generous amount of filling onto the flat side of half the biscuits (or spread with a knife), then sandwich with the remaining biscuits. Squeeze gently until the buttercream reaches the edges.

2. Allow filling to set – Chill the melting moments for about 30-60 minutes to help the buttercream firm up.
Quick Tips for Perfect Melting Moments
- Weigh the dough: because the biscuits get sandwiched together they can look a little…shall we say rustic?…if they’re are all different sizes. I like to weigh the dough balls so they pair up neatly, but this is very much the perfectionist in me talking.
- Shape while soft: Unless the dough is feeling particularly warm or greasy (in which case, pop it in the fridge for a few minutes), it’s best to roll and flatten the biscuits before chilling while the dough is still pliable. If you chill first, it can crack when you try to press it down.
- Flour your hands and fork: this is softer and stickier than your typical cookie dough. Lightly flouring your hands and fork will make life much easier when it comes to rolling and flattening.
- Cool the biscuits before filling: to avoid a melty disaster, make sure the biscuits are completely cool before piping or spreading your buttercream.
- Set the buttercream: after filling, I like to chill the melting moments for at least 30-60 minutes. This firms up the buttercream so it shouldn’t squish out when you take a bite.

FAQ
* Please note: all cup measurements are approximate and based on Australian standard cups (250ml). For best results, weigh your ingredients with a kitchen scale.
Equipment
- hand mixer or stand mixer with the paddle attachment
- baking trays
- piping bag with large round tip, optional
Ingredients
- 250 g (1 cup) butter, softened
- 100 g (⅔ cup) icing sugar, sifted
- 195 g (1 ½ cups) plain flour
- 60 g (¼ cup + 2 tbsp) cornflour, cornstarch (US)
- 30 g (¼ cup + 2 tbsp) unsweetened cocoa powder, sifted
- ½ tsp salt, omit if using salted butter
Chocolate hazelnut buttercream
- 85 g (⅓ cup) butter, softened
- 115 g (¾ cup) icing sugar, sifted
- 100 g (⅓ cup) chocolate hazelnut spread, such as Nutella
- 1 tsp milk, plus extra if needed
- pinch of salt, omit if using salted butter
Instructions
Make the chocolate biscuits
- Whisk the flour, cocoa powder, cornflour, and salt until combined. Set aside.
- In a large mixing bowl, or the bowl of a stand mixer, cream the butter and icing sugar together until light and fluffy (about 2-3 minutes).
- Add the dry ingredients to the bowl in batches, mixing on low speed until just incorporated. Stop and scrape down the sides and bottom of the bowl as needed.
- Lightly dust your hands with flour, then divide the dough into 15 g portions (about 1 tbsp each). Roll each portion between your palms until smooth, then place on a lined baking sheet, at least 5 cm (2 inches) apart. Stop and re-flour your hands if the dough starts to stick. Use a lightly floured fork to slightly flatten each ball to an even thickness.
- Place the trays in the fridge to chill for 30 minutes. Meanwhile, preheat the oven to 180℃ (160℃ fan/350℉).
- Bake just until the biscuits look dry and set, about 12–15 minutes. If baking more than one tray at a time, rotate the trays halfway through. Keep any additional biscuits in the fridge until ready to bake.
- Allow to cool on the trays for 5-10 minutes before transferring to a wire cooling rack. Be gentle as the biscuits are very delicate while warm.
Make the chocolate hazelnut filling
- Once the biscuits have completely cooled, make the filling.
- Beat the butter until smooth, then gradually beat in the icing sugar on low speed.
- Beat in the chocolate hazelnut spread and a pinch of salt. Turn the speed to high and beat until very fluffy, another 1-2 minutes.
- Adjust the consistency with milk, starting with 1 tsp and adding more only if needed. The buttercream should be firm but pipeable. If it's too runny, add a little more icing sugar. Transfer to a piping bag fitted with a large, round tip. Or you can spread with a knife if you prefer.
Sandwich the biscuits
- Pipe or spread the filling onto the flat side of half the biscuits. Top with the remaining biscuits, gently pressing together until the filling reaches the edges.
- Allow the assembled melting moments to chill for 30-60 minutes. This is an optional step that helps firm up the buttercream.