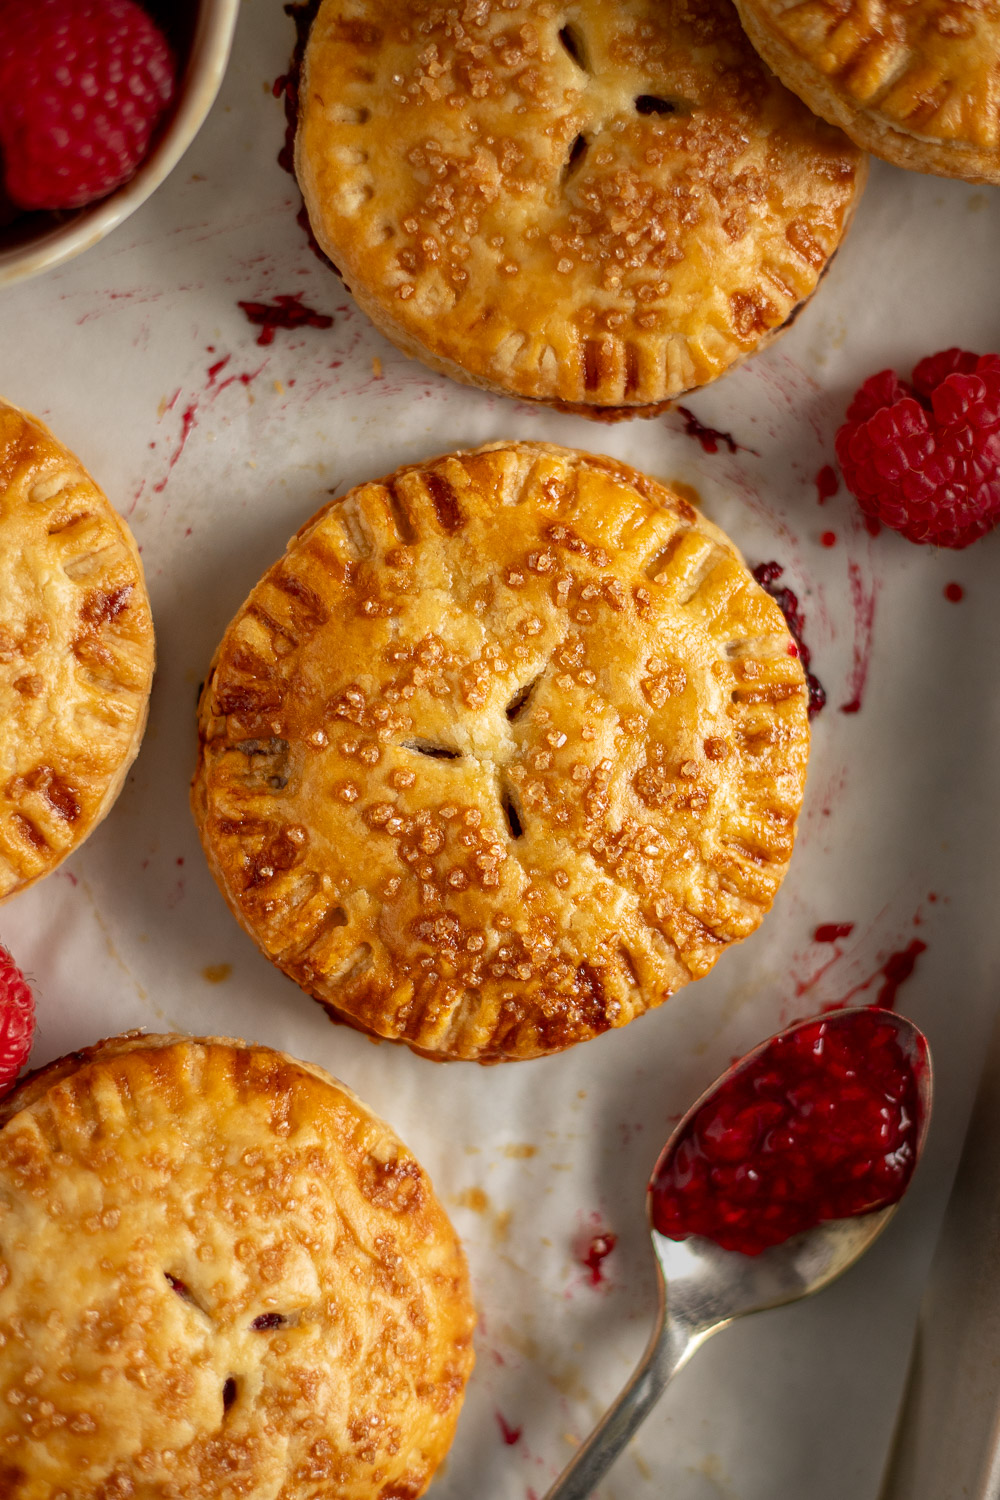
Good things really do come in small packages! These mini raspberry hand pies feature a jammy raspberry filling (made with fresh or frozen berries), encased in flaky, buttery shortcrust pastry. Perfectly portable for lunchboxes and picnics, or a cozy dessert served warm with ice cream. Fork optional.
We’re heading into winter here in Australia where the only affordable fruits lining the supermarket shelves seem to be pears and apples. And while I could happily sustain myself on my Brown Butter Apple Crisp all season, that wouldn’t make for very exciting blog content, would it?
So lately, I’ve been looking for some more inventive ways to bake with frozen fruit, which led me to these mini raspberry hand pies!
These taste just like a full-sized raspberry pie, but they’re mini. And portable. And awfully cute. Plus the bottoms get wonderfully cripsy, something that’s hard to acheive in a traditional pie dish.
They’re the perfect solution for when you can’t be bothered with the commitment of a whole pie — or when you need pie on the go (we’ve all been there)!

A Few Very Good Reasons to Bake These

Ingredient Notes
- Raspberries (fresh or frozen): I like using frozen berries as it’s more economical and doesn’t affect the final taste. If using frozen, don’t defrost them first.
- Sugar: Raspberries vary a lot in sweetness, so I recommend starting with the minimum amount of sugar and adjusting accordingly.
- Lemon juice: This adds a bit of brightness to the filling. Freshly squeezed is always best!
- Water: A small splash of water helps to cook the berries down and is also used to mix with the cornflour to make a slurry (which prevents it from clumping).
- Cornflour (AKA cornstarch): This thickens the raspberry filling into a nice jammy consistency.
- Butter: The secret to a good pie filling! This adds richness and gives the filling a smooth, glossy finish. Salted or unsalted butter are both fine.
- Pie crust: Use homemade pie crust (better flavour) or store-bought pastry sheets for convenience.
- Coarse sugar: Adds a nice crunch and a pretty, sparkly finish to the crust! Any type of raw sugar with large granules (such as Demerara sugar) will work.
- Egg wash: Used to seal the edges of the pies and give the crust a golden finish. You can make a simple egg wash by lightly whisking 1 egg with 1 tbsp of water or milk.
How to Make Raspberry Hand Pies
These hand pies come together very easily! For best results, prepare the pastry and filling ahead of time. The filling should cool to room temperature before assembling, though I recommend covering and refrigerating it for at least 30 minutes if you can. Cold filling makes the pies easier to assemble and helps keep the pastry flaky.
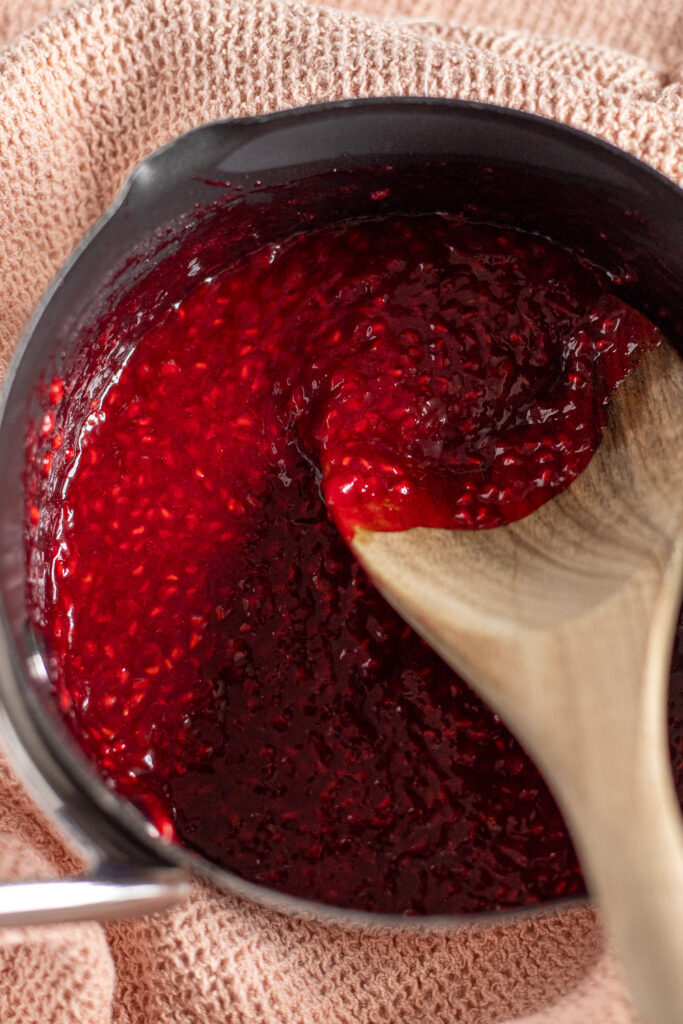
Make the raspberry filling
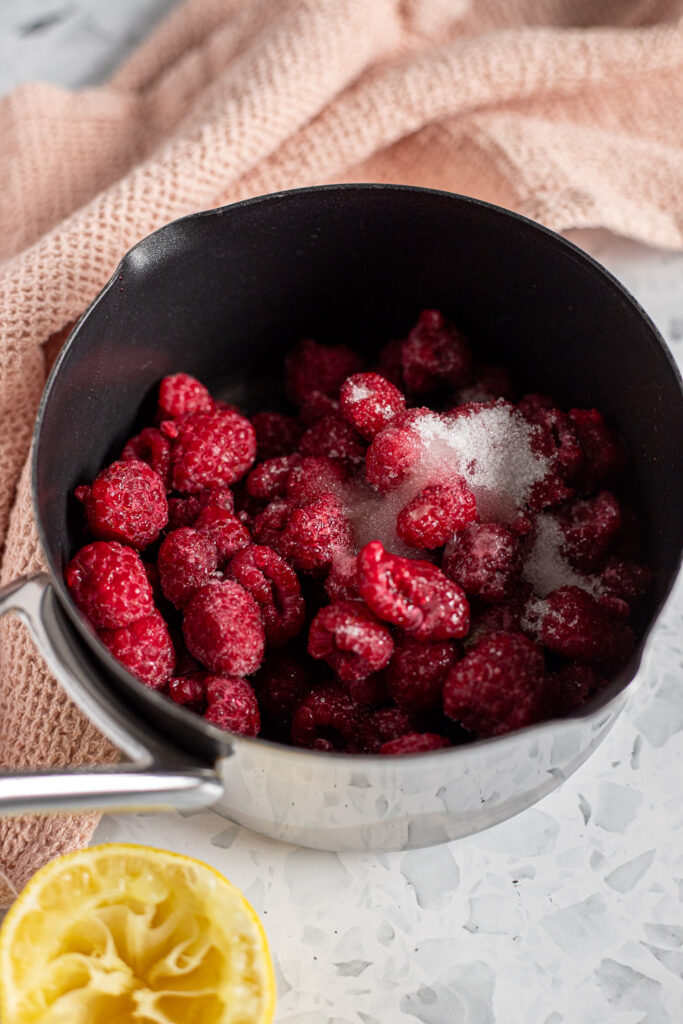
Add the raspberries, 2 tbsp of sugar, lemon juice, and 1 tsp of water to a small saucepan. Simmer gently over low-medium heat, stirring frequently and mashing the berries with your spoon as you go. Give it a taste — if it’s not sweet enough, you can add the remaining 1 tbsp of sugar to balance out the tartness of your berries.
In a small bowl, whisk together the cornflour and 2 tsp of water to make a “slurry.” Once the raspberries have mostly broken down, drizzle this into the saucepan while stirring continuously. The mixture should start to thicken quite quickly.
Remove from the heat once it reaches a jam-like consistency that coats the back of a spoon. Stir in the butter and mix until smooth and glossy.
Allow the filling to cool completely before using (you can pop it in the fridge to speed this up).

Assemble the hand pies
Remove your pie crust from the fridge. If it’s very cold, or if you’re using frozen store-bought pastry, let it rest on the countertop for 5-10 minutes before rolling.
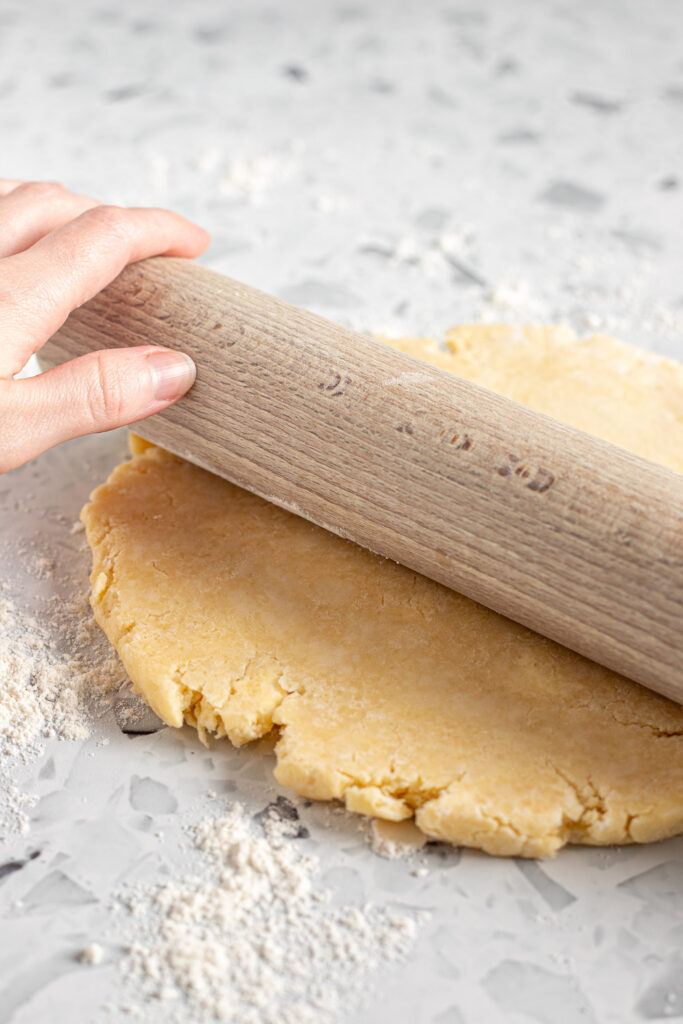
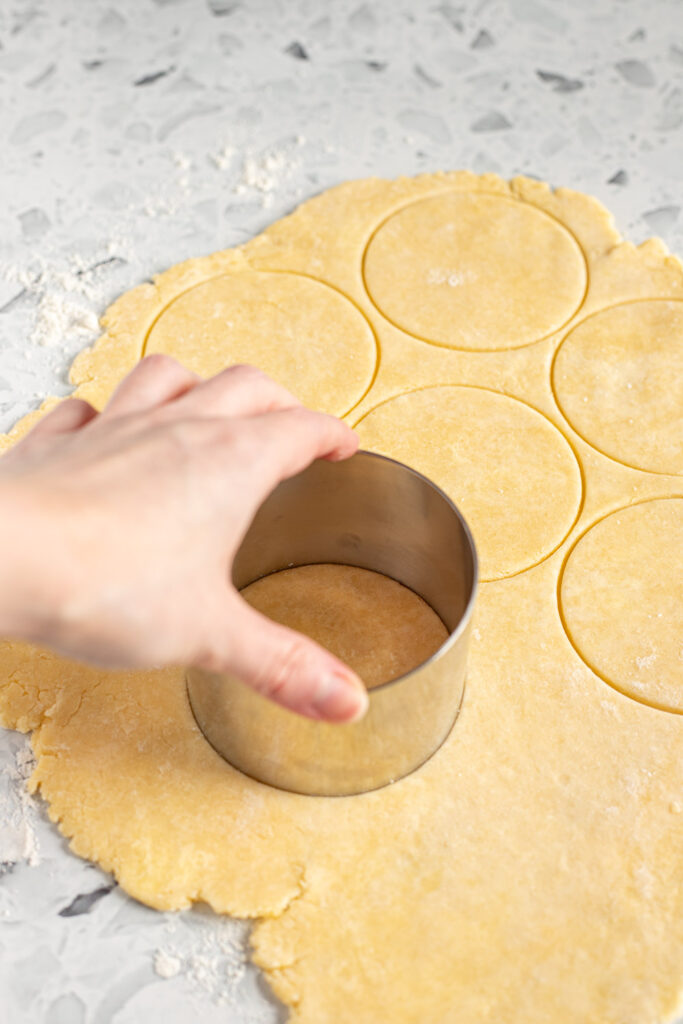
Roll the dough – On a lightly floured surface, roll out the dough to a thickness of around 1.5-3 mm (1/16-1/8 in).
Cut circles – Cut into 7-8 cm (3-inch) circles and place these on a lined baking tray. Cut the circles as closely together as possible to minimise re-rolling the dough. I was able to get 16 circles total after re-rolling just once.
Chill for 10 minutes before filling.
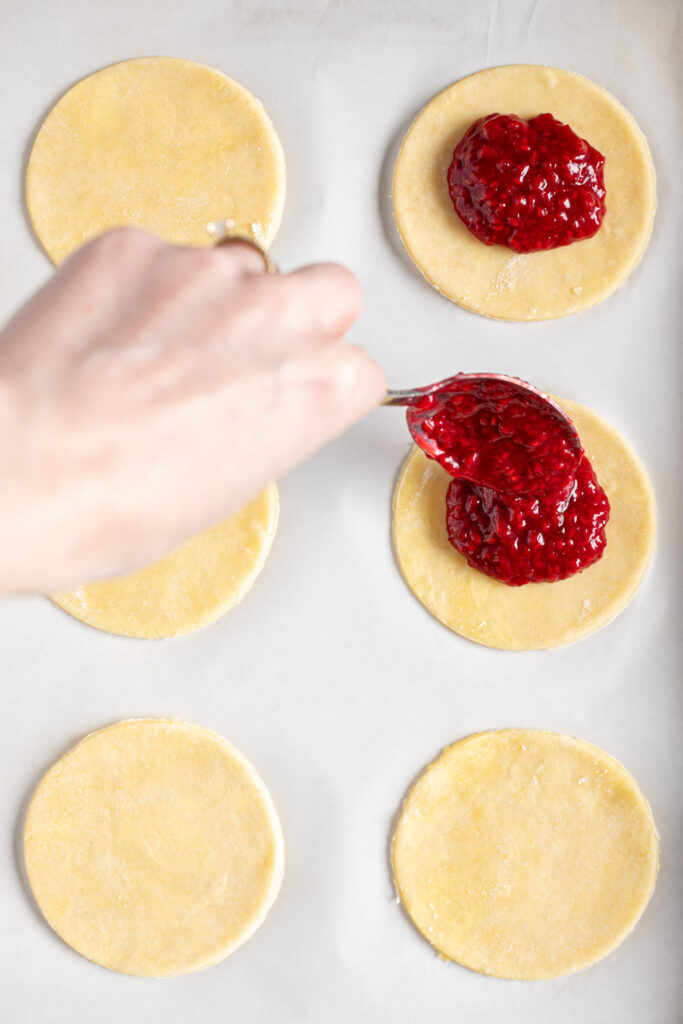
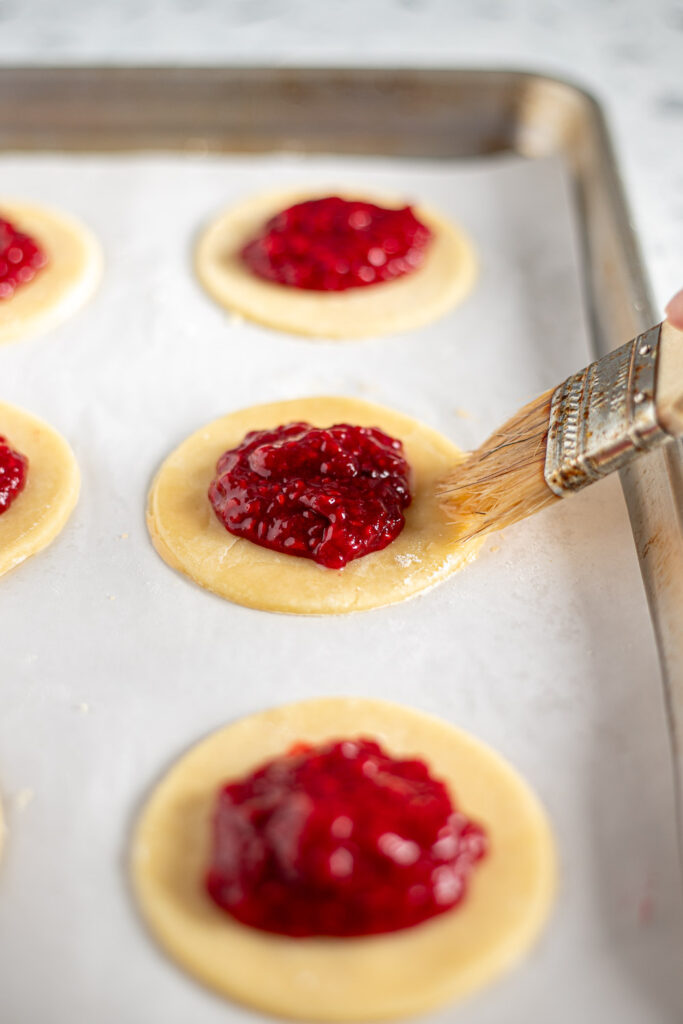
Fill the hand pies – Place about 1 tablespoon of filling in the centre of half the circles (these will be the bottom crusts). Try to mound the filling in the centre (it should hold its shape if it’s thick enough), and leave a clean 1.5 cm (1/2-inch) border around the edges.
Seal the edges – Lightly brush the edges with egg wash, then place the remaining circles (the top crusts) over the filling. Press firmly all the way around to seal. Don’t worry if a little bit of filling oozes out in the process!
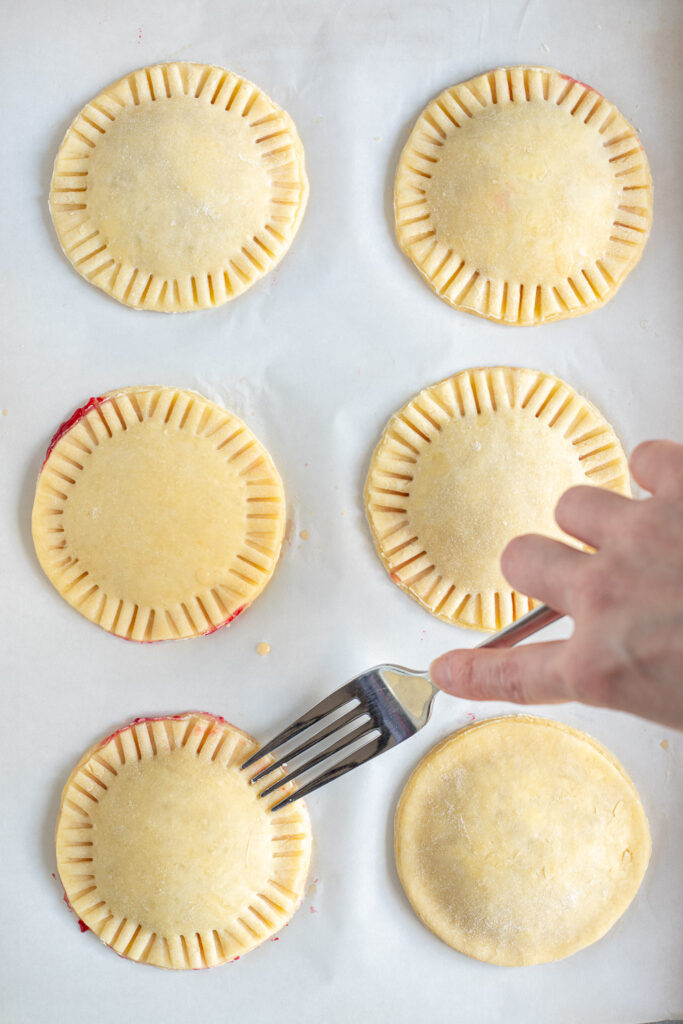
Crimp with a fork – Use the tines of a fork to make a decorative crimp around the edges.
Chill the assembled pies for 20-30 minutes.
Finishing touches – Use a sharp knife to cut vent holes in the top of each hand pie (this prevents them from bursting open in the oven!). Brush with egg wash, then finish with a sprinkle of coarse sugar.

Bake the hand pies
Preheat your oven to 200°C (180°C fan/400°F). Bake the hand pies for 25-30 minutes until golden brown, rotating the trays halfway through to get an even colour. Cool briefly on the tray before transferring to a cooling rack.
Tips for Success
- Keep everything cold: Cool your filling completely before assembling the pies and keep your pie dough cold throughout the process. Chill the cut circles before filling, and then chill the assembled pies again before baking. This keeps the crust flaky and prevents it from leaking butter in the oven or losing its crimped detail.
- Avoid a runny filling: The filling should resemble a moderately thick raspberry jam while hot (it will thicken further as it cools). If it seems too watery, continue simmering to cook off some excess moisture. If needed, add more cornflour as a slurry (equal parts water and cornflour) to reach the right consistency.
- Roll the dough thin: Because hand pies are so small its best to roll the dough fairly thin (no thicker than 3 mm / 1/8 inch) to get the right pastry-to-filling ratio. Any thicker and the pies will be overly heavy and doughy.
- Seal them twice: Don’t rely on crimping alone! Brush the inner edges with a light layer of egg wash (this acts a a glue), then use your fingers to firmly press the top and bottom crusts together, ensuring they’re fully sealed all the way around. Finally, finish with a fork.
- Beware of hot pies: This filling gets extremely hot! Make sure you let them cool for at least 10-15 minutes before digging in. Take it from someone writing this with a burnt tongue 😂

FAQ
Mini Raspberry Hand Pies
* Please note: all cup measurements are approximate and based on Australian standard cups (250ml). For best results, weigh your ingredients with a kitchen scale.
Equipment
- small saucepan
- rolling pin
- paring knife, for cutting vent holes
- pastry brush
- circular cookie cutter / biscuit cutter, about 7-8 cm (3 inches) in diameter
- 2 baking trays
Ingredients
- 180 g (1 ½ cups) fresh or frozen raspberries, do not defrost
- 2-3 tbsp sugar
- 1 tsp lemon juice
- 3 tsp water, divided
- 2 tsp cornflour
- 10 g (about 2 tsp) butter
- 1 batch flaky all-butter pie crust (single crust), or store-bought pastry sheets, or leftover pie dough (see notes)
- coarse sugar, for sprinkling (optional)
- egg wash, (1 egg + 1 tbsp water)
Instructions
Make the raspberry filling
- To a small saucepan, add the raspberries, lemon juice, 2 tbsp of sugar, and 1 tsp of water. Set over low-medium heat and bring to a gentle simmer. Taste and add the remaining 1 tbsp sugar if needed. Continue simmering, stirring frequently, for 5-7 minutes, or until the raspberries have mostly broken down. You can lightly mash the berries with the back of a spoon to help them along.
- In a small dish, combine the cornflour with 2 tsp of water to make a slurry. While stirring continuously, pour the slurry into the saucepan. Continue cooking for a further 1-2 minutes, until the mixture reaches a jam-like consistency (it will continue to thicken as it cools). Remove from the heat and stir in the butter. Allow to cool completely before using.
Assemble the hand pies
- Line a couple of baking sheets with parchment paper. On a lightly floured surface, roll out the chilled dough. Rotate the dough 90 degrees every few rolls, adding more flour underneath if it begins to stick. Roll to a thickness between 1.5-3 mm (1/16-1/8 inch). Using a 3-inch cookie cutter, biscuit cutter, or glass of a similar size, cut out as many circles as possible. Gather the scraps and re-roll if needed, being careful not to overwork the dough. You should end up with 12-16 circles in total. Place these on the lined trays and chill for 10 minutes.
- Spoon roughly 1 tbsp of raspberry filling onto the centre of half of the circles, leaving a 1.5 cm (1/2-inch) border. Brush the edges with egg wash, then place another circle on top and press firmly to seal. Use the tines of a fork to crimp the edges. Chill the assembled hand pies for 20-30 minutes.
Bake the hand pies
- In the meantime, Preheat the oven to 200℃ (180℃ fan/400℉).
- Cut vent holes in the top of each pie. Then brush with egg wash and sprinkle with coarse sugar.
- Bake for 25-30 minutes, rotating the trays halfway through, until the pastry is golden brown and the filling is bubbling up through the vent holes. Allow to cool on the trays for 5 minutes, then transfer to a wire rack.