Some links in this post are affiliate links. I may earn a small commission if you purchase through them.
A moist brown sugar sponge infused with real chai tea and warm spices, all wrapped up in silky-smooth vanilla bean Swiss meringue buttercream. A cosy centrepiece for fall evenings, or just the thing to spice up your next birthday celebration.
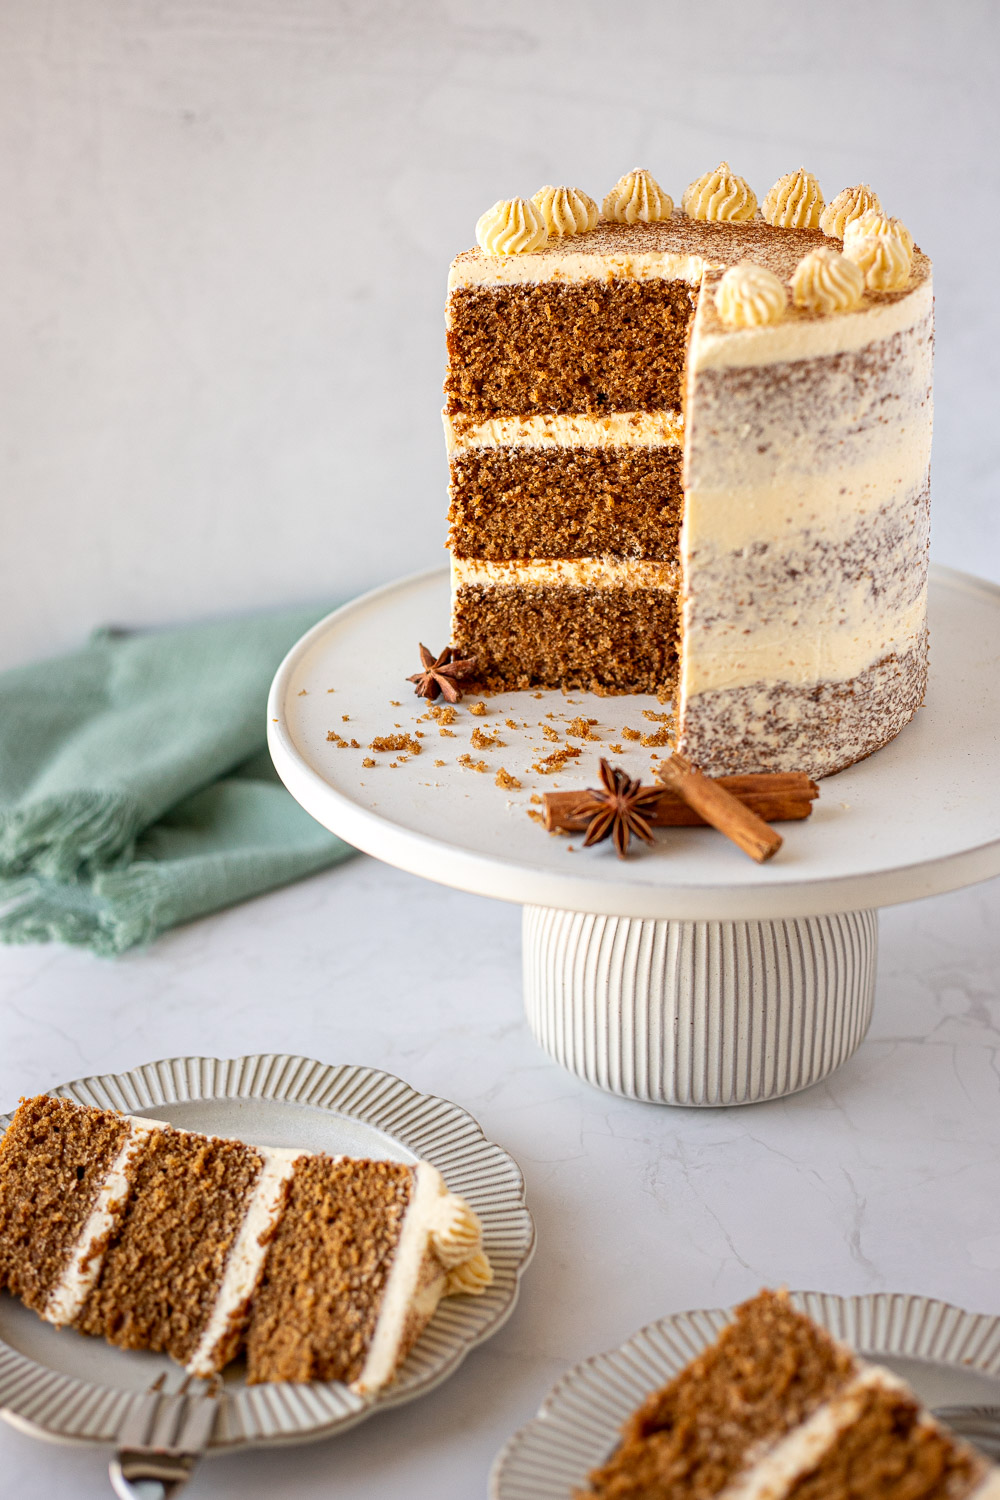
If you’re a fellow chai lover, I’m here to further enable your addiction. This vanilla chai cake brings all the warm, spicy flavour of your favourite cuppa into cake form.
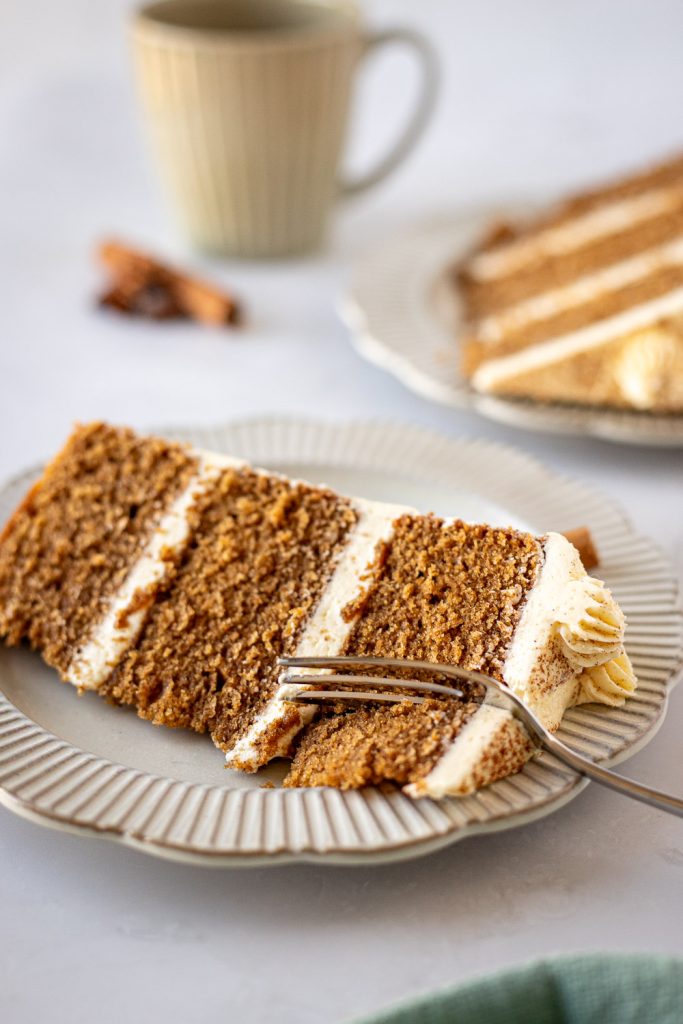
The spice profile is similar to what you’d find in a pumpkin or carrot cake, but more fragrant and complex. The brown sugar sponge is softer and lighter, without any veggies weighing it down! I’ve paired it with my favourite vanilla bean Swiss meringue buttercream, which is far less sweet and heavy than American buttercream.
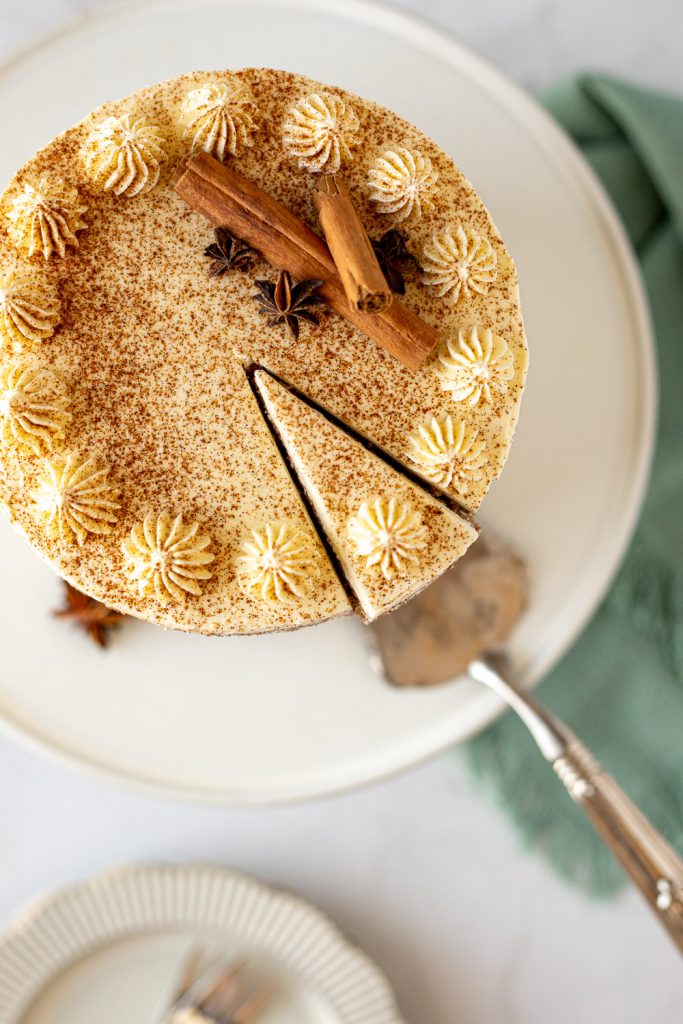
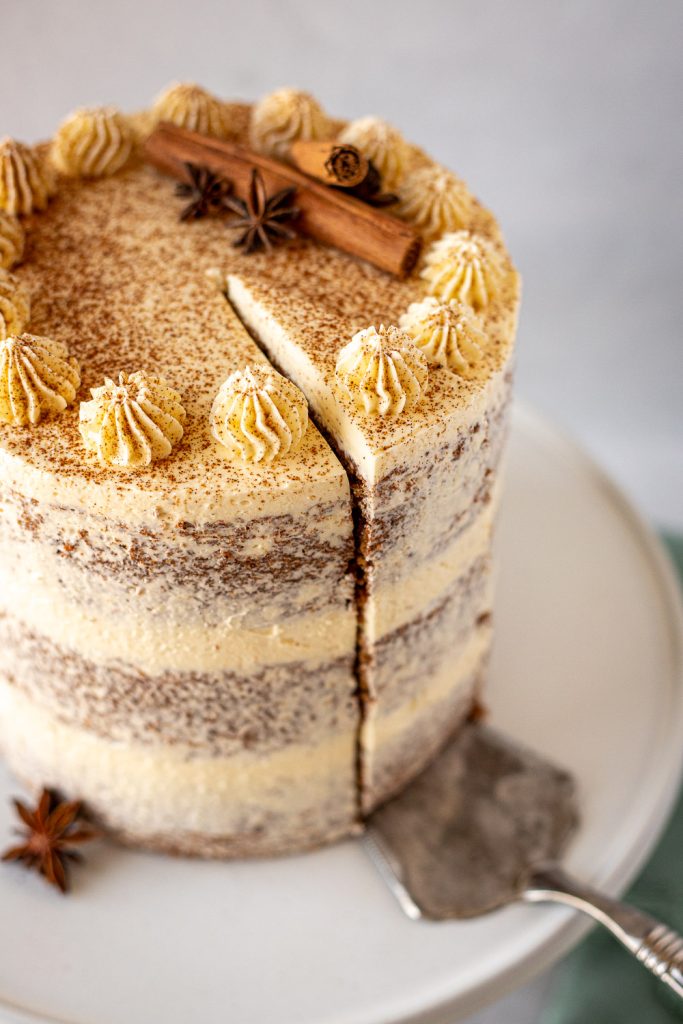
Decorated with naked sides and finished with a dusting of cinnamon, this chai cake is an autumnal showstopper that’s not too difficult to make.
If you’re after more celebration cakes, check out my Chocolate Guinness Cake, Strawberry Matcha Swiss Roll Cake, and Crème Brûlée Cheesecake.
What Exactly is Chai?
In the English-speaking world, “chai” usually refers to a strong, milky black tea brewed with a blend of aromatic spices.
But chai simply means “tea” in several languages, including Hindi and Russian. So when we say “chai tea,” we’re essentially saying “tea tea.” Much like ordering naan bread (bread bread). What fools we are!
Linguistic faux pas aside, what we’re actually sipping is masala chai, which translates to “spiced tea.”
This cake is inspired by the flavours of masala chai, with a few tweaks of my own. It’s beautifully fragrant and cinnamon-forward, with supporting notes of cardamom, ginger, nutmeg, clove, allspice and star anise.
Why This Recipe Works
- The chai flavour: I like to season at every step when I cook and use a similar methodology with baking. Steeping the milk with real chai tea and star anise before it’s added to the batter helps build layers of flavour, rather than relying on the chai spices alone.
- The vanilla buttercream: I was tempted to flavour the buttercream with more chai spices or brown sugar, but I found that a simple vanilla bean icing is exactly what this cake needs to complement the chai flavour without competing with it.
- The moist sponge: Brown sugar, vegetable oil, and sour cream work together to keep the cake layers wonderfully soft and moist.
Ingredient Notes & Substitutions
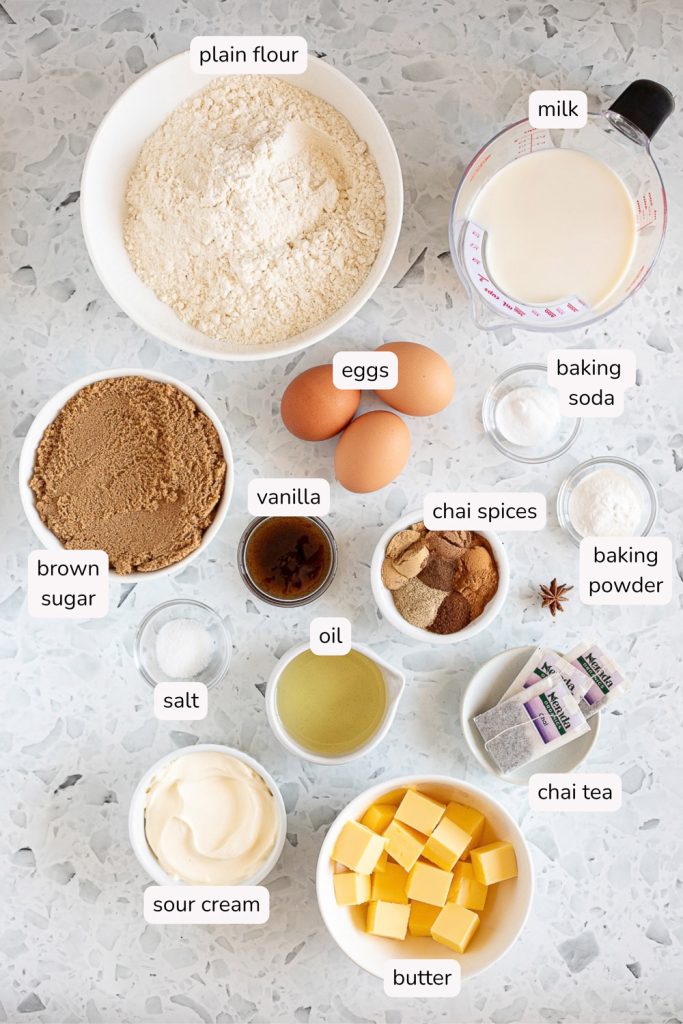
For the cake layers
- Milk: any kind of milk will work (full-fat, skim, plant-based). We’re going to infuse it with chai tea and star anise to build flavour.
- Chai tea: I use chai tea bags for convenience but loose-leaf chai tea would also work.
- Star anise (optional): A common spice used in masala chai. Leave it out if you don’t like the taste (or smell) of black liquorice. It does make for pretty decoration, though!
- Plain flour: Use plain (all-purpose) flour, not self-raising.
- Chai spices: My favourite blend of cinnamon, cardamom, ginger, allspice, nutmeg, and clove. This gets mixed in with the dry ingredients. Feel free to tweak the ratios to your liking, and you can even add a pinch of black pepper for some heat.
- Baking powder + baking soda: I use both in this cake to keep it soft and fluffy. The baking soda reacts with the acidic sour cream to create extra lift.
- Salt: I use salt in all of my baking as a flavour enhancer.
- Brown sugar: Using all brown sugar keeps the sponge moist and adds a caramel-like flavour.
- Butter: Needs to be softened to room temperature so that it creams properly with the brown sugar. Salted butter is okay, just reduce the added salt by half!
- Eggs: Bring to room temperature before using.
- Vegetable oil: Swapping some of the butter for oil keeps the sponge soft, even after it’s been refrigerated. Substitute with any neutral-flavoured oil, like sunflower oil or avocado oil.
- Sour cream: Use full-fat sour cream, or substitute with plain Greek yoghurt.
- Vanilla: A natural pairing with chai spices! I use vanilla bean paste, but pure vanilla extract also works.
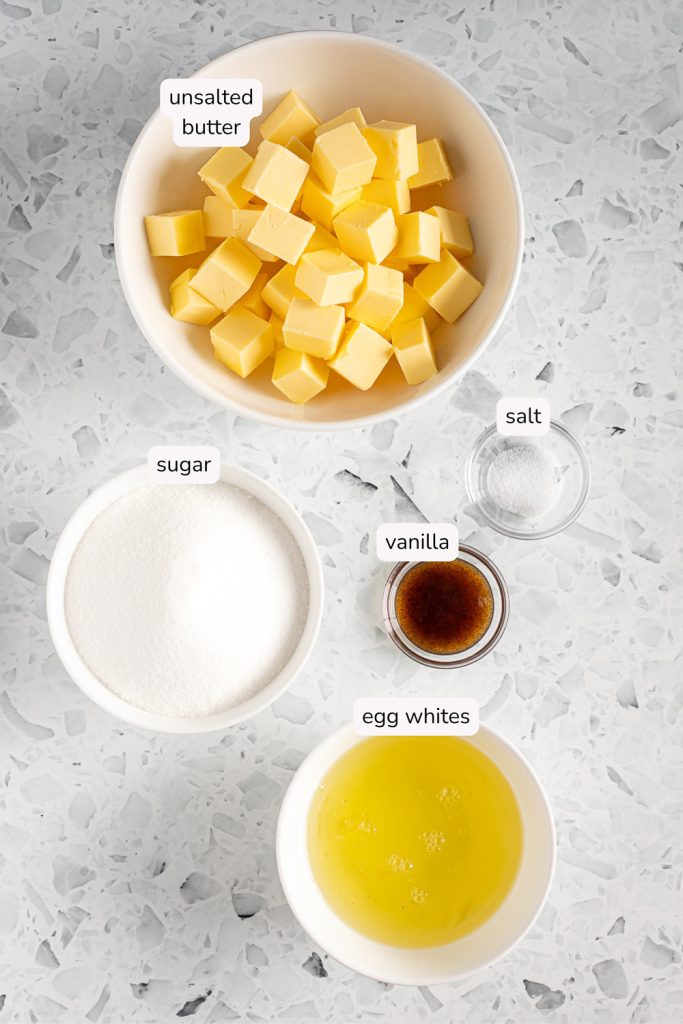
For the buttercream
- Egg whites: You’ll need egg whites from 5 large eggs. These don’t need to be room temperature as we’ll be heating them over a bain-marie anyway. Just be super careful not to get any egg yolk in the whites, as even a small amount of fat can prevent the meringue from whipping properly. I always separate each egg white into a separate bowl before adding it to the rest, so you don’t ruin the whole batch if a yolk breaks.
- Sugar: I use caster sugar because the smaller crystals dissolve faster into the egg whites. Regular granulated sugar is also fine, though.
- Salt: Some versions add the salt towards the end, but I find this can leave small salt crystals in the finished buttercream. So I’ve started dissolving the salt in the egg whites along with the sugar.
- Unsalted butter: Always, always use unsalted butter for Swiss meringue buttercream, otherwise it will taste far too salty and buttery. Cut the butter into 2.5 cm (1-inch) cubes and let it soften slightly at room temperature before using. Don’t let it become too soft or greasy.
- Vanilla: I use vanilla bean paste for the little flecks of vanilla bean throughout. Substitute vanilla extract or even fresh vanilla bean if you’d like.
*For the full list of ingredients with measurements, see the recipe card below
How to Make Vanilla Chai Cake
Make the cake layers
1. Prep – Preheat the oven to 180°C (160°C fan/350°F). Lightly grease three 15 cm (6-inch) cake tins, then line the bases with circles of parchment paper. For extra insurance against sticking, you can also lightly grease the parchment.
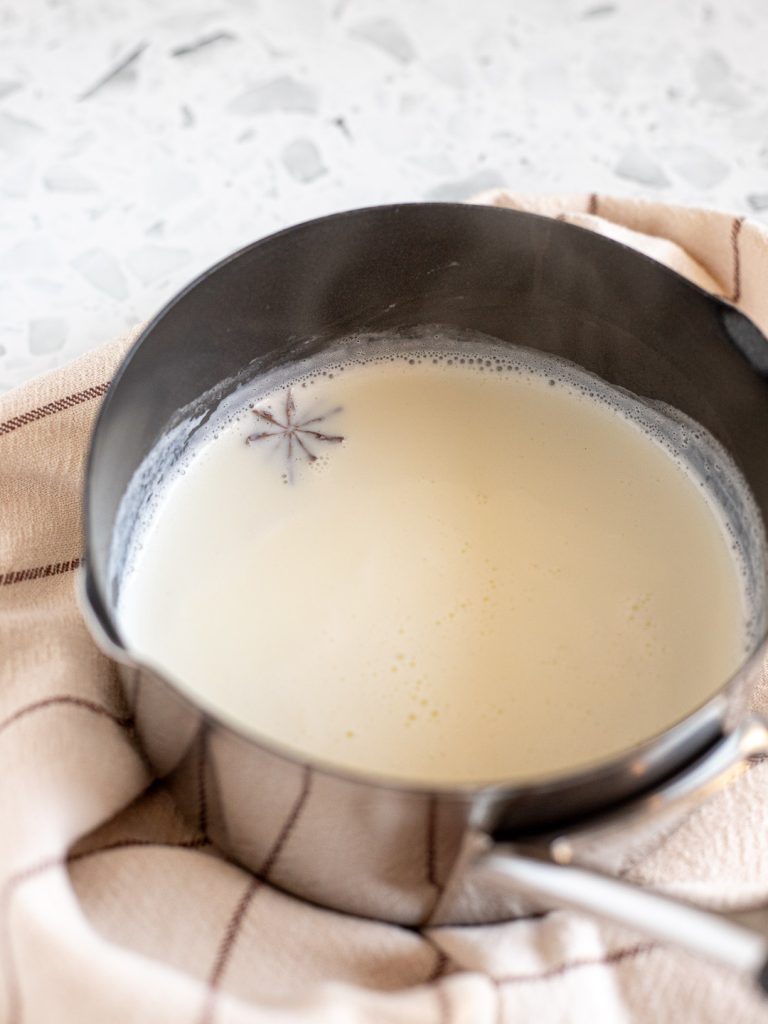
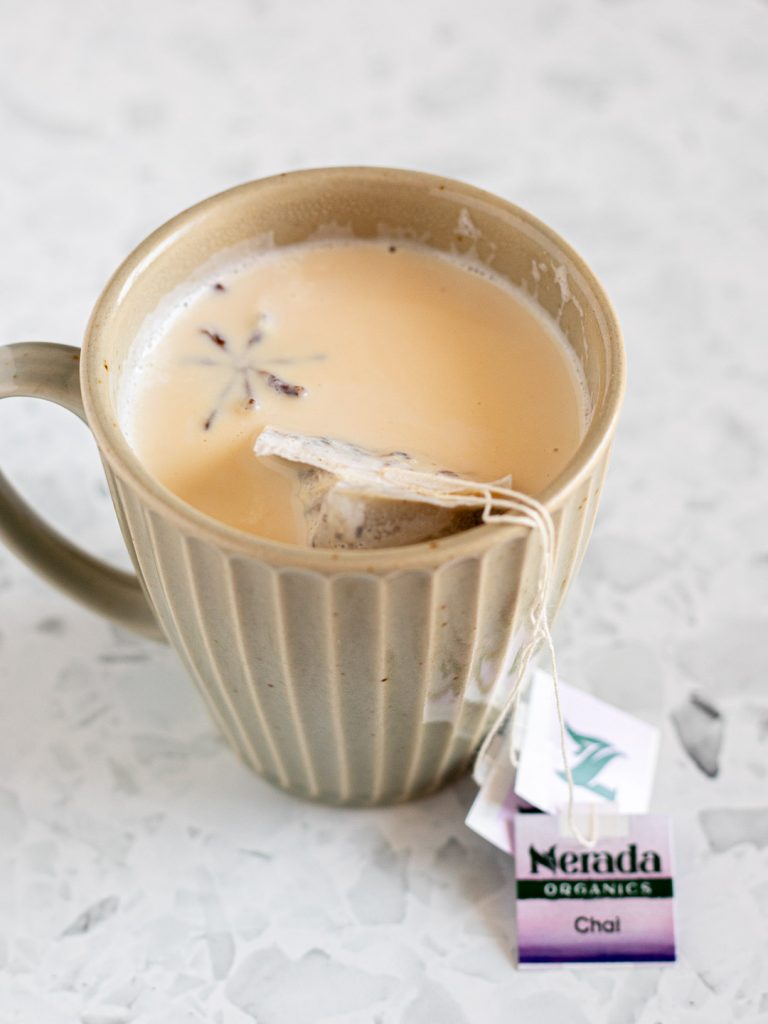
2. Steep the milk – Add the milk and star anise to a small saucepan and warm gently, stirring frequently, until the milk is steaming and looks a little foamy, like it’s just about to boil. Pour it into a cup or jug, then add the chai tea bags (or loose-leaf tea in an infuser basket). Let it steep for 10 minutes, then discard the tea and star anise. Set the milk aside to cool.
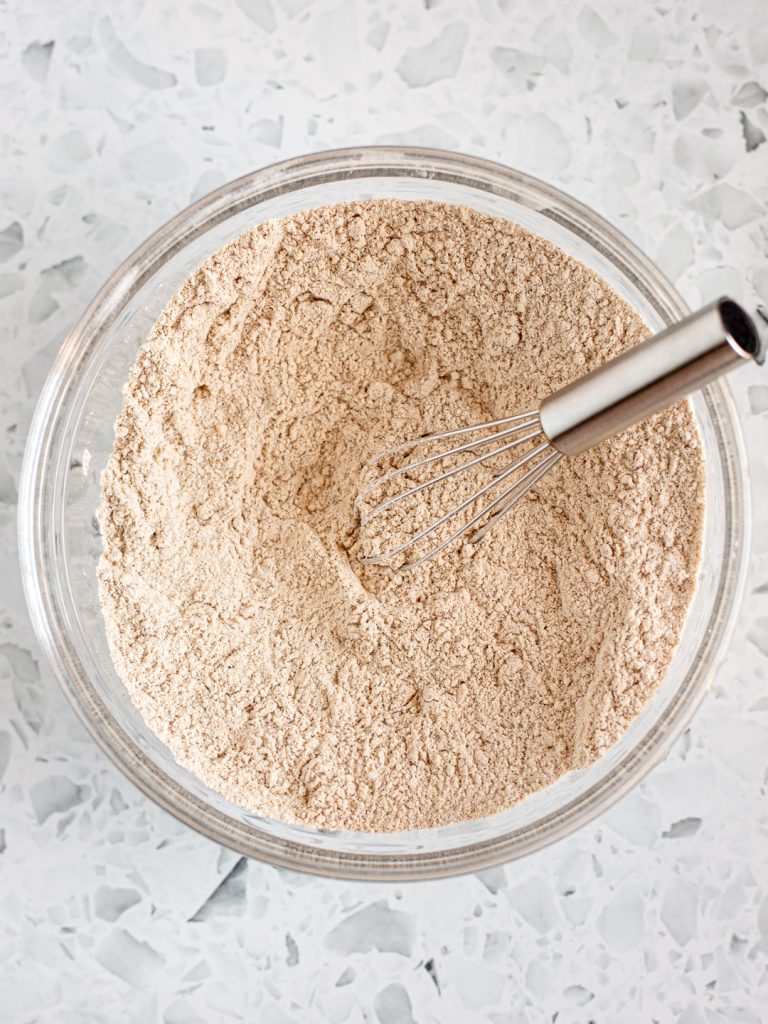
3. Combine the dry ingredients – In a medium bowl, whisk together the flour, baking powder, baking soda, chai spices, and salt until everything is evenly combined.
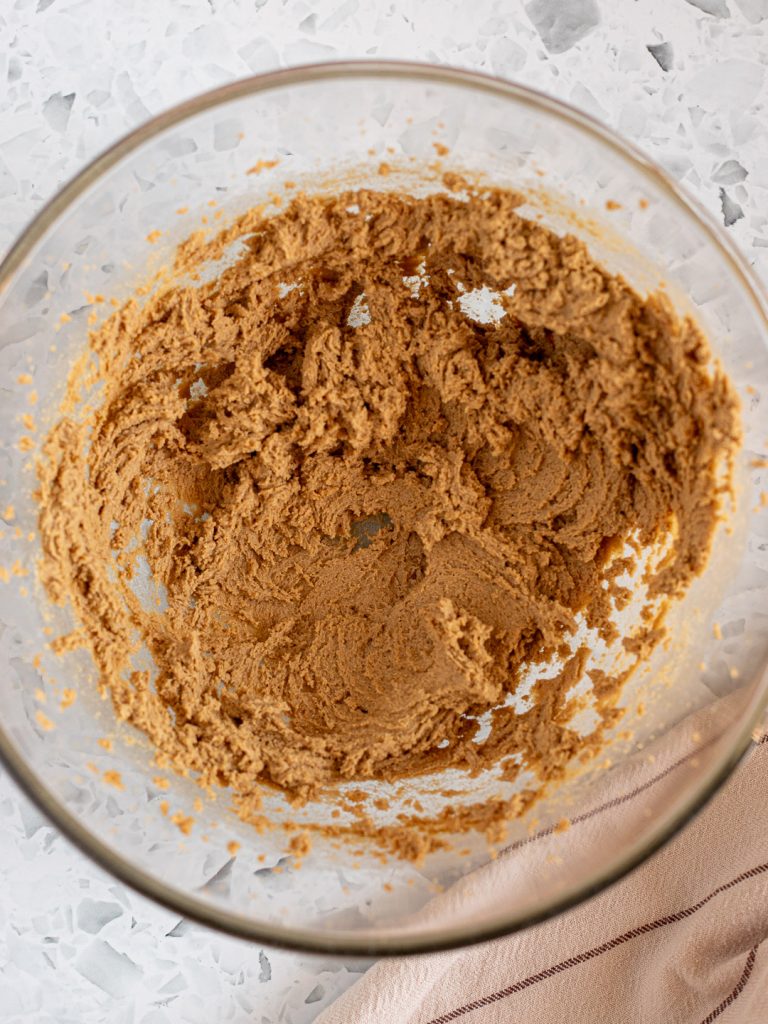
4. Cream the butter and sugar – Using a hand mixer or stand mixer fitted with the paddle attachment, beat the butter and brown sugar together in a large bowl until fluffy and lightened in colour. This takes about 3–4 minutes with my hand mixer.
5. Add the wet ingredients – Add the eggs, oil, sour cream, and vanilla, and beat until you have a smooth, lump-free batter.
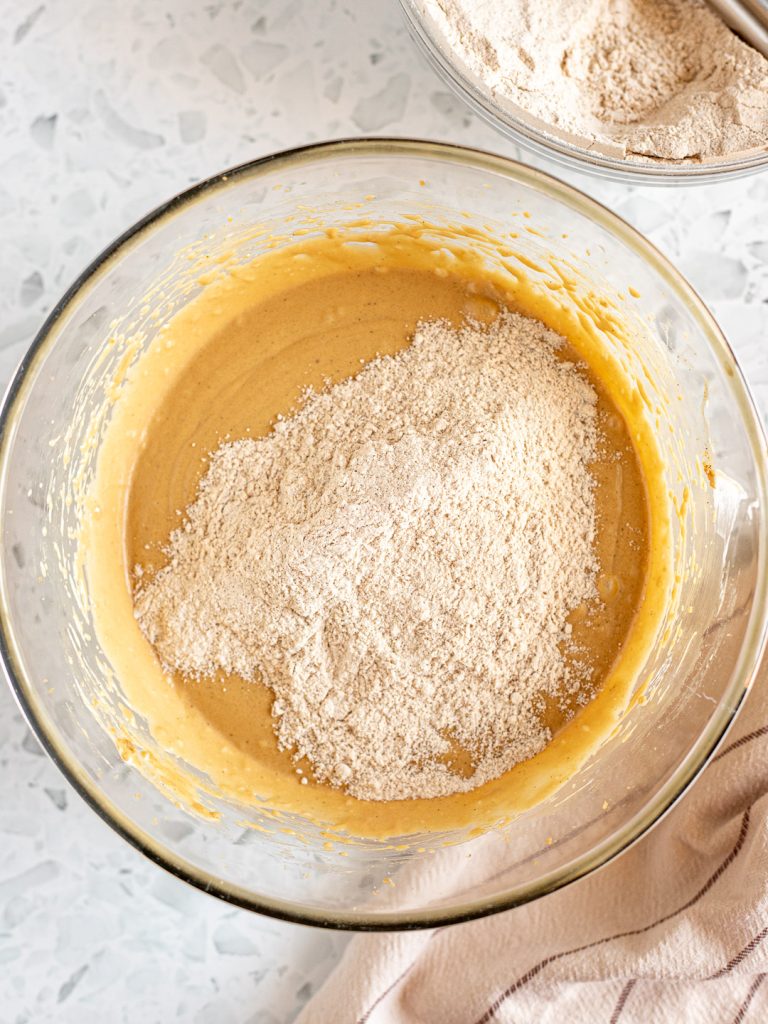
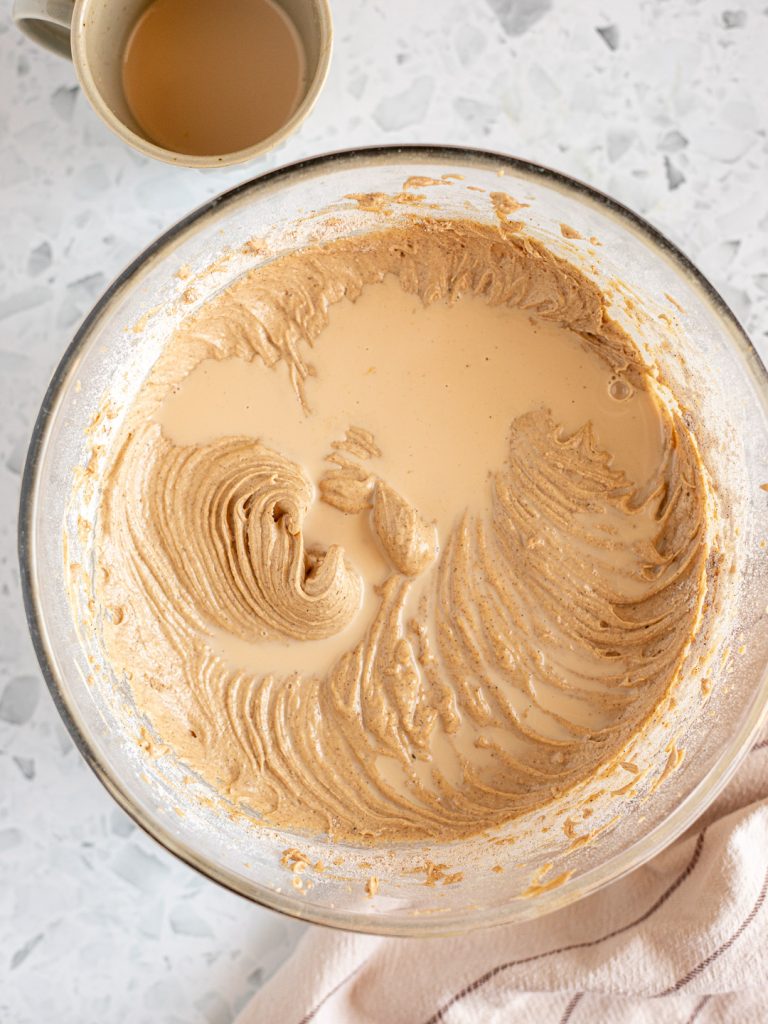
6. Alternate dry ingredients and milk – Add ⅓ of the dry ingredients, followed by ⅓ of the chai-infused milk, and mix until just combined. Repeat twice more, alternating between the dry ingredients and milk, until everything is incorporated. Be careful not to overmix the batter.
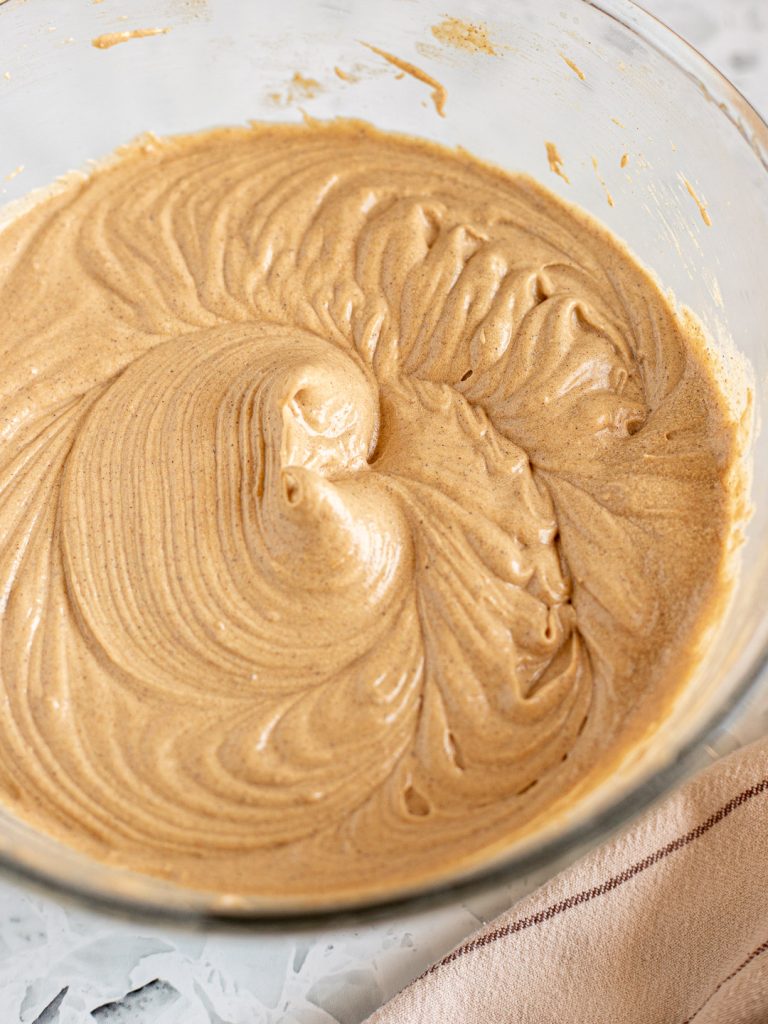
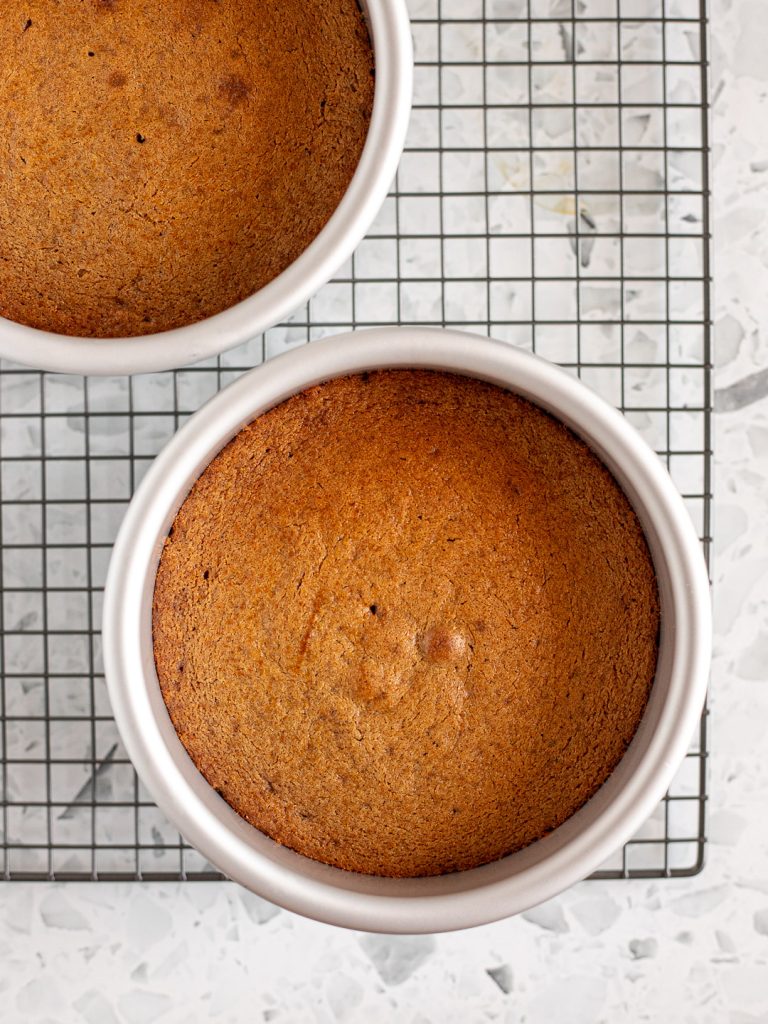
7. Bake – Pour the batter into the prepared cake tins. I like to use a scale to make sure the batter is divided evenly! Bake the layers for 30–35 minutes, or until a toothpick inserted into the centres comes out clean. If there’s still wet batter, return the cakes to the oven and bake for a few more minutes before checking again.
8. Cool – Let the cakes cool in their tins for about 15 minutes, then run a knife around the edges and turn them out onto a cooling rack. Cool completely before assembling!
Make the Swiss meringue buttercream
If it’s your first time making Swiss meringue buttercream, I promise it’s easier than it sounds. And if something does go wrong, don’t panic! You can pretty much always salvage it with a little temperature control. I’ve included some troubleshooting tips in the FAQs below if you do run into any problems.
Equipment wise, I really recommend a stand mixer for this, if you have one! You can use a handheld mixer, but it will take longer to whip the meringue to stiff peaks, and it can be hard on the motor.
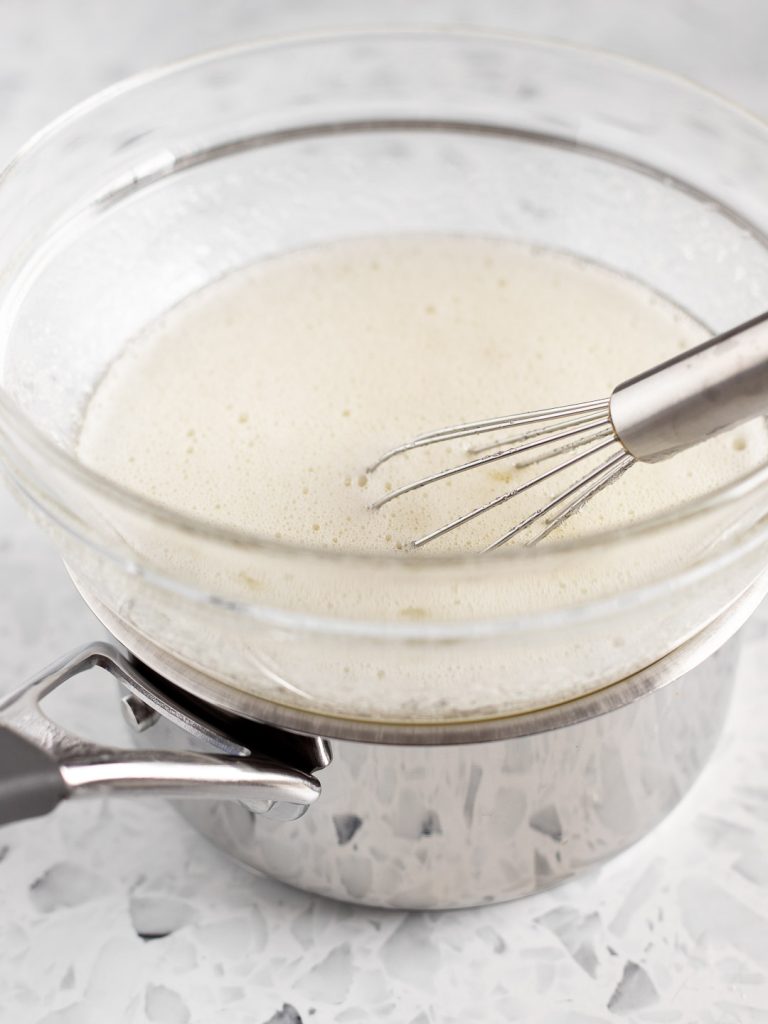
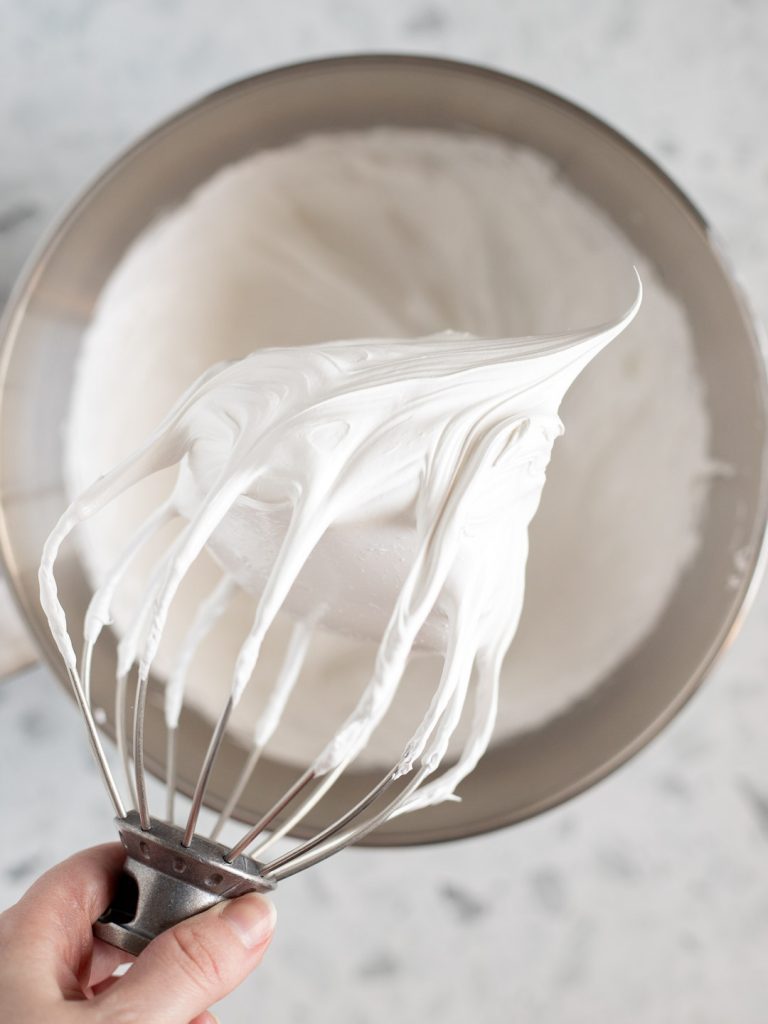
1. Heat the egg whites, sugar, and salt – Whisk the egg whites, sugar, and salt in a heatproof bowl just to combine. Place the bowl over a saucepan of simmering water, making sure the water isn’t touching the bottom of the bowl. Heat, whisking constantly, until the sugar has completely dissolved, about 5 minutes. Rub a little of the mixture between your fingers (careful, it’s hot!). If you can feel any grains of sugar, keep cooking. Alternatively, use a candy thermometer to check that the mixture has reached 65–70°C (149–158°F).
2. Whip the meringue – Transfer the mixture into a clean large bowl or the bowl of your stand mixer. Using the whisk attachment, whip on medium-high speed until the meringue reaches stiff peaks and the bowl no longer feels warm. This takes about 10–15 minutes in my stand mixer.
IMPORTANT: The meringue needs to be at room temperature before moving on to the next step, so if the bowl is still at all warm, place it in the fridge for a few minutes to cool down.
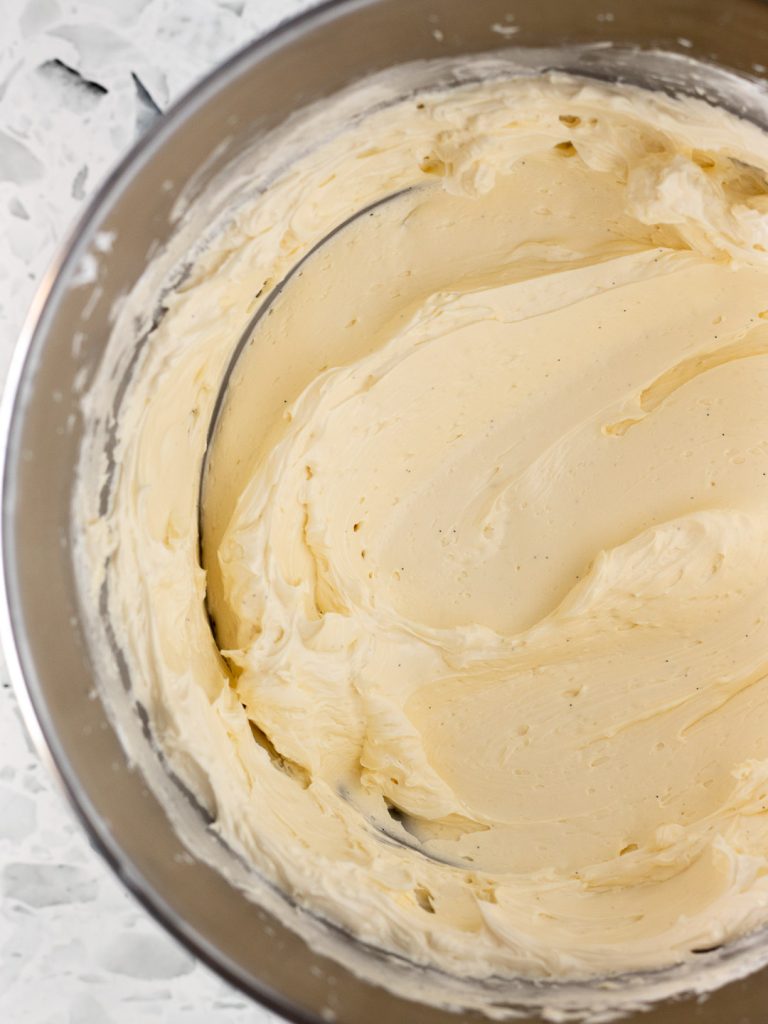
3. Add the butter gradually – Switch to the paddle attachment if using a stand mixer. If using a handheld mixer, continue with the regular beaters. With the mixer on medium speed, add the butter a few pieces at a time, allowing each addition to incorporate before adding more. Keep going until all the butter has been added.
4. Add the vanilla – Pour in the vanilla and keep mixing on medium speed until incorporated, about 1 minute.
5. Whip until fluffy – Turn the mixer up to high and whip for another 3–5 minutes, until the buttercream is smooth and fluffy.
Assemble the cake
1. Trim and level – If your cakes have domed up, use a cake leveller or serrated knife to level them. You’ll lose a little height from the finished cake, but the layers are quite thick anyway. I didn’t need to level mine, so the cake in the photos is on the taller side of what you can expect.
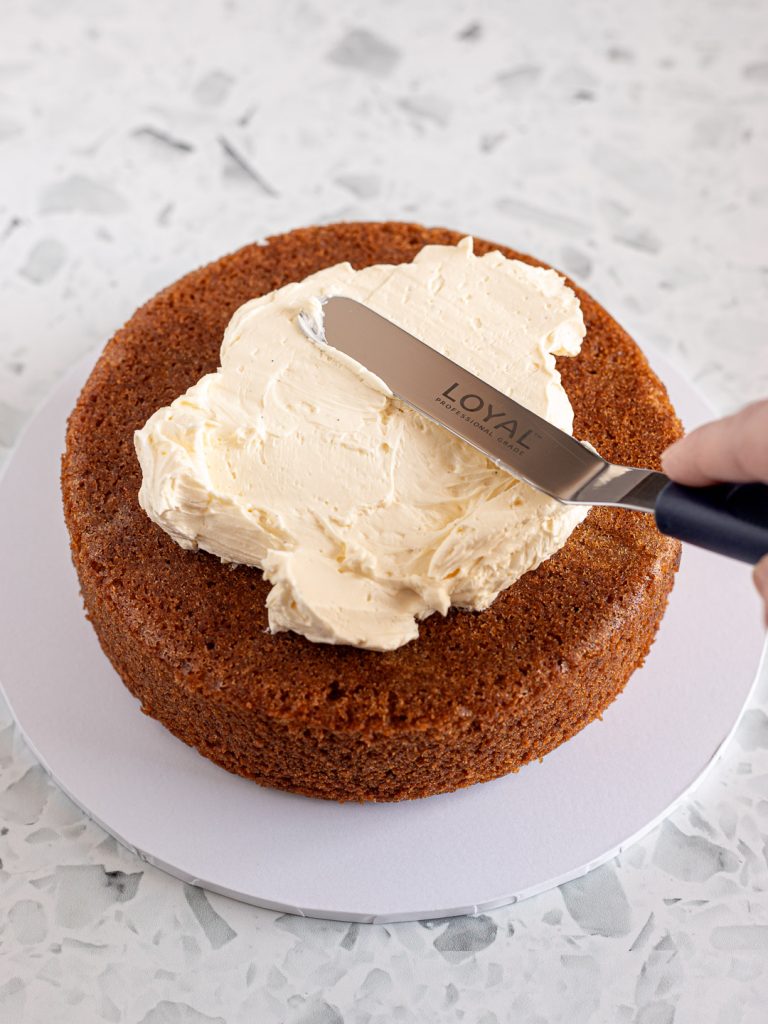
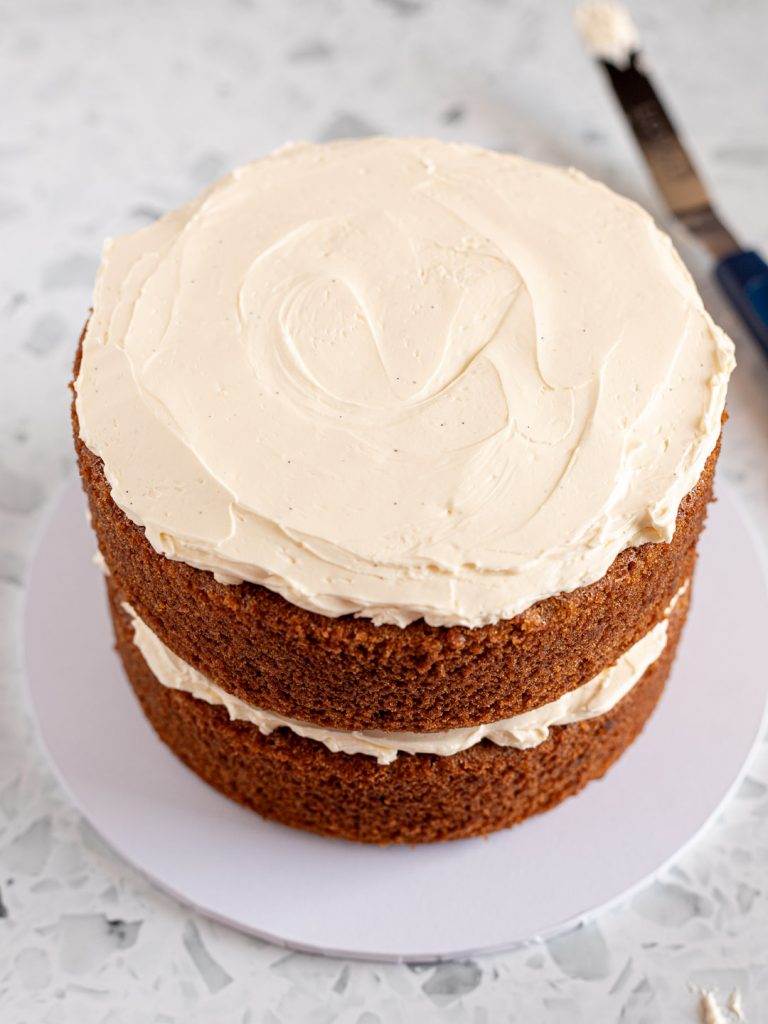
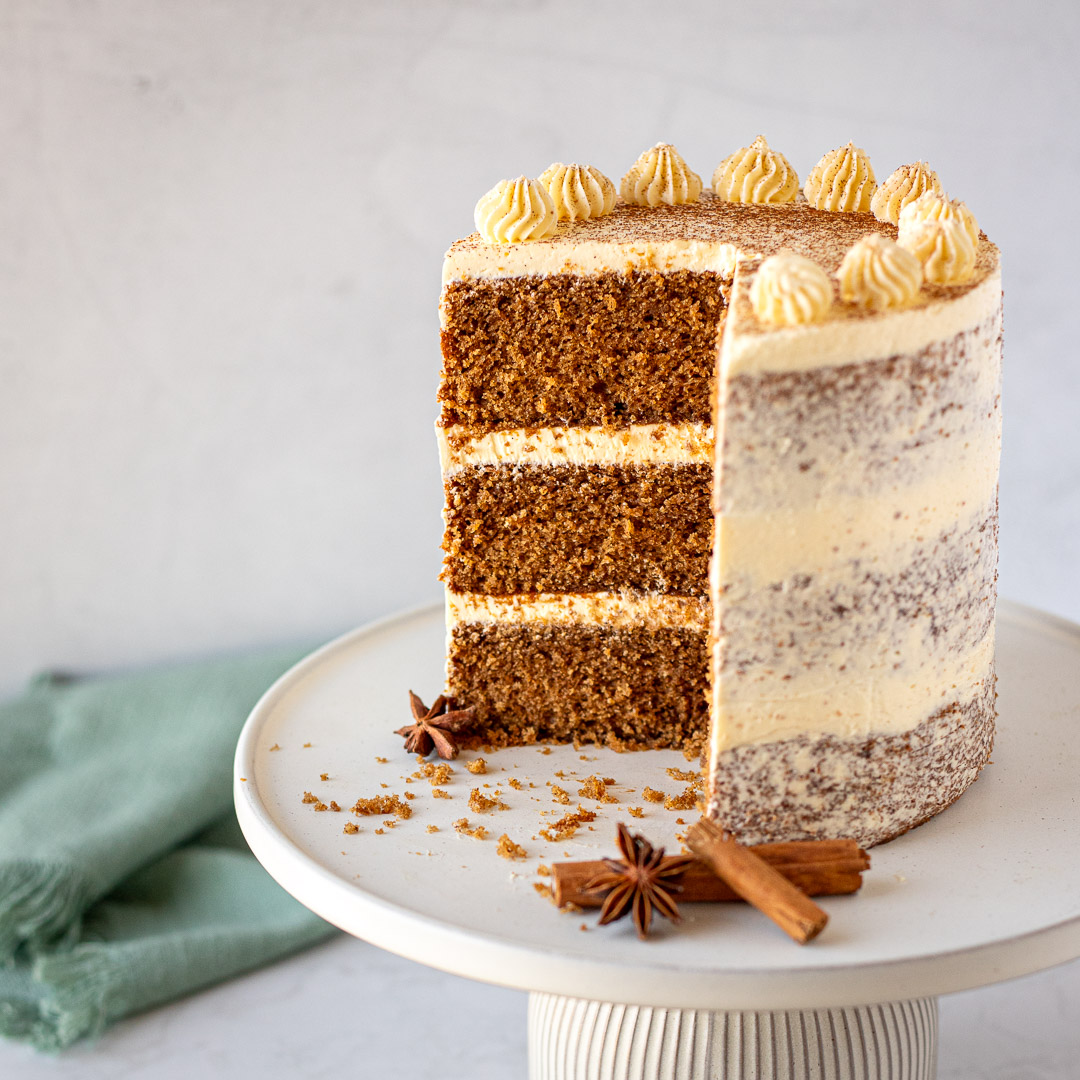
2. Build the layers – Place the first cake layer on a cake board or plate, top with about 1/2 a cup of icing, and spread evenly all the way to the edges. Repeat with the second cake layer, so you have two layers of icing, then place the third cake layer on top.
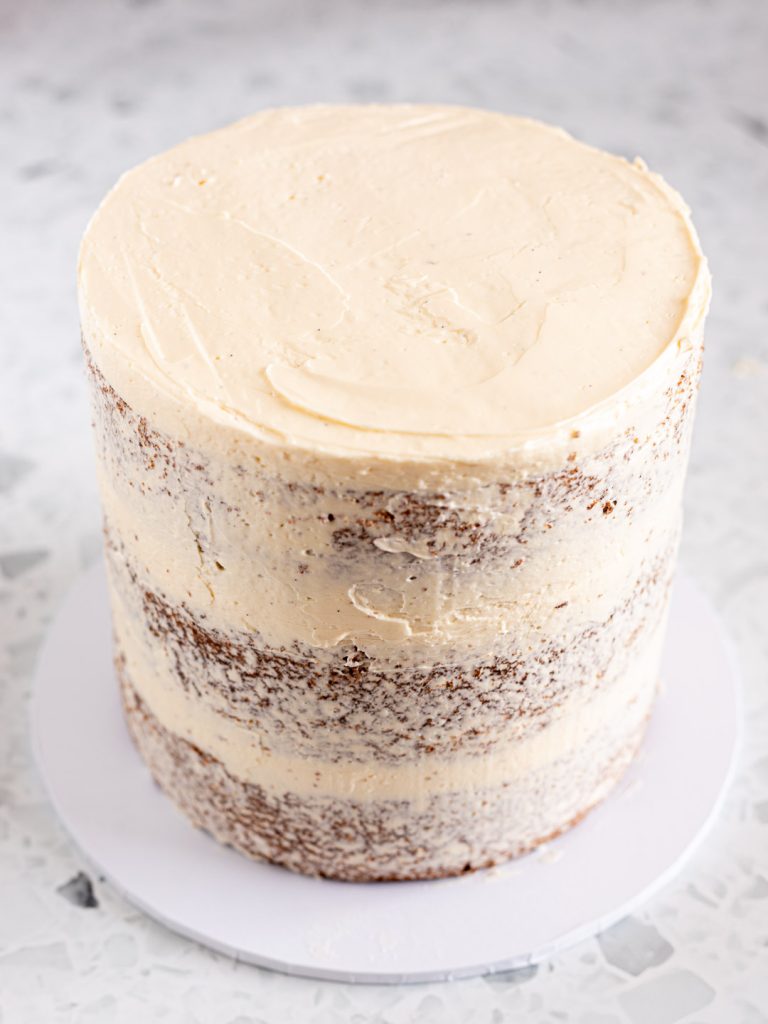
3. Cover with icing – Spread a thin layer of icing over the top and sides of the cake, reserving some in the bowl for decorating. You can either leave the cake like this, or create a naked look (as pictured) by scraping the sides with a bench scraper to remove the excess icing.

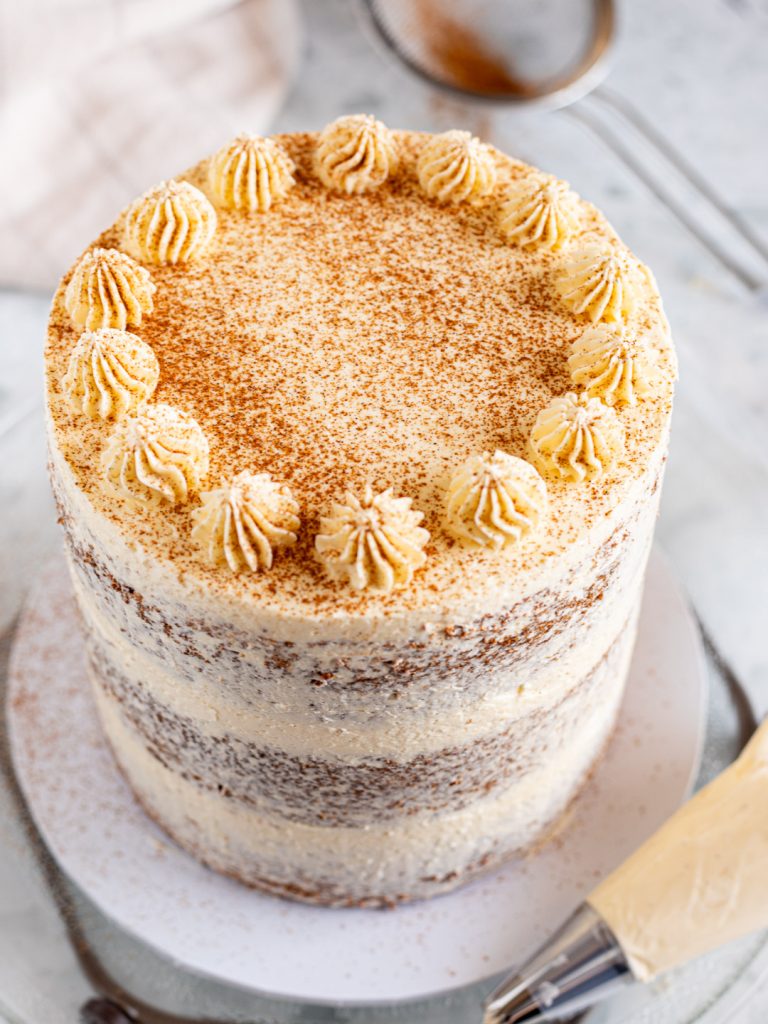
4. Decorate – Pipe the remaining buttercream around the edges using a large open star tip (I used a Wilton 4B). To dust the cake with cinnamon, use a fine mesh sieve and hold it high above the cake. Be careful here — too much cinnamon will make you (and your guests) cough! For a finishing touch, you can garnish the cake with cinnamon sticks and star anise.
FAQ
* Please note: all cup measurements are approximate and based on Australian standard cups (250ml). For best results, weigh your ingredients with a kitchen scale.
Equipment
- 3x 15 cm (6-inch) cake tins, or 2x 20 cm (8 inch) cake tins (see notes)
- hand mixer or stand mixer with whisk and paddle attachments
- small saucepan
- fine-mesh sieve
- piping bag and large star tip, for decorating (optional)
Ingredients
- 250 ml (1 cup) milk
- 3 chai tea bags, or 2 tbsp loose-leaf chai tea
- 1 star anise, optional
- 300 g (2 ⅓ cups, spooned and levelled) plain flour
- 1 ½ tsp baking powder
- ½ tsp baking soda
- ½ tsp salt
- 275 g (1 ¼ cups, packed) brown sugar
- 125 g (½ cup) butter, softened to room temp
- 3 large eggs, room temp
- 60 ml (¼ cup) vegetable oil
- 125 g (½ cup) sour cream, room temp
- 1 tbsp vanilla bean paste, or vanilla extract
Chai spice mix
- 2 ½ tsp cinnamon, plus extra for decorating
- 1 ½ tsp cardamom
- 2 tsp ginger
- ½ tsp allspice
- ½ tsp nutmeg
- ¼ tsp clove
Vanilla bean Swiss meringue buttercream
- 5 large egg whites
- 330 g (1 ½ cups) caster sugar, sub regular white sugar
- 310 g (1 ¼ cups) unsalted butter, cut into 2.5 cm (1-inch) cubes and softened slightly (see notes)
- 2 tsp vanilla bean paste, or vanilla extract
- ¼ tsp salt
Optional garnishes
- cinnamon sticks
- star anise
Instructions
Make the cake layers
- Preheat the oven to 180°C (160°C fan/350°F). Lightly grease three 15 cm (6-inch) cake tins and line the base of each with a circle of parchment paper.
- Place the milk and star anise in a saucepan. Heat, stirring frequently to prevent a skin from forming, until a few small bubbles start to form on the surface. Pour into a jar or measuring jug and add the chai tea bags. Let steep for 10 minutes, then discard the star anise and tea bags. Cool to room temperature before using.
- In a medium bowl, combine the flour, baking powder, baking soda, salt, and chai spice mix ingredients.
- In a large mixing bowl, or the bowl of a stand mixer fitted with the paddle attachment, cream the butter and brown sugar until light and fluffy (about 3-4 minutes).
- Add the sour cream, oil, eggs, and vanilla, and mix until combined.
- Alternate adding ⅓ of the dry ingredients with ⅓ of the steeped milk, mixing after each addition until just combined. Repeat with the remaining ingredients. Use a rubber spatula to scrape down the bottom and sides of the bowl to make sure everything is incorporated.
- Divide the batter evenly between the three cake tins and bake for 30-35 minutes, or until a skewer inserted into the centre comes out clean.
- Let the cakes cool in their tins for about 15 minutes, then turn them out onto a wire rack to cool completely. Meanwhile, prepare the buttercream.
Make the Swiss meringue buttercream
- Combine the egg whites, sugar, and salt in a heatproof bowl and set over a saucepan of gently simmering water. Make sure the water isn't touching the bottom of the bowl.
- Whisk constantly until the sugar has fully dissolved. You can check by carefully rubbing a little of the mixture between your fingers. It should feel completely smooth, with no sugar granules. Alternatively, use a candy thermometer to check that it has reached 65–70°C (149-158°F).
- Pour into the bowl of a stand mixer fitted with the whisk attachment (or use an electric hand mixer, though it will take longer). Whip on high speed until glossy, stiff peaks form and the bowl is cool to the touch. If the bowl still feels warm or your mixer overheats at any point, chill the bowl in the fridge for 5–10 minutes, then resume whipping.
- If using a stand mixer, switch to the paddle attachment. With the mixer on medium speed, add the slightly softened butter a few pieces at a time, ensuring each addition is fully incorporated before adding more. Add the vanilla and mix until combined.
- Turn the mixer up to high and whip the buttercream for another 3-5 minutes, until it's nice and fluffy. It's now ready to use for decorating!
Assemble the cake
- Once the cake layers have cooled completely, trim and level them using a serrated knife or cake leveller, if needed.
- Place one cake layer on a cake board or serving plate and spread with about ½ cup of buttercream. Repeat with the next layer, then place the third and final cake layer on top.
- Cover the cake with a thin layer of buttercream. For a naked look, scrape the sides with a bench scraper to remove excess buttercream.
- Transfer the remaining buttercream to a piping bag fitted with a large star tip and decorate as desired. Finish with a light dusting of cinnamon using a fine-mesh sieve held high above the cake. Optionally, garnish with cinnamon sticks and star anise.