Some links in this post are affiliate links. I may earn a small commission if you purchase through them.
There’s a reason pastry chefs swear by them: kitchen scales can completely transform your baking! Whether you’re on the fence about buying your first one or just aren’t sure how to use it, this beginner’s guide covers everything you need to know about baking by weight.
Call me stubborn, but I’m a bit slow to embrace new measurement systems. In fact, I’ve only recently surrendered to reading my weather app in celsius… a brief seven years after moving to Australia 🙈. As you can imagine, the concept of baking by weight was another mental hurdle entirely.
Much to the bemusement of the rest of the world, kitchen scales are not commonplace in American households. Like it or not, volume measurements have been deeply ingrained in American baking culture since the late 19th century. Growing up in the US, cups are what I learnt to bake with, so the idea of weighing my ingredients seemed both strange and unnecessary.
I became the owner of a kitchen scale (by proxy) when I moved in with my Aussie husband, and eventually, curiosity got the better of me. What looked like a complicated appliance turned out to be surprisingly convenient: weighing ingredients was faster, more precise, and, most importantly, meant less washing up. Now my measuring cups spend most of their time collecting dust in the cupboard. You could say I finally came to my senses.
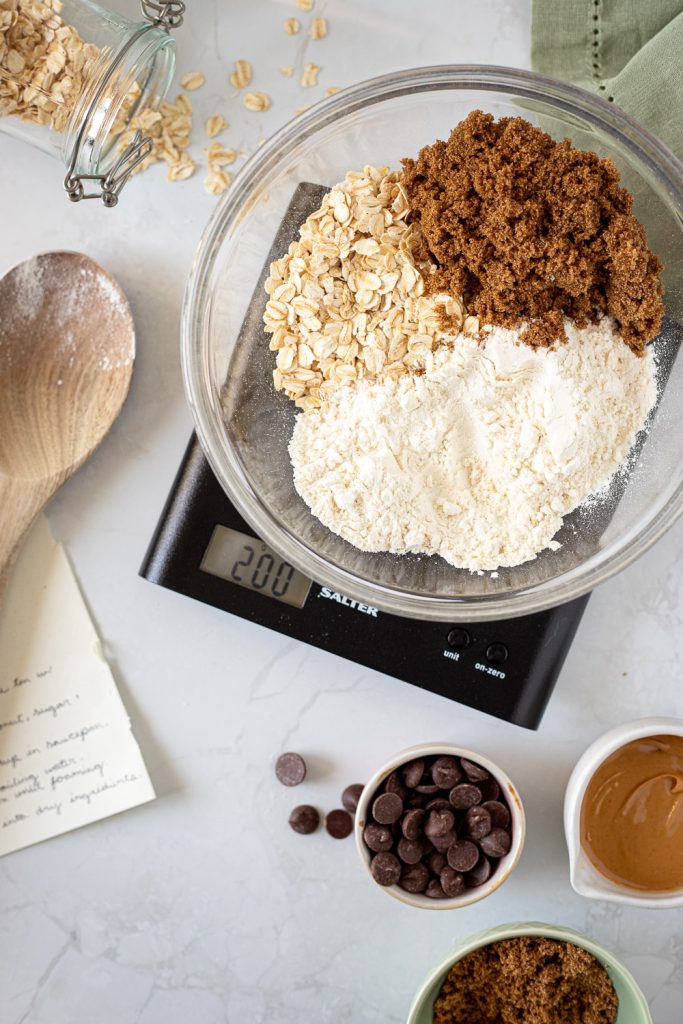
Why You Should Weigh Your Ingredients
I’ll just say it. Your cups are letting you down!
130 grams of flour measured on a scale is the same to anyone, anywhere in the world. 1 cup of flour is… well, it’s complicated.
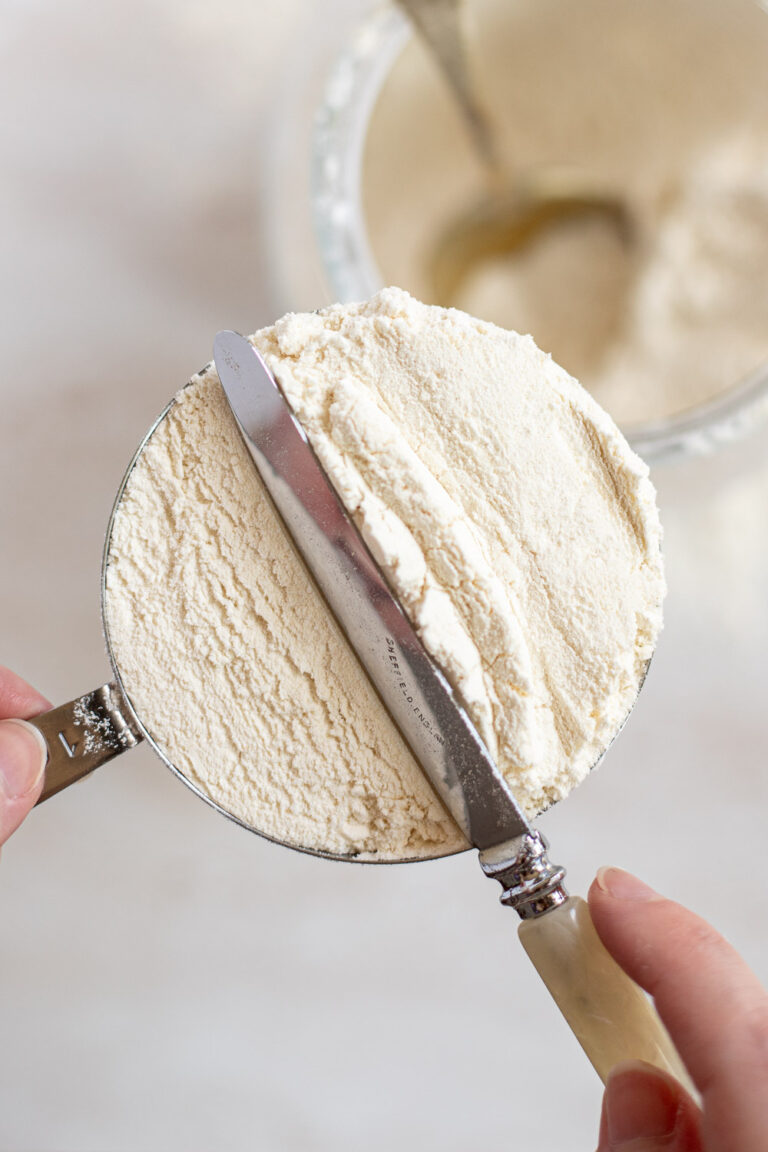
Everyone measures ingredients differently. One person might scoop a cup of flour directly from the bag, while the next might spoon the flour into the cup. Both are technically “1 cup” but the first almost certainly contains more flour.
Now imagine if your local bakery measured everything this way. Your favourite croissants might be light and flaky one day, then dry and dense the next. Not because the recipe changed, but because the amount of flour varied from batch to batch. And these differences become even more noticeable when working with large quanitites. Aside from the sheer impracticality of measuring hundreds of cups of flour a day, that’s why professional bakeries and pastry chefs weigh their ingredients.
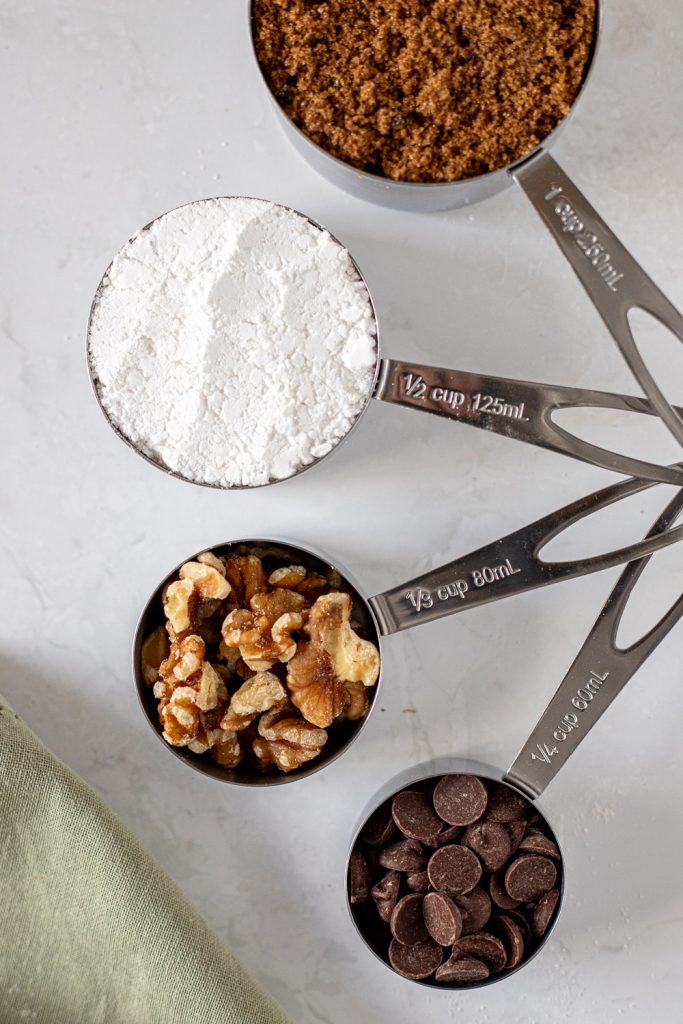
Flour is the most obvious offender here because as little as an extra tablespoon of flour can have a huge impact on the texture and moisture of a bake. But this extends to other ingredients as well. Cocoa powder and icing sugar pack down like crazy. And don’t even get me started on the guessing game that is “lightly/firmly packed brown sugar.”
Aside from the density factor, volume measurements are plain awkward. Try measuring a cup of something sticky like honey or peanut butter without leaving half of it clinging to the cup. Or cramming in oddly-shaped ingredients like chocolate chips, nuts, and sticks of butter without leaving big pockets of air.
C’mon, we’re smarter than this.
The Perks of Using A Kitchen Scale
A kitchen scale is not just another gadget that’s going to clutter up your cabinets. It’s inexpensive, takes up practically no space, and genuinely makes baking easier. Here’s why I love mine so much:
More consistent results: Ever baked the same recipe twice and wondered why the second batch looked a little… off? It could be your measuring cups. Weighing your ingredients reduces the amount of guesswork so you can get much more predictable and repeatable results from batch to batch.
No cup-size confusion: Australian cups hold 250 ml, while US cups hold 240 ml and Japanese cups hold 200 ml. That might not sound like much, but using the wrong cup can really throw a recipe off. With weight measurements, none of that matters — a gram is a gram whether you’re baking in Melbourne or Tokyo.
Fewer dishes: With a scale, everything can be measured in one bowl. Weigh your first ingredient, hit tare, add the next, and repeat. It’s so much more streamlined, and there’s no mountain of measuring cups to clean up afterwards.
Easier scaling: Scaling a recipe becomes much simpler when you’re not dealing with awkward fractions, like “3/4 cup + 1 tbsp.” Want to double a recipe? 100 grams becomes 200 grams. 250 g becomes 500 g. And so on!
More even portions: Want picture-perfect cookies and identical cake layers? A scale makes dividing dough and batter into equal portions ridiculously easy. That’s a pure dopamine hit for the perfectionist baker like myself.
Choosing the Right Kitchen Scale
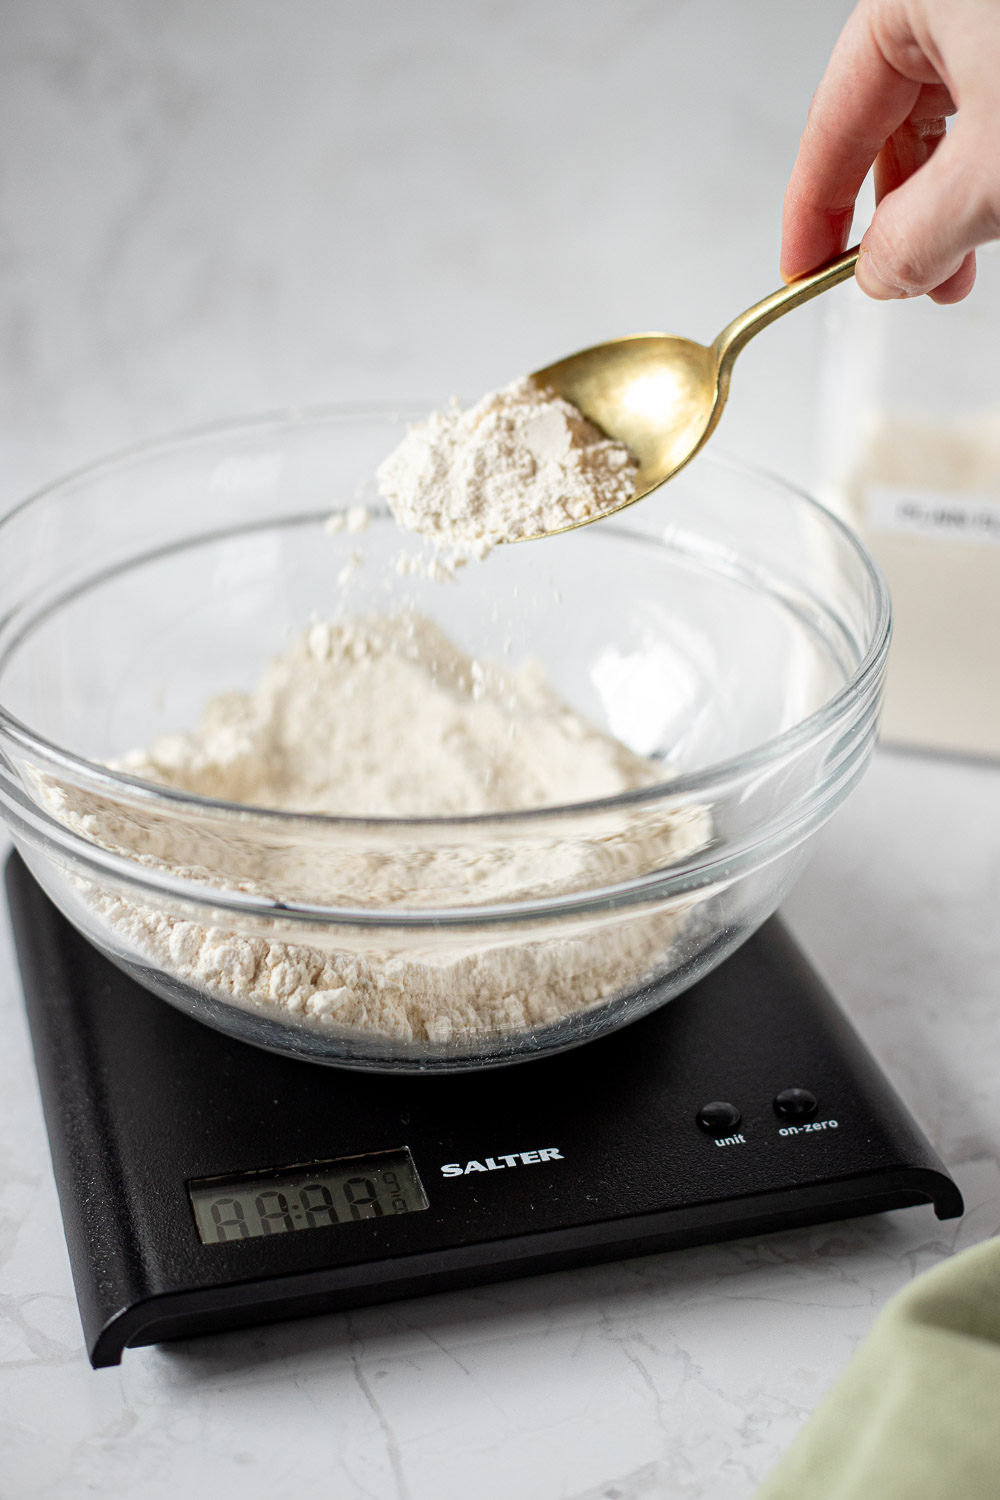
I’ve been using my humble Salter ARC Electronic Kitchen Scale for over 5 years and it’s still going strong. You can pick one up on Amazon for under $30. I’ll probably upgrade to something a little more snazzy in the near future, however I think five years of faithful service is evidence you don’t need anything expensive or terribly high-tech!
Ultimately, you can go as cheap or as expensive as you’d like, but I’d advise you stick with a reputable brand and check the reviews before buying. I haven’t tried them myself, but OXO scales are well regarded and frequently go on sale around Black Friday.
Here are some other things to consider when buying your first kitchen scale:
- Digital vs analog: I know retro ones look cool, but digital scales are more precise, compact, and easy to read.
- Tare function: non-negotiable! More on why you need a tare button below.
- Units: any decent scale should allow you to switch between grams and ounces.
- Size: make sure the weighing surface is large enough to fit a mixing bowl without blocking the display.
- Weight capacity: aim for at least 5 kg. Mine only goes to 3 kg, which can be limiting with heavy glass bowls.
- Battery vs rechargeable: totally up to you. I prefer battery-operated as I’m terrible at remembering to charge things!
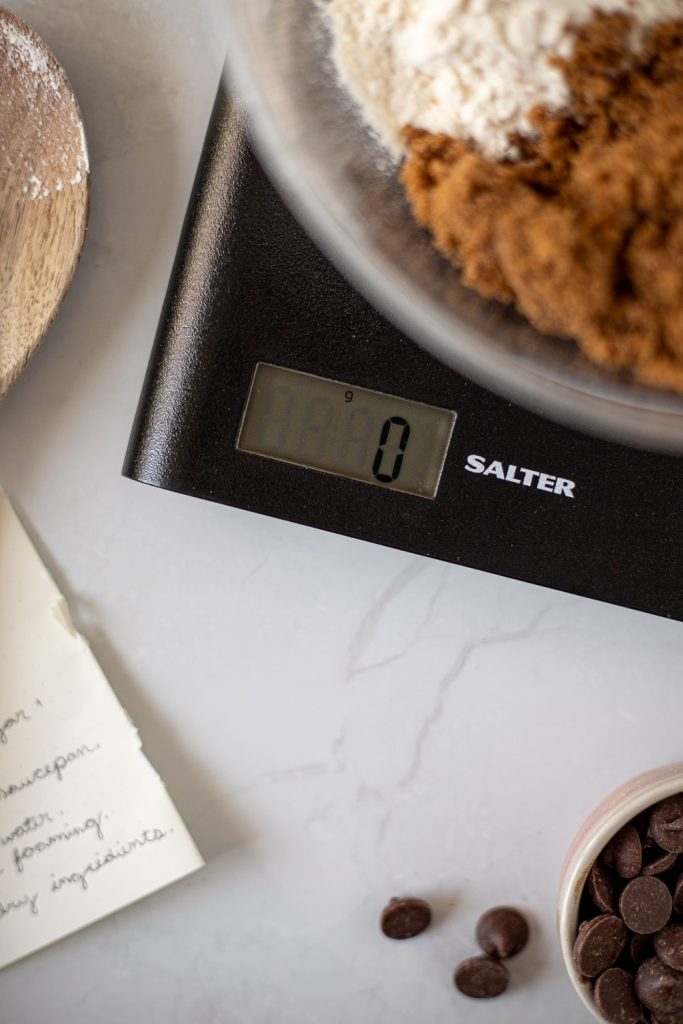
Understanding the Tare Button
If you’re worried that using a kitchen scale is going to require some high-level math, then consider the tare button your new best friend. Pressing it simply resets the scale to zero, so you can dump your flour, hit tare, dump your sugar, hit tare, and keep going in the exact same bowl. Essentially, it gives you a blank slate for each new ingredient.
How to Use a Digital Kitchen Scale for Baking
Kitchen scales are nothing to be afraid of. Most only have two buttons: one for tare/on/off and another to switch between grams and ounces. If you managed to navigate the internet to find this blog post, you can definitely use a scale!
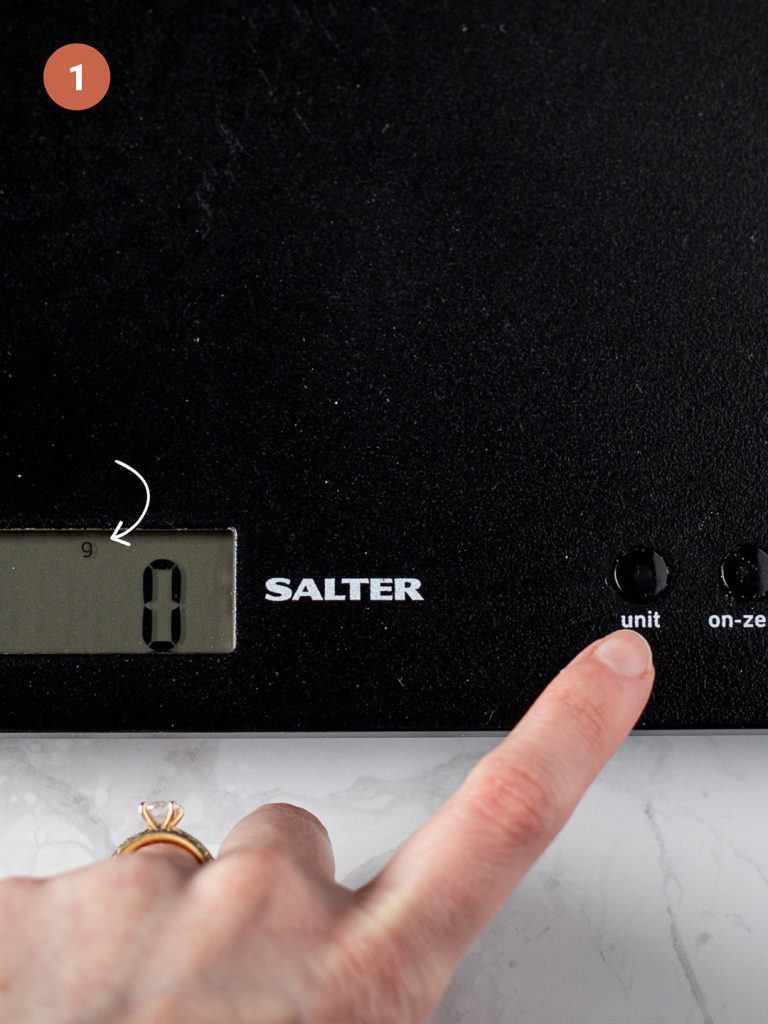
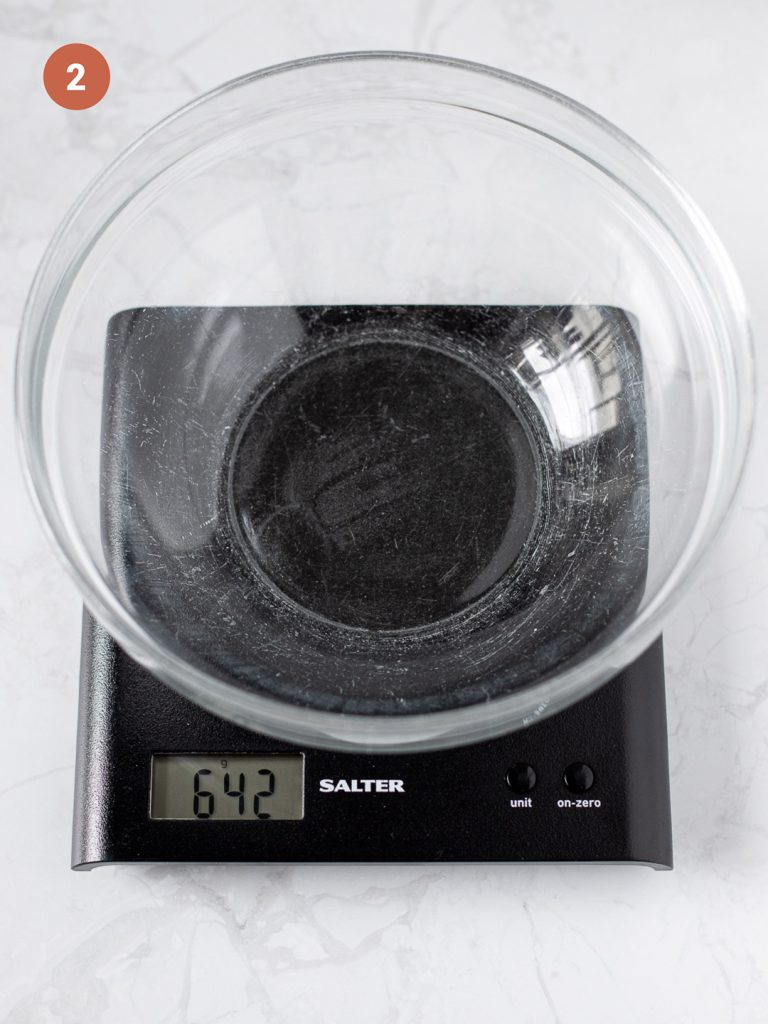
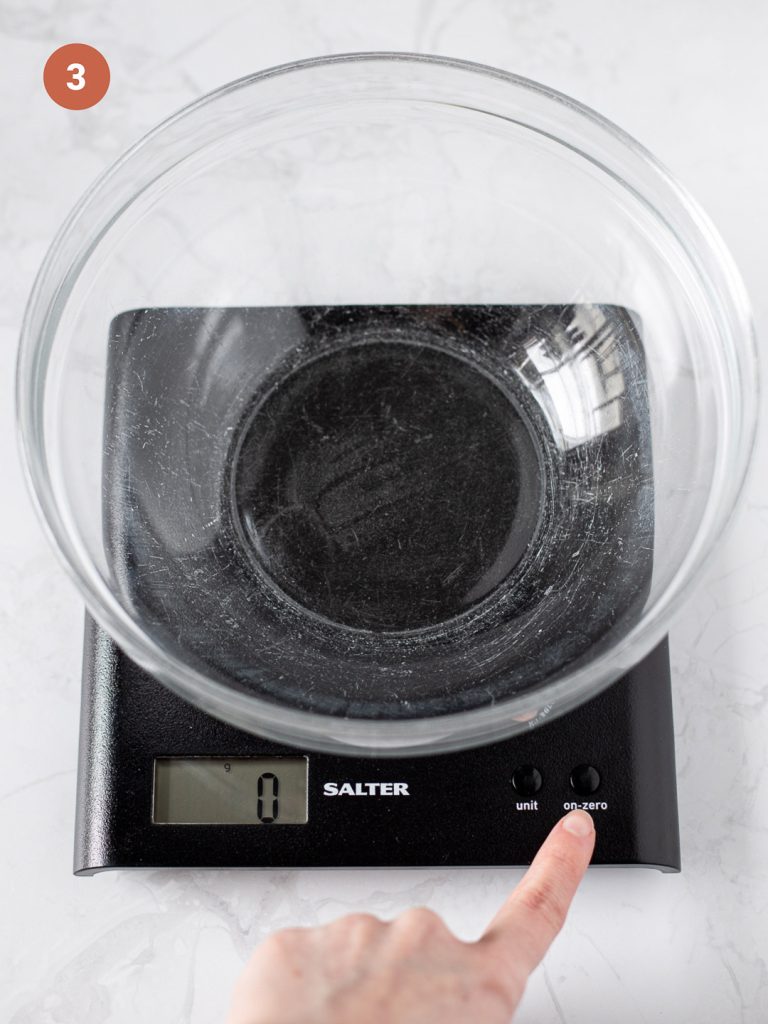
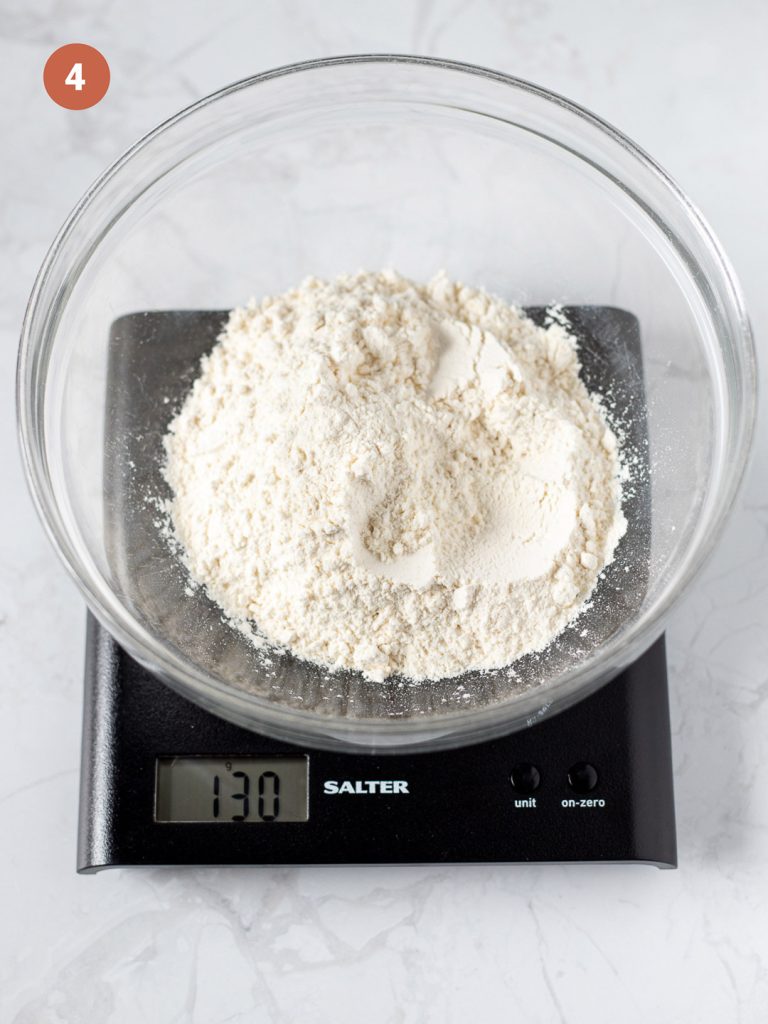
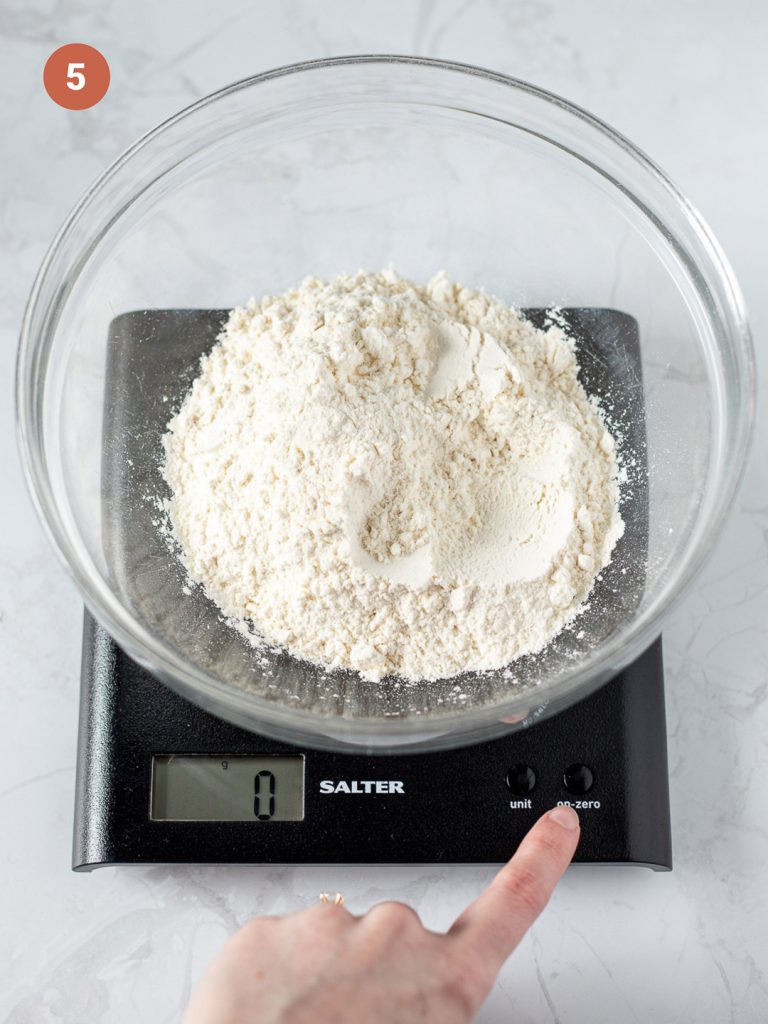
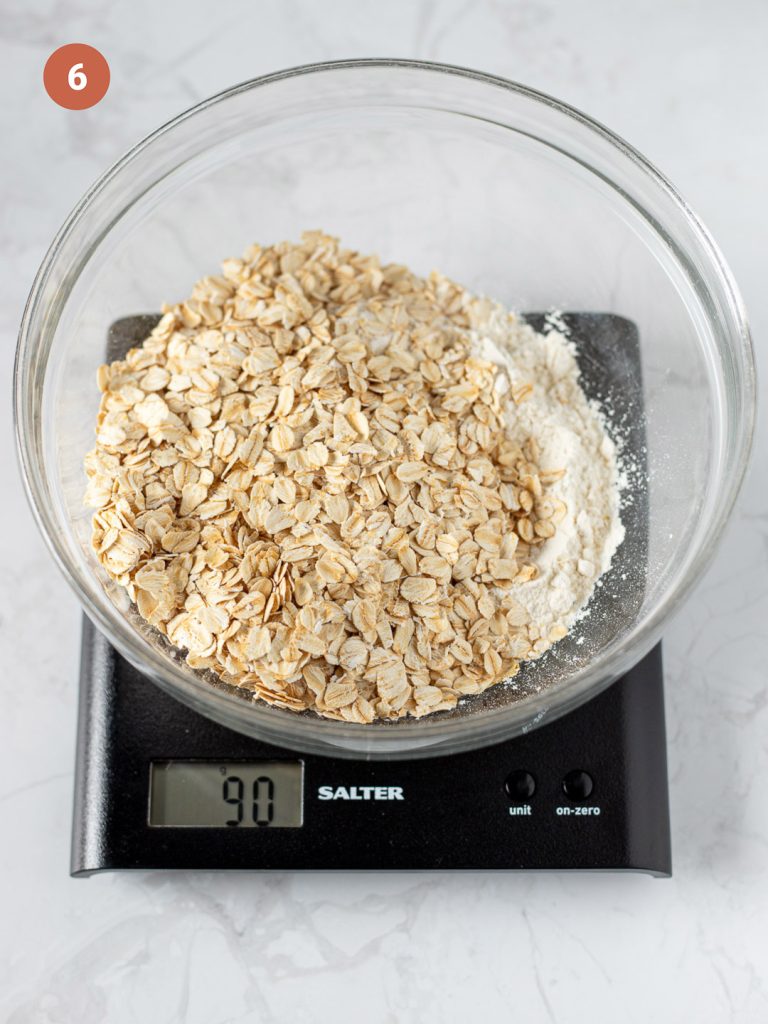
- Turn on your scale and select your preferred unit (grams or ounces).
- Place your bowl or container on the scale.
- Press ‘tare’ or ‘zero’ to reset the display to 0.
- Add your first ingredient until you reach the required weight.
- Press ‘tare’ or ‘zero’ again to reset the display to 0.
- Add your next ingredient until you reach the required weight.
- Repeat steps 5 and 6 for each remaining ingredient.
That’s it!
How to Test If Your Kitchen Scale Is Accurate
Of course, scales aren’t completely infallible. If you ever suspect yours is lying to you, you can test its accuracy using something with a known weight, such as a handful of coins (Australian $1 coins weigh exactly 9 grams each) or an unused product, like a block of butter. Also, keep in mind that low battery can cause inaccurate readings. Try replacing the batteries or charging your scale before assuming it’s on its way out.
When Measuring Spoons Make More Sense
Okay, we need to address the elephant in the room. I’ve just given you a big spiel about why weighing your ingredients is superior, and in most cases, it is. But if you look at any of my recipes, you’ll notice I still use teaspoons and tablespoons for certain ingredients rather than grams.
I promise I’m not being a hypocrite! It’s a matter of practicality — unless you’re using a high-precision micro scale, most home scales measure in 1-gram increments, meaning they can’t reliably measure anything under a gram. Even scales that display decimal places can get notoriously finicky at such low weights. When you’re working with potent ingredients like baking powder, baking soda, spices, and yeast, even a fraction of a gram can affect the final bake. So in these instances, measuring spoons are the better tool.
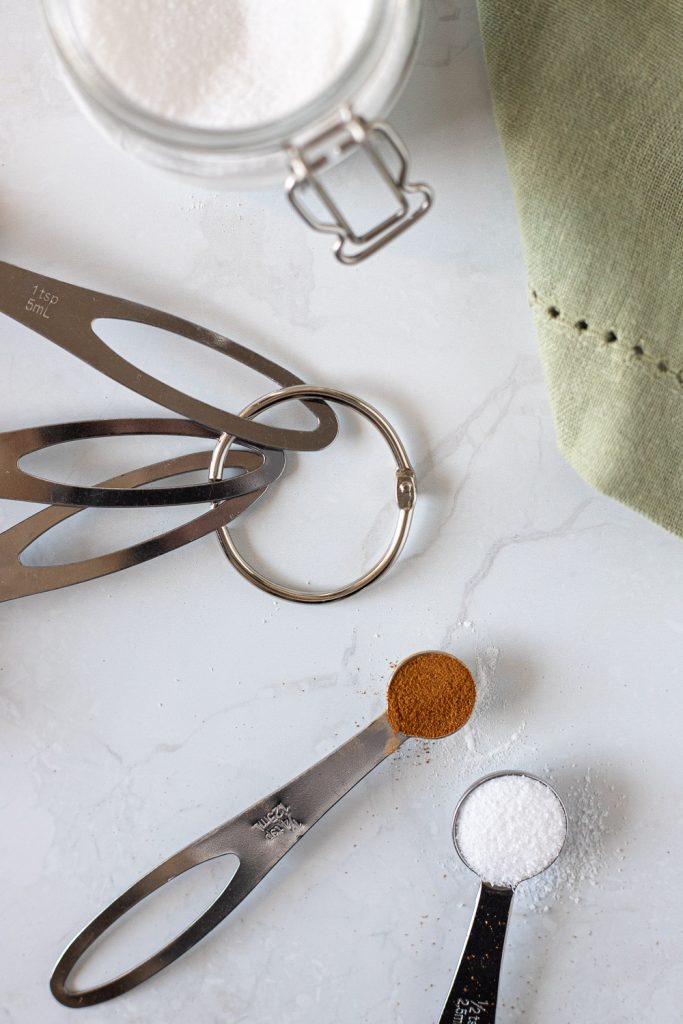
Not all tablespoons are the same: Australian tablespoons hold 20 ml (4 tsp), while every other country uses a 15 ml tablespoon (3 tsp). To make matters more confusing, I’ve noticed some Australian measuring spoon sets moving to the 15 ml tablespoon these days, including mine!
If you’re following a recipe from another country, it’s worth checking which tablespoon measurement the recipe writer uses. If you’re not sure what size yours is, it should be stamped on the spoon itself.
When precision matters, you’ll often see me give measurements in teaspoons rather than tablespoons. For instance, I might say 3 tsp of baking powder rather than 1 tbsp. A standard teaspoon is always 5 ml, so there’s no ambiguity there.
Should You Weigh Liquids?
You’ve probably noticed that there are a ton of different ways to measure liquid ingredients. Some recipes might use grams or ounces, while others use cups, millilitres, or fluid ounces. It would alleviate so much confusion if we could all agree on one system, but until then… there are a couple important things to be aware of.
First, know what the units mean. Grams (g) and ounces (oz) measure weight, while millilitres (ml) and fluid ounces (fl oz) measure volume. I repeat: ounces and fluid ounces are NOT the same thing. Why anyone thought it was a good idea to use the word ounces to name two completely different units of measurement is beyond me. But I digress.
Weight and volume aren’t always interchangeable. For liquids like water and milk, 1 ml equals roughly 1 g. However this isn’t always the case, as different ingredients have different densities. Honey, cream and oil, for example, will all have different weights for the same volume.
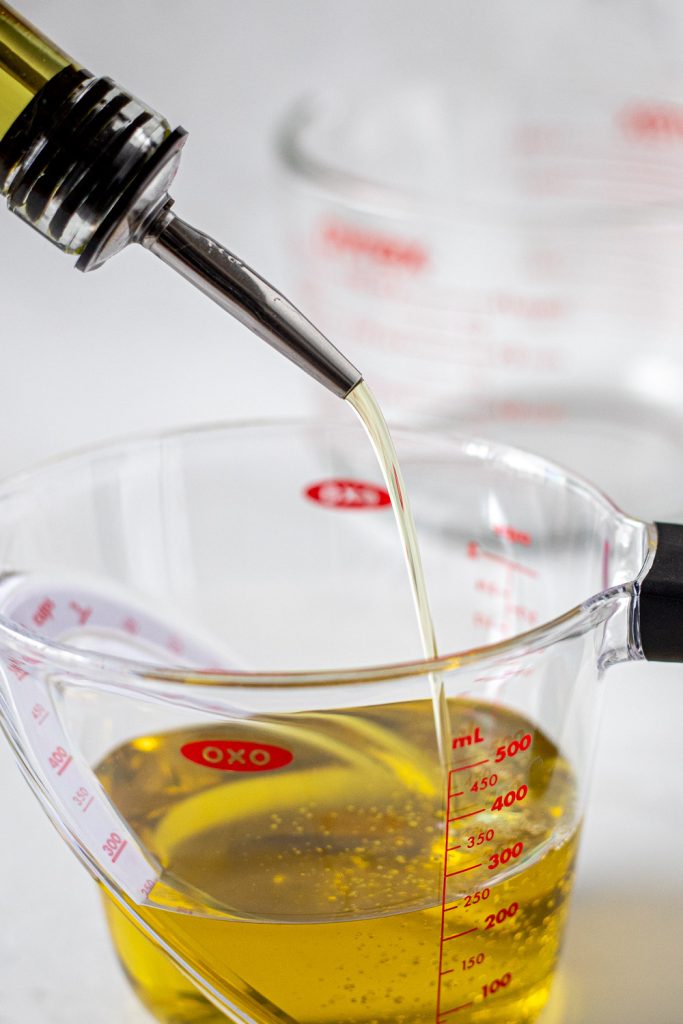
So, which should you use? Short answer: follow the recipe!
In my recipes, I typically use millilitres, and I recommend measuring these ingredients with a liquid measuring jug. Liquids settle evenly and don’t compact, making volume measurements mostly accurate +/- a couple millilitres. Just make sure the jug is on a flat surface and read the measurement at eye level. I like this OXO Angled Measuring Cup because it has a second set of markings that you can read from the top.
The exception is large amounts of sticky ingredients, like honey, syrups, and nut butters. I’ll give these in grams so you can squeeze them directly into your mixing bowl, eliminating the need to scrape them out of a measuring cup.
What About Eggs?
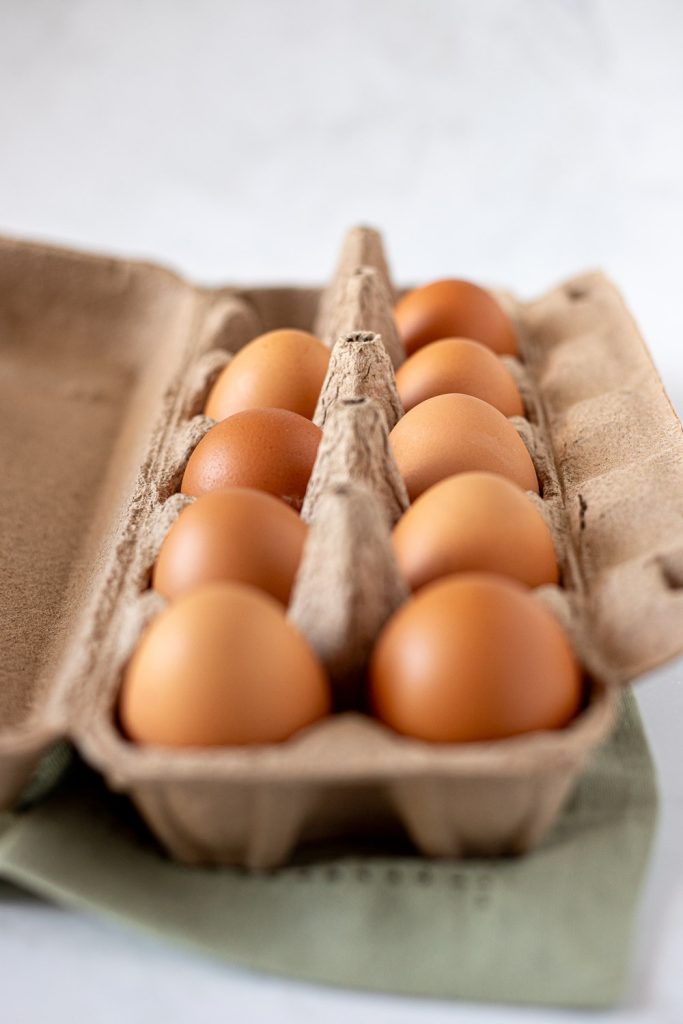
For the sake of consistency, I use large supermarket eggs to test all my recipes. In Australia, these come in a carton labelled as 600 g, with each egg weighing 50–55 g including the shell.
For everyday baking, like cookies, muffins, and simple cakes, weighing every single egg before you use it is probably overkill. If egg size is critical to a recipe, I’ll specify it, or better yet, give the gram measurement. This is especially important for recipes like custards, meringues, and macarons, where there’s a more delicate balance of ingredients. Otherwise, you’re generally fine to stick with large eggs (or your country’s equivalent) by default.
If you’re ever stuck with a fraction of an egg when scaling a recipe down, lightly whisk the egg in a bowl and weigh out the amount you need. Leftover raw egg can safely be stored in an airtight container in the fridge for up to 2 days.
How to Convert a Recipe from Cups to Grams
So you’ve found the perfect recipe, but it’s from an International website and it’s all in cups. After you shake your fist at the sky, here’s what to do next.
Check whether the recipe lists grams as a secondary measurement or has a toggle to switch to metric. Because of the variances we discussed earlier, there isn’t a definitive cups-to-grams conversion, so it’s best to use the recipe writer’s measurements when they’re available. These are the measurements they’ve found to work in their own kitchen and the ones they used when testing the recipe (assuming they’ve done their due diligence).
Alternatively, there are plenty of cups-to-grams conversion guides and calculators on the internet. Use a single, reliable source and make sure it’s region-specific to the recipe you’re converting. For instance, if it’s an American recipe, you’ll want to use a “US cups to grams” calculator.
Be wary of using AI to convert recipes — it scrapes data from a variety of internet sources which can lead to some questionable results.
If you need a handy reference to keep in your pantry or stuck to your fridge, I’ve created a cheat sheet with my Australian cup-to-gram conversions for common ingredients. Just sign up via the form below and I’ll send you a free printable copy!
Common Mistakes When Baking by Weight
Using a kitchen scale is really easy once you get the hang of it, but there are a few mistakes that can catch you out:
- Using an uneven surface: Kitchen scales need to be placed on a hard, level surface to provide accurate readings. Never balance your scale on top of something soft or uneven, like a tea towel or placemat, which is enough to throw off the sensors.
- Forgetting to tare the scale: Always hit the tare (or zero) button after adding your bowl, and before adding each ingredient, to bring the display back to ‘0.’ Forgetting this step will throw off all your measurements!
- Adding ingredients too quickly: Some scales have a slight delay before the weight updates on the display. Be careful not to dump ingredients in too quickly, or you might overshoot! If you’re new to baking by weight, I recommend weighing each ingredient in a separate bowl before adding it to the main bowl, at least until you get the feel for it.
- Walking away mid-measure: Most digital scales have an auto-shutoff feature to save battery. If you need to step away, make a note of the amount you’ve already measured. Otherwise you might come back to a blank display and have no idea where you left off!
Why Is My Scale Displaying a Negative Number?
If you remove your bowl from the scale after zeroing it out, it might show a negative number. Don’t panic — your scale hasn’t gone haywire! The scale is simply tracking how much weight was removed. Once you return the bowl to the scale, the display should return to zero. If not, press the tare button again to reset it.
Do I Need a Scale to Make Your Recipes?
Here’s the thing — I would never want to dissuade anyone from baking because they don’t have a scale. For this reason, I provide equivalent cup measurements for all my recipes, alongside grams. These aren’t just generic conversions I’ve pulled from Google — I have calculated and tested these in my own kitchen. And when the way you measure an ingredient matters, I’ll tell you exactly how I measured it (whether that’s spooning and levelling, lightly packing, sifting, or something else) so you can replicate it as closely as possible at home.
BUT I do have to temper your expectations. The truth is that volume measurements will never be as precise as weight. So if you bake regularly and you’re tired of inconsistent results or bakes that flop for no apparent reason, the best thing you can do is treat yourself to a scale!
Now go forth and bake! The best way to get comfortable with a kitchen scale is simply to start using one. If you’re new to baking by weight, try one of these easy recipes first: